
Add a Mailchimp signup form
WoodMart integrates with the MC4WP: Mailchimp for WordPress plugin and provides dedicated elements for displaying its signup forms.
Install and connect MC4WP
1. Install and activate the MC4WP: Mailchimp for WordPress plugin.
2. Navigate to Dashboard -> MC4WP -> Mailchimp, enter your Mailchimp API key, and save the changes.
3. Confirm that the required Mailchimp audience is available in the plugin.
Create the signup form
1. Navigate to Dashboard -> MC4WP -> Form.
2. Select the Mailchimp audience that should receive subscriptions and configure the required form fields.
3. To create the compact email-and-button layout used in WoodMart demos, add the following markup to the form editor:
<div class="wd-grid-f-stretch" style="--wd-gap: 10px">
  <div class="wd-col"><input type="email" name="EMAIL" placeholder="Your email address" required /></div>
  <div class="wd-col-auto"><input type="submit" value="Sign up" /></div>
</div>
4. Save the form.

Add the form to your website
- Gutenberg: add the Mailchimp block and select the form.
- Elementor: add the WoodMart Mailchimp element and select the form.
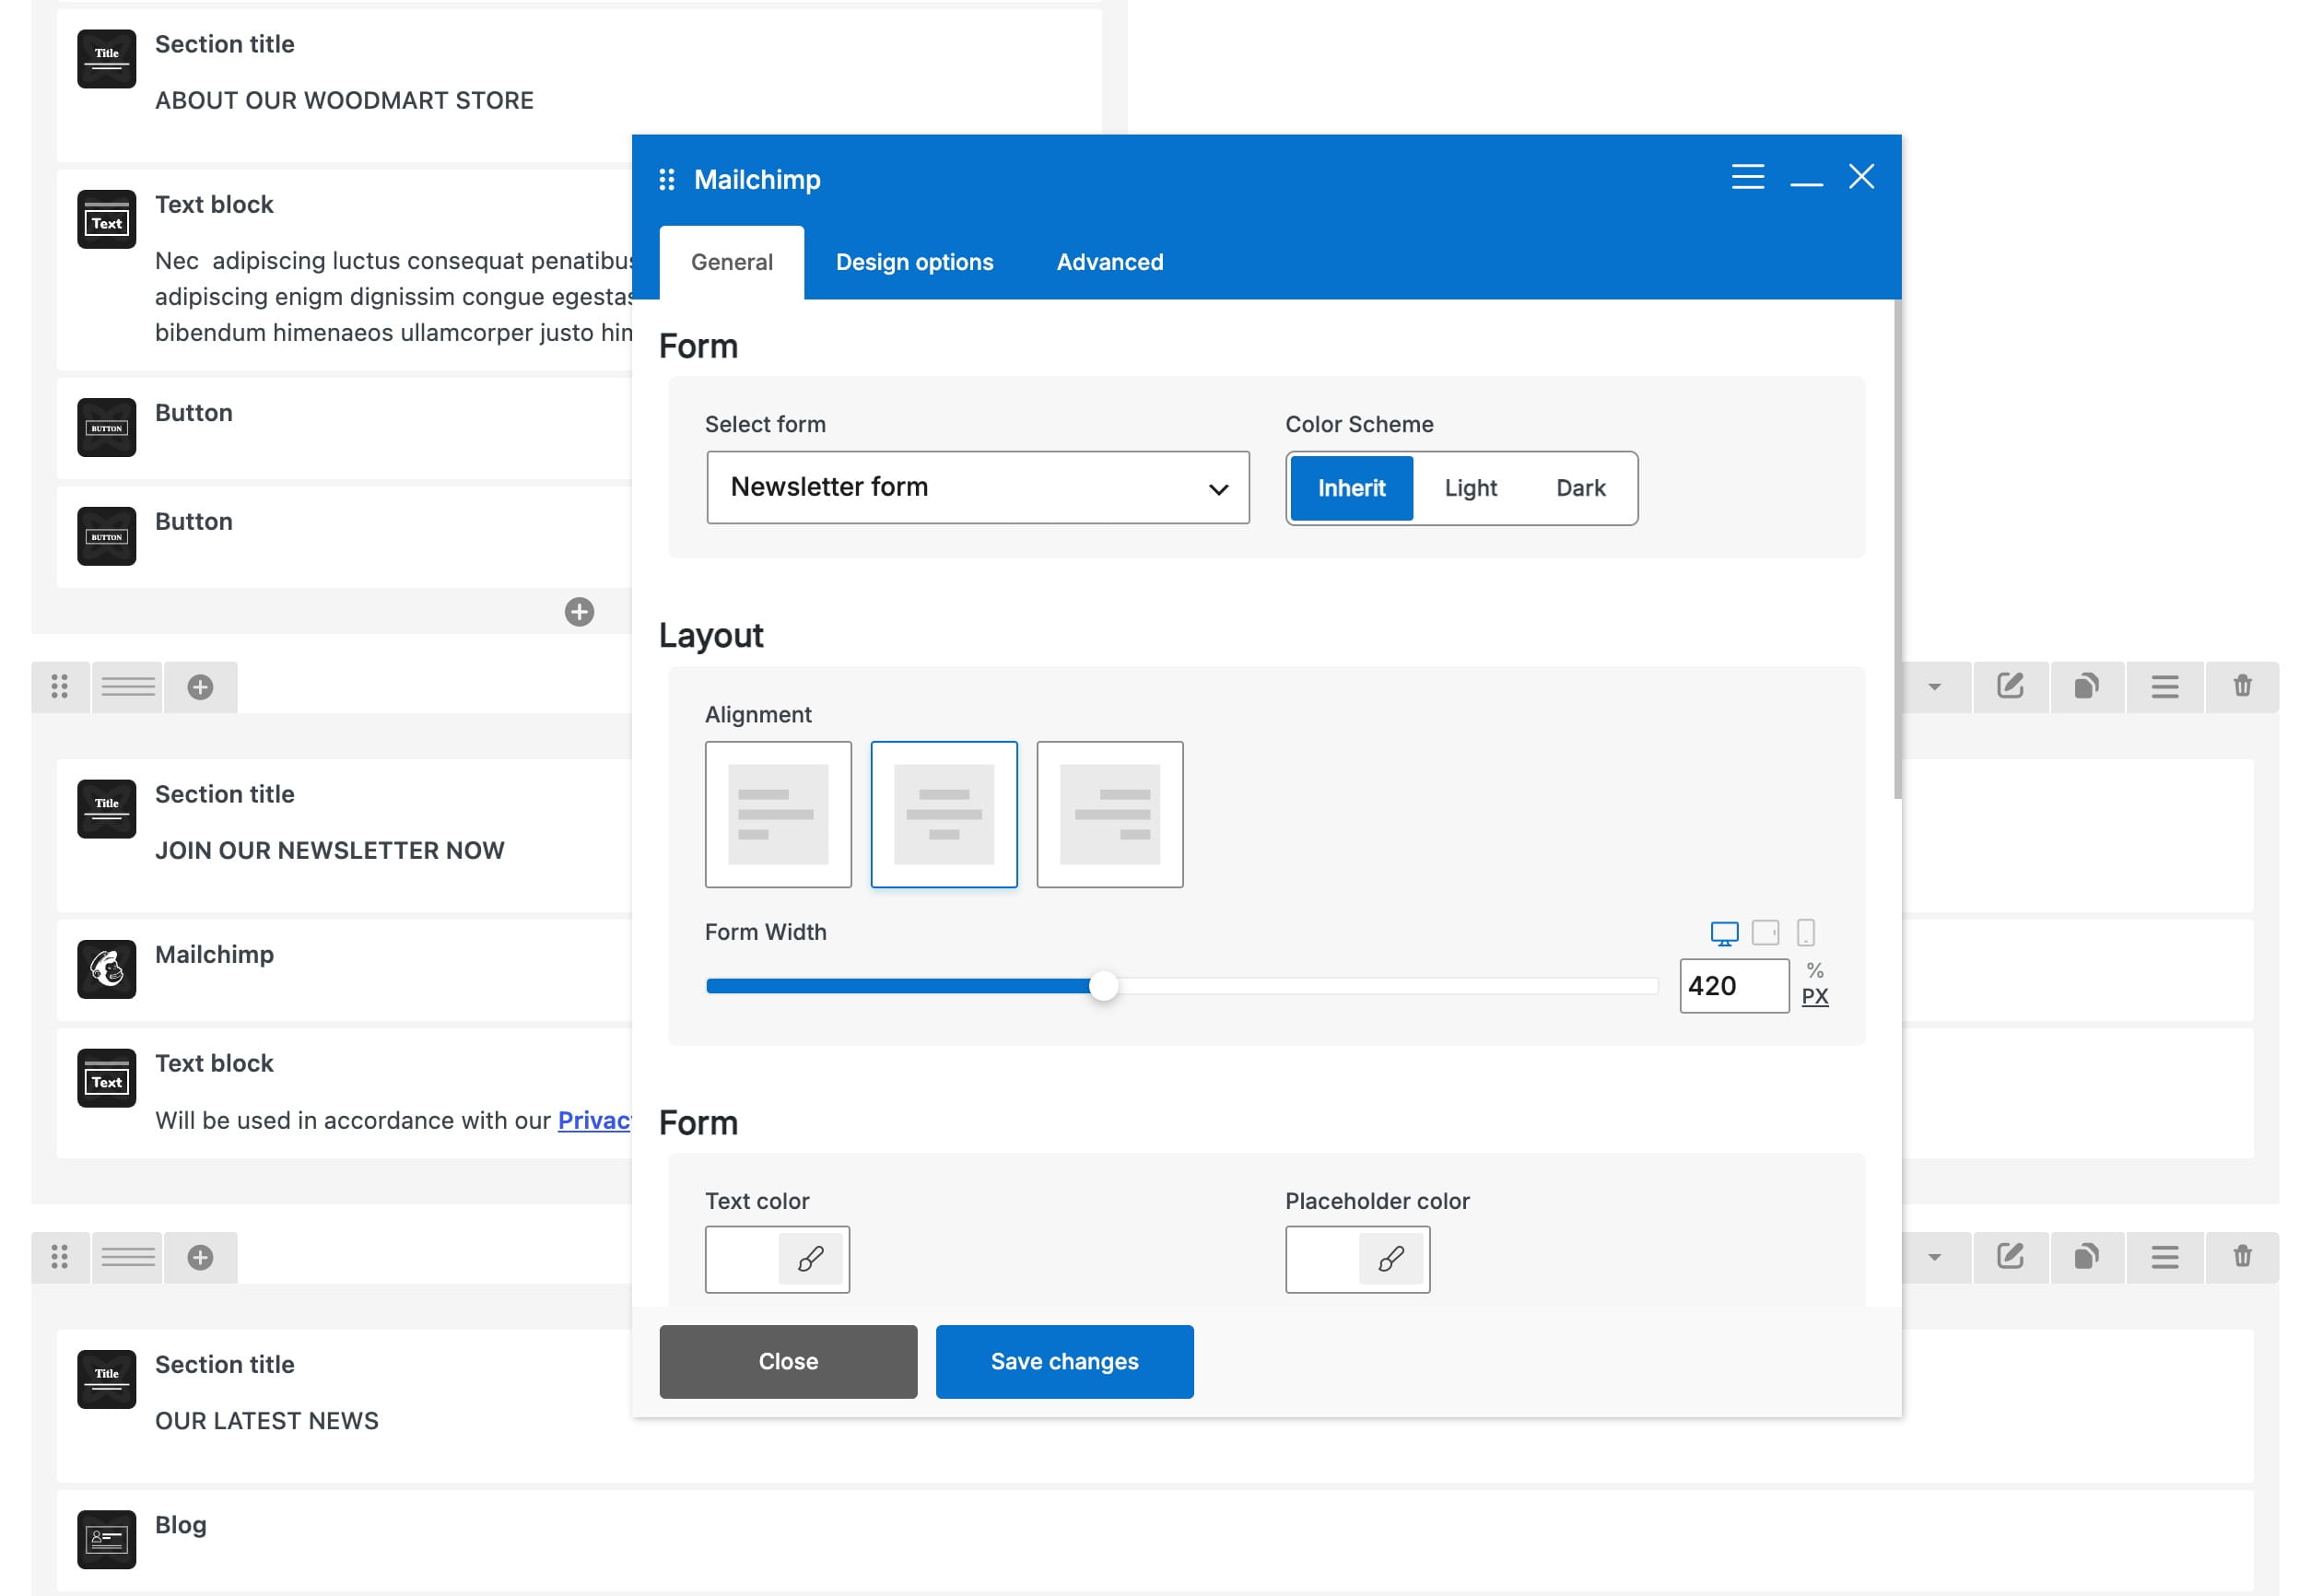
- WPBakery: add the Mailchimp element and select the form.
- Widget areas: add the WOODMART Mailchimp widget and select the form.
You can also display the form in a location that accepts shortcodes by using [mc4wp_form id="123"]. Replace 123 with the actual form ID.
The available WoodMart element settings let you adjust the form alignment, width, color scheme, and other design options. Configure form fields, audiences, messages, and subscription behavior in MC4WP.
Don’t miss WoodMart updates
Receive feature updates, tutorials, and WoodMart news via email.
 Last updated: September 8, 2026