
Custom tabs
Custom tabs let you add reusable content tabs to WooCommerce product pages and control which products display each tab. Their position among the Description, Additional information, Reviews, and other product tabs is determined by the tab priority.
Enable custom tabs
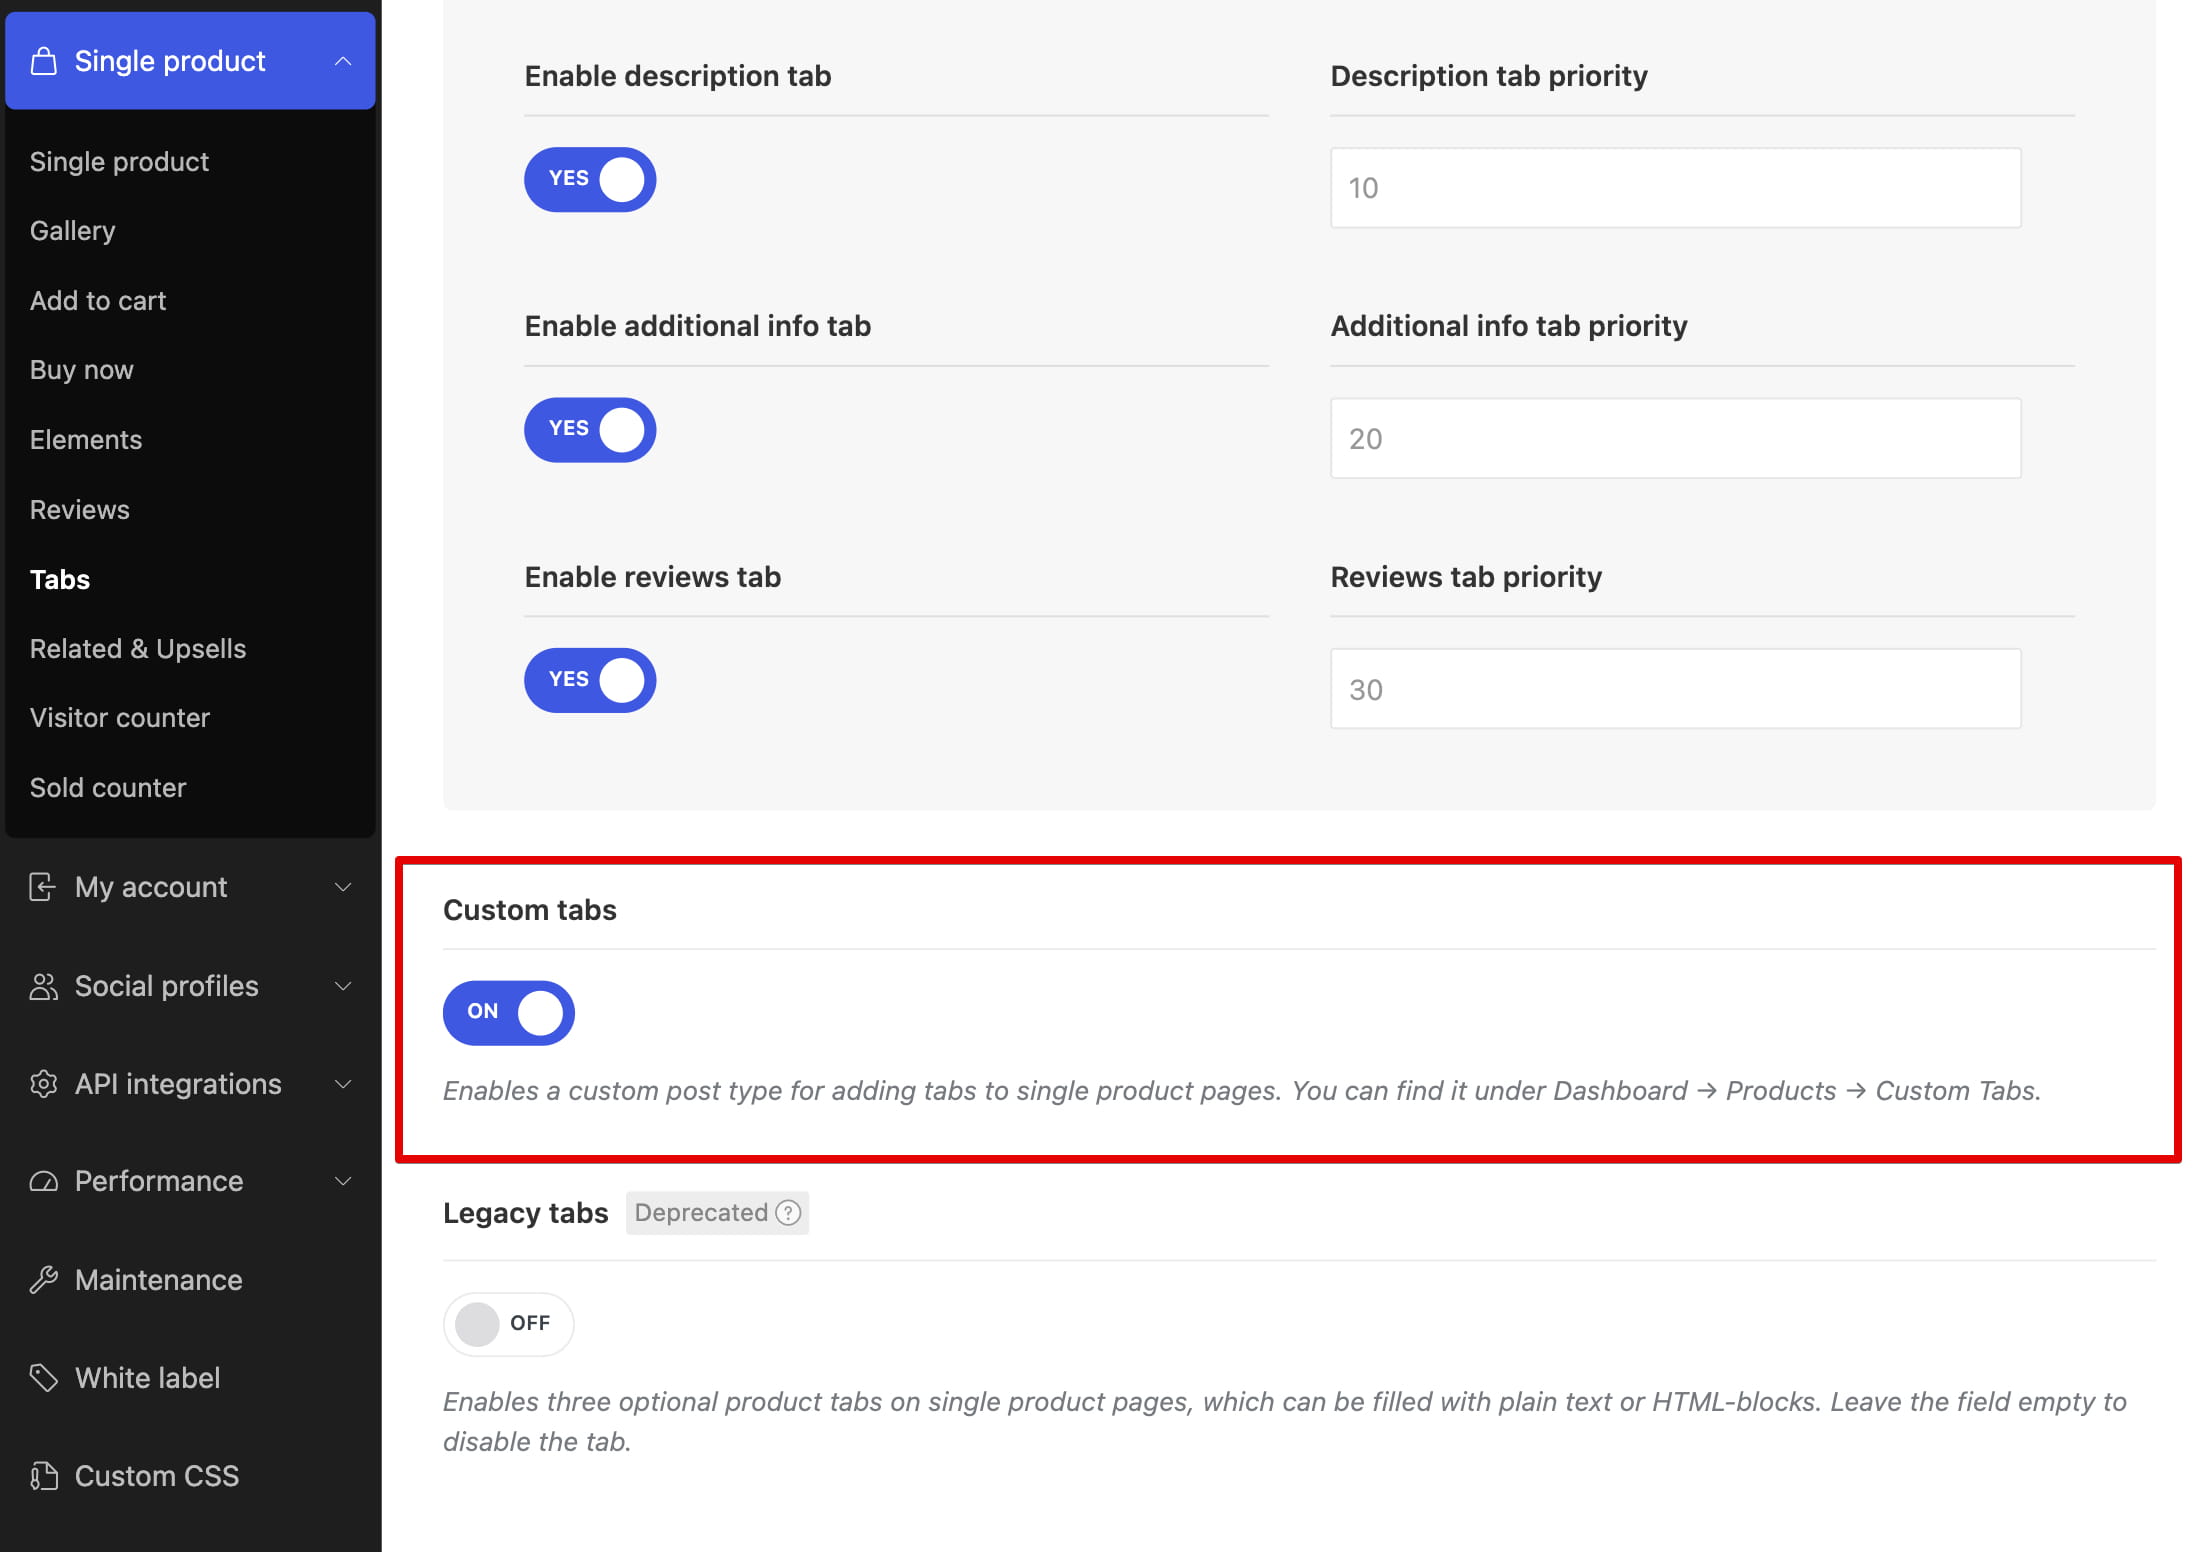
Navigate to Dashboard -> Theme Settings -> Single product -> Custom tabs, enable Custom tabs, and save the Theme Settings.
Create a custom tab
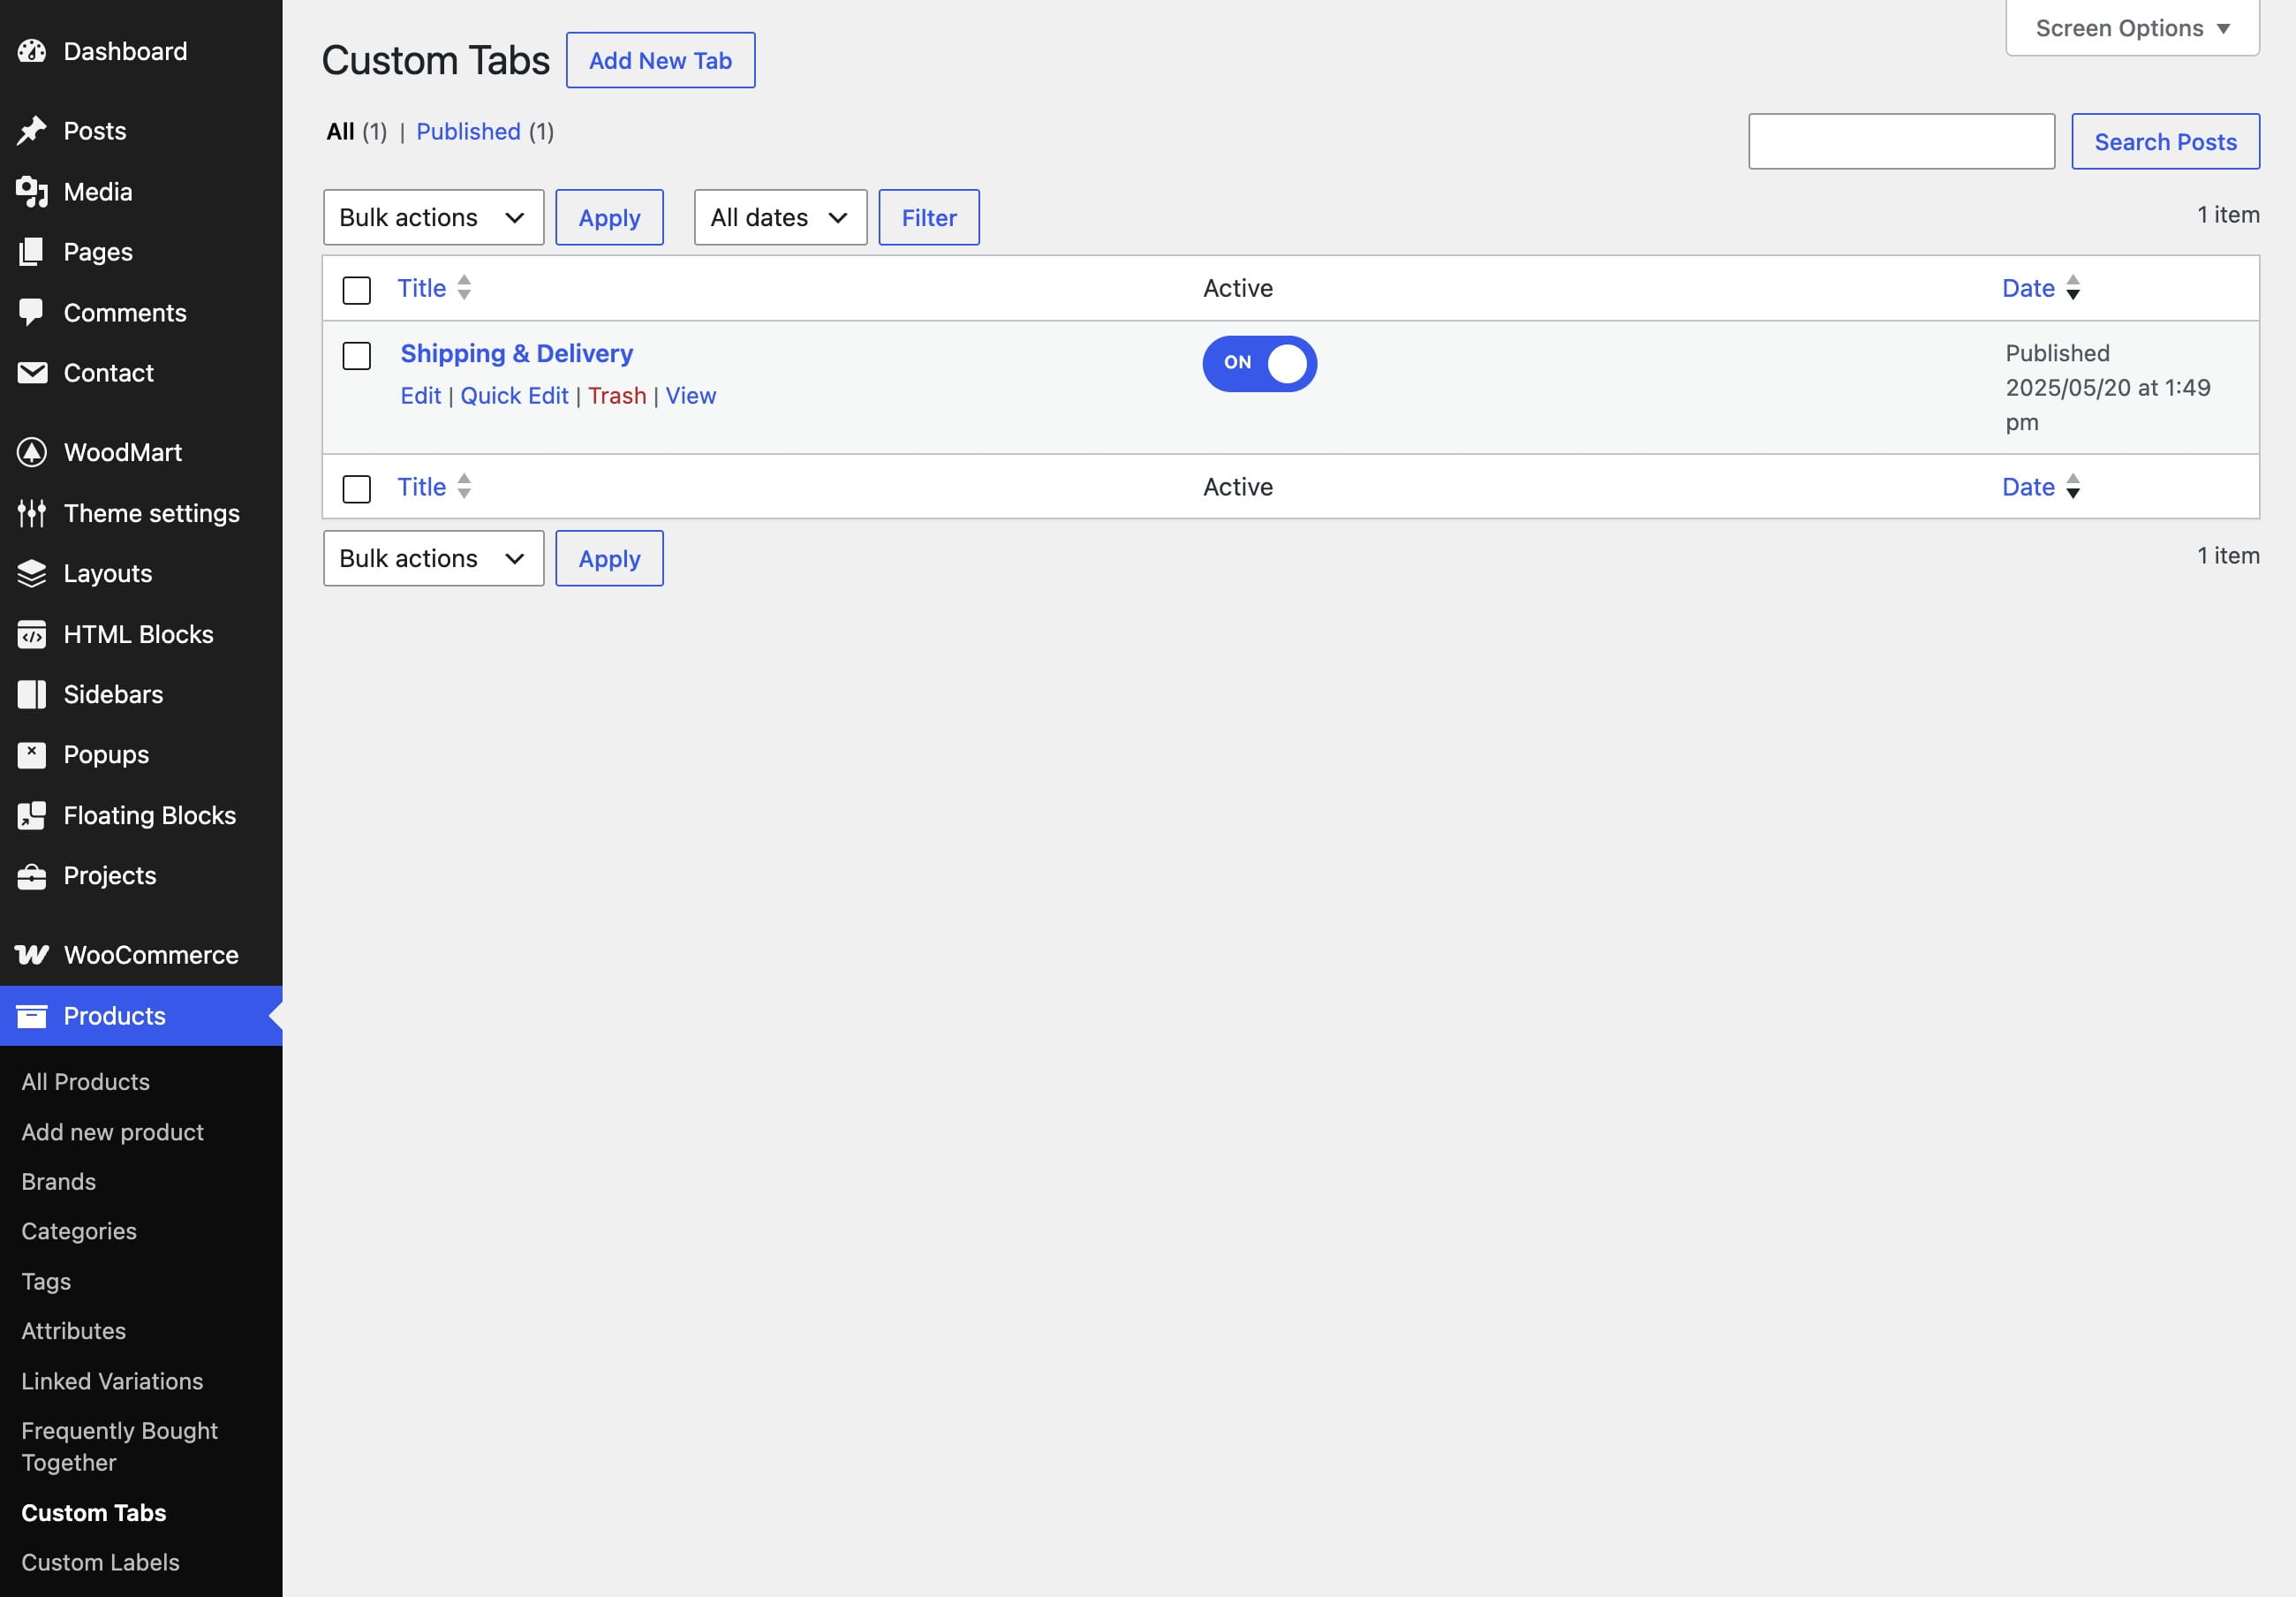
After enabling the feature, navigate to Dashboard -> Products -> Custom Tabs. This screen lists the custom tabs available on your website.
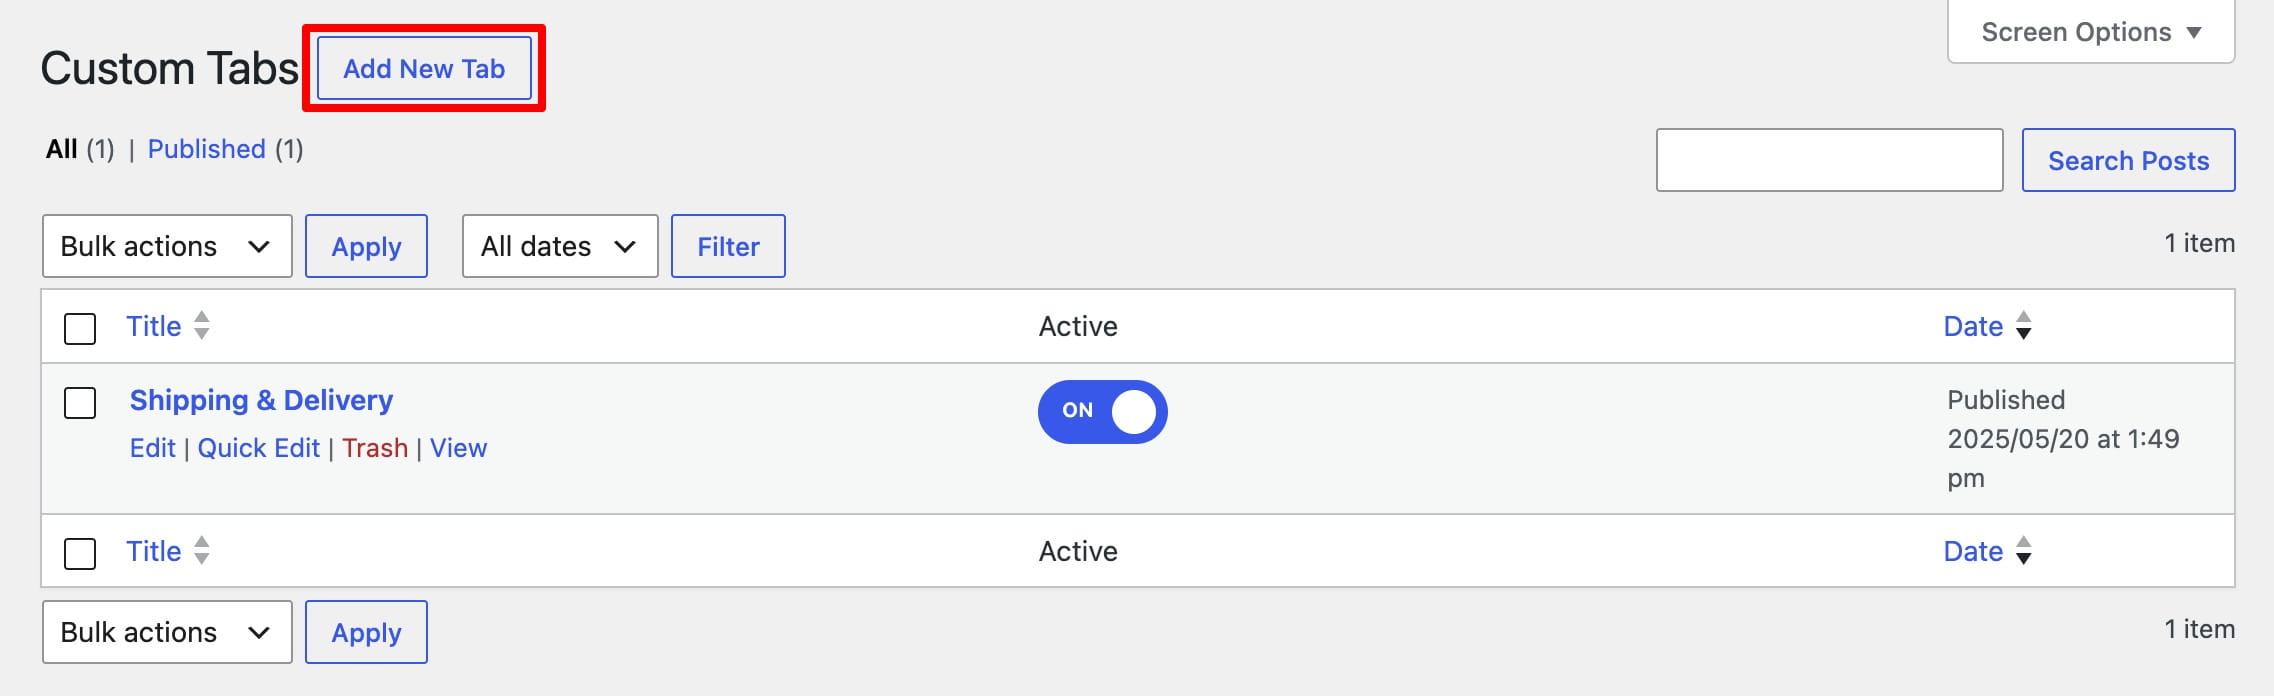
Click Add new tab, enter a title for the new item, and publish it. You can create multiple tabs and display each one on different groups of products.
Configure the tab
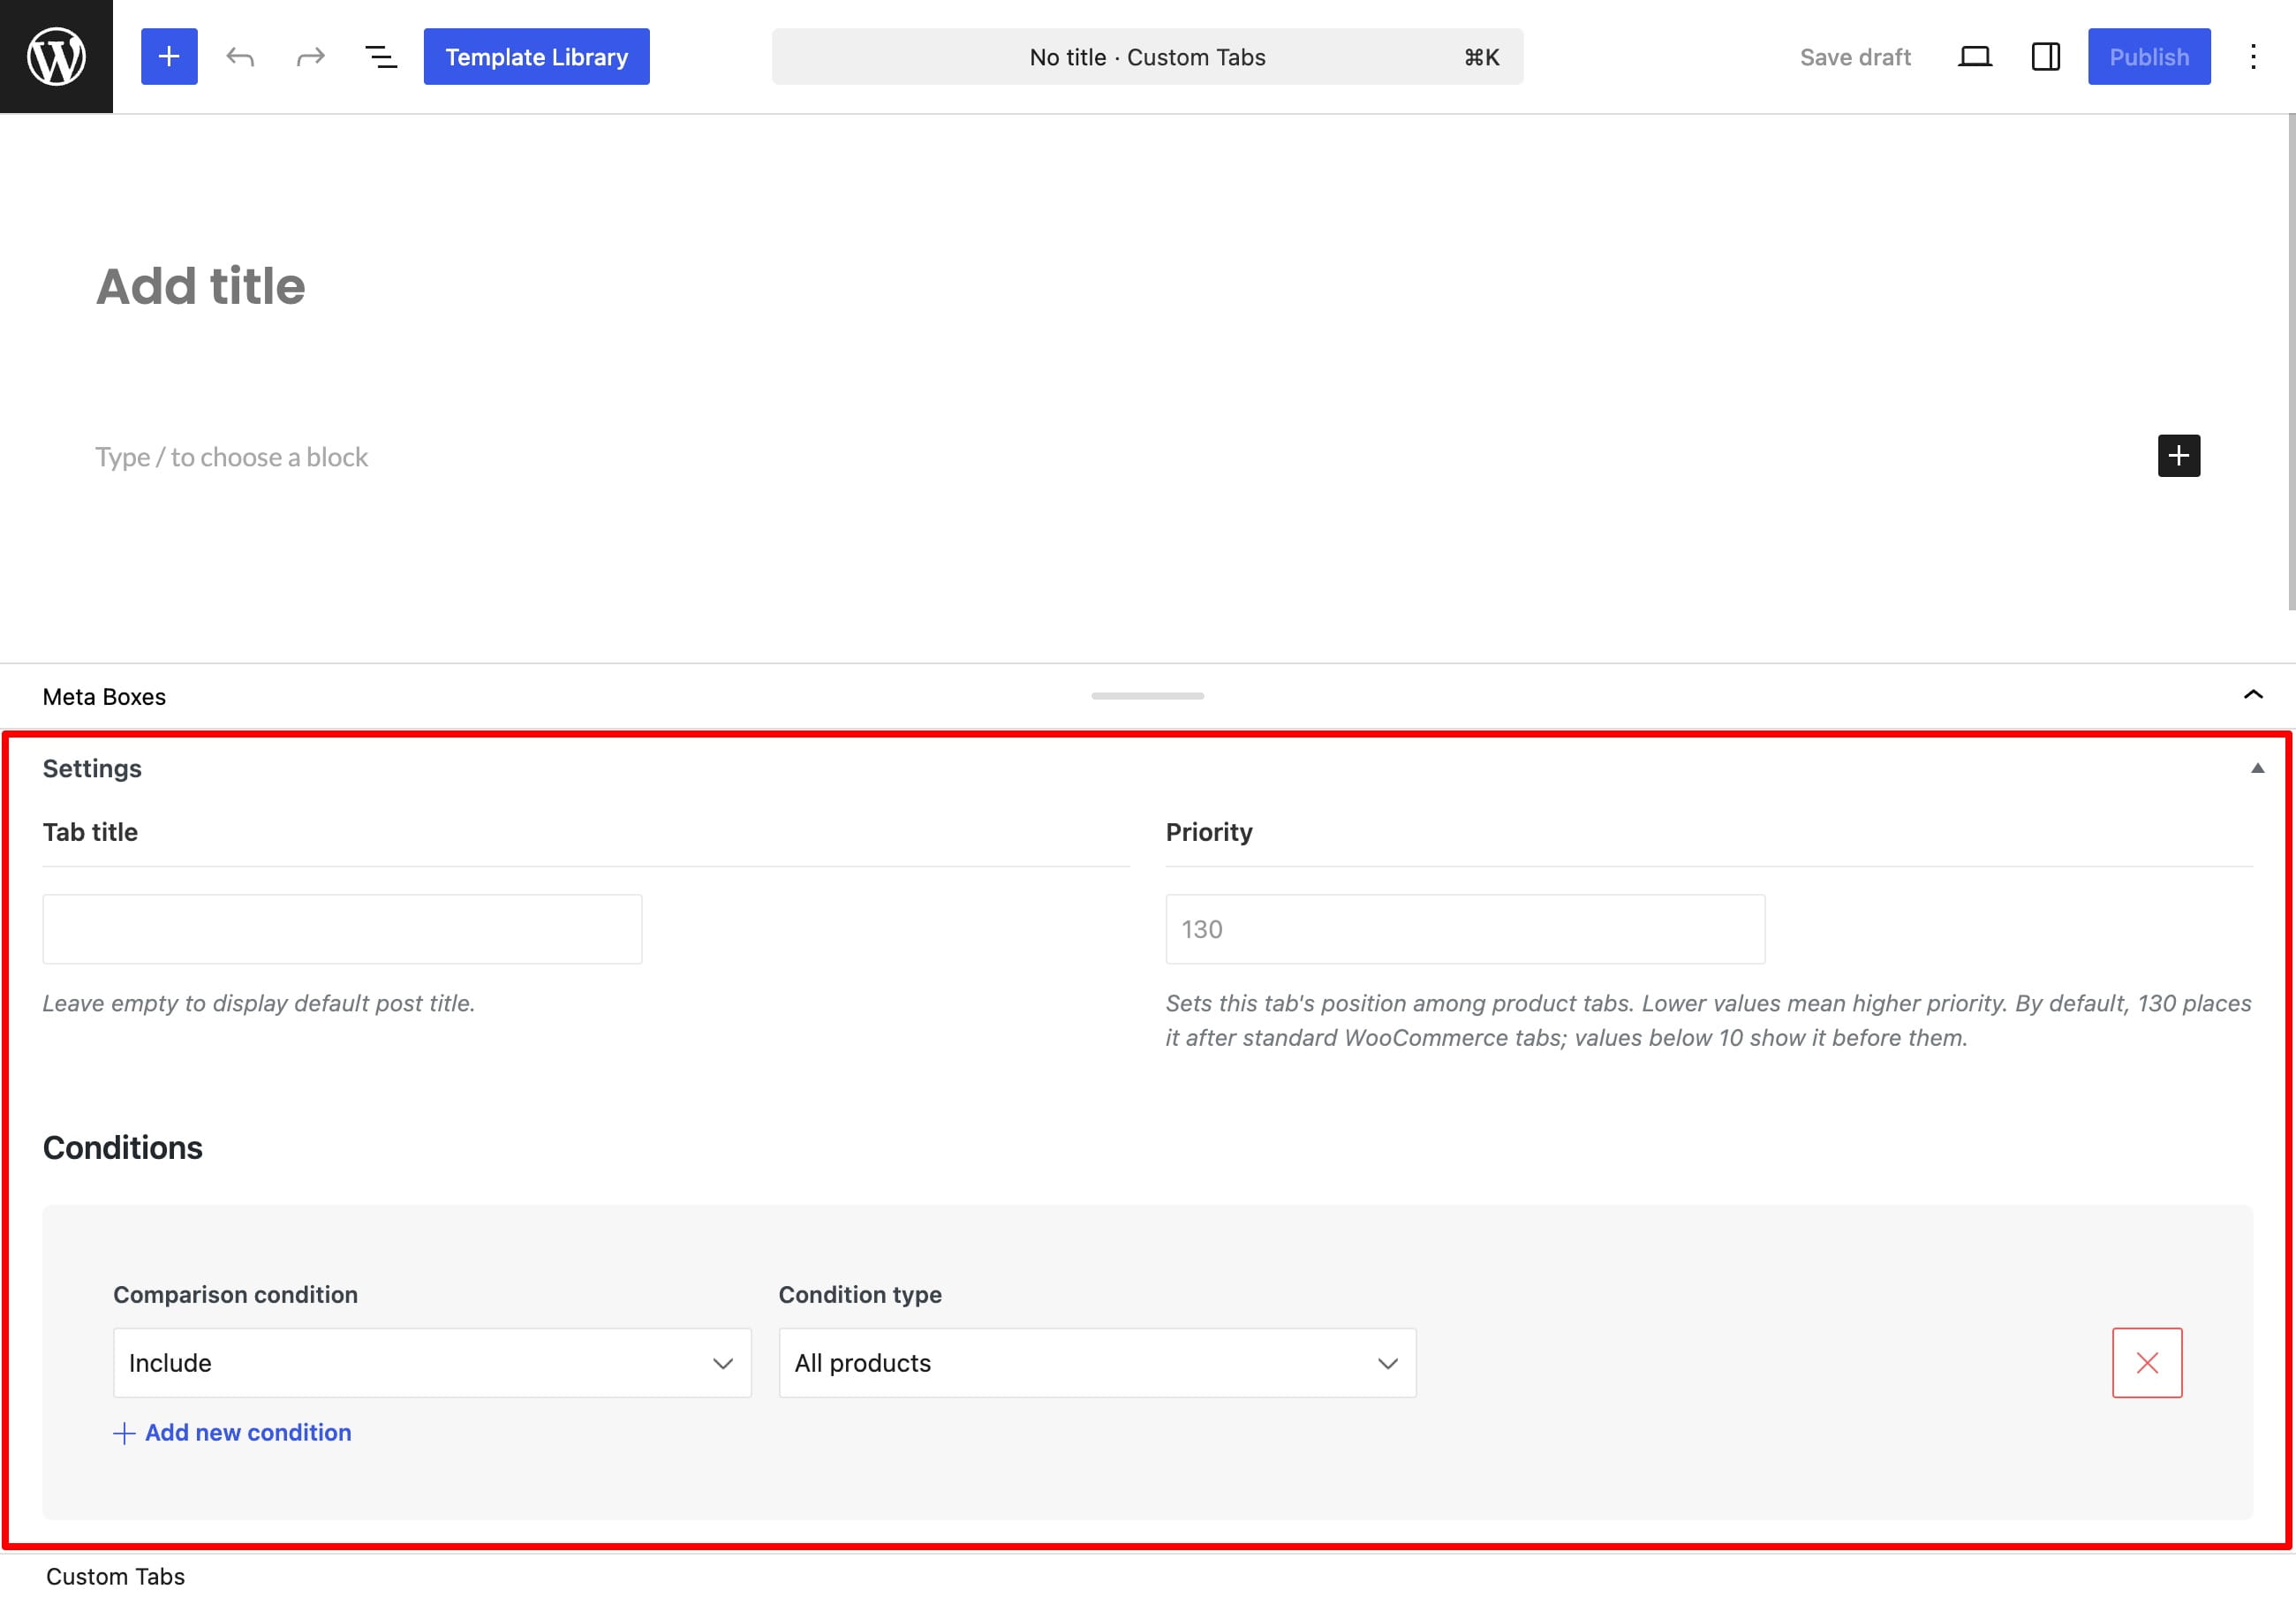
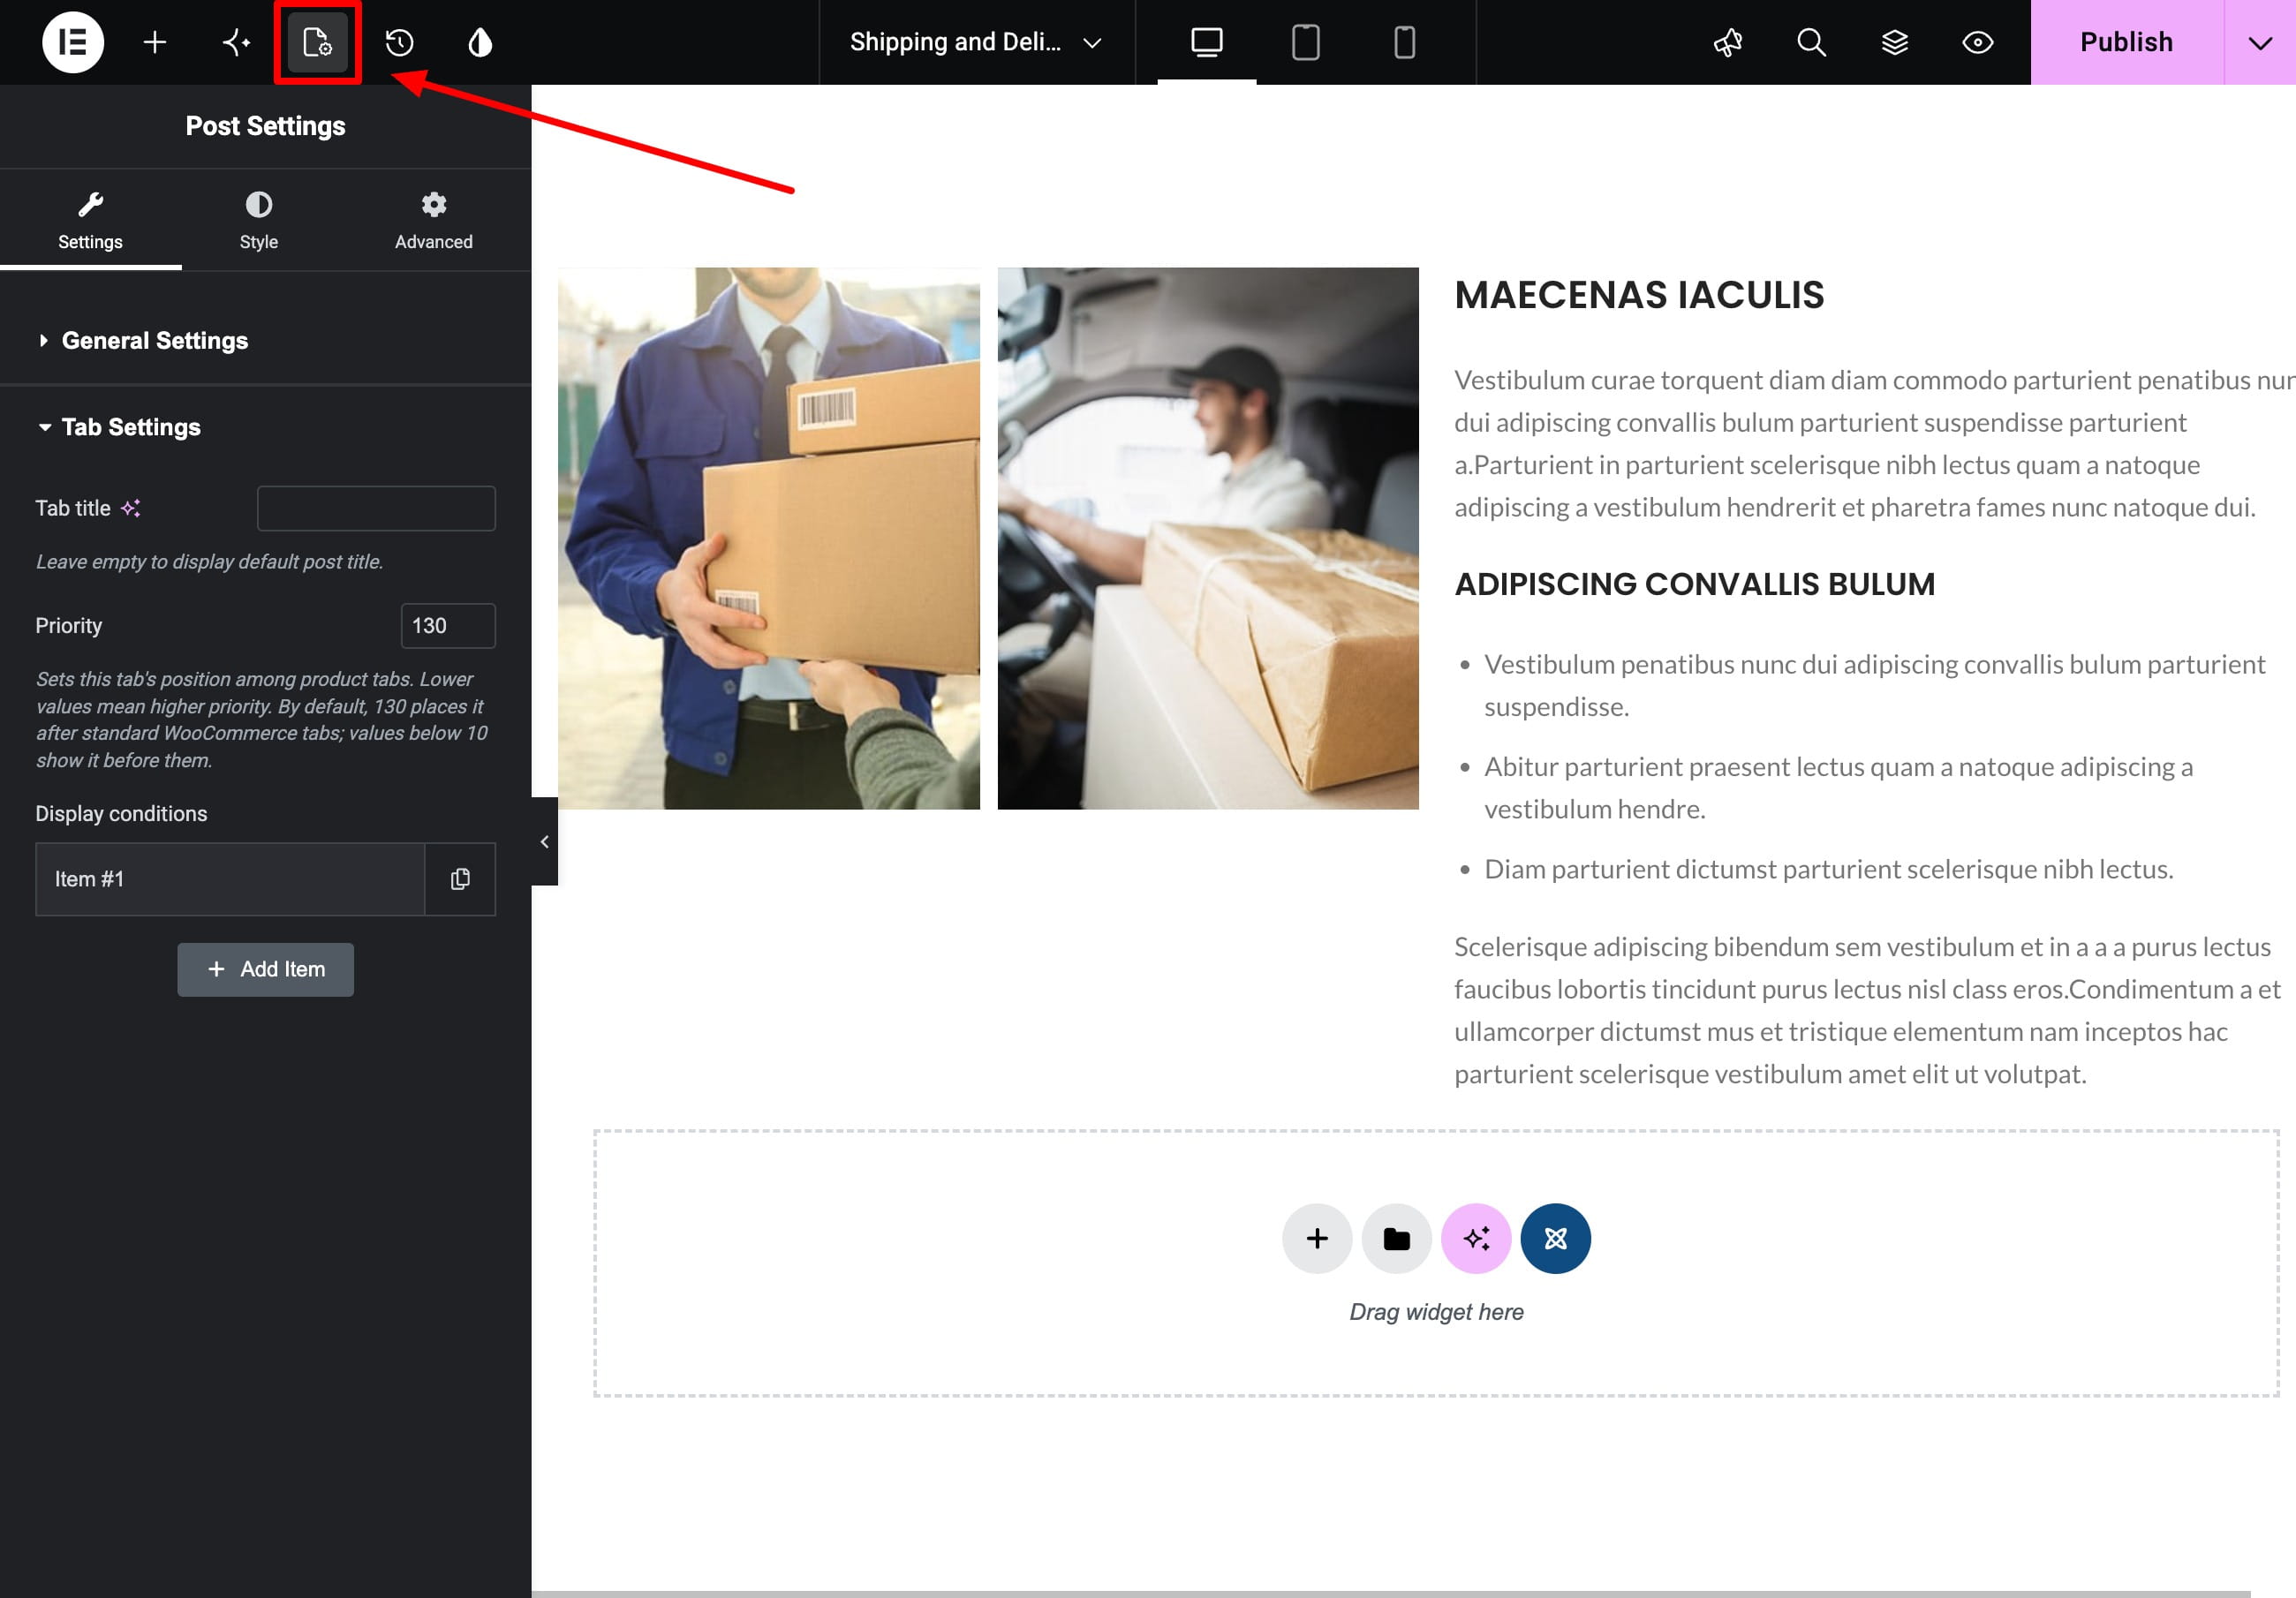
Use the tab settings to configure its label, position, and display conditions:
- Tab title — overrides the item title displayed on the product page. Leave it empty to use the title entered for the custom tab.
- Priority — determines the tab position. Lower values display the tab earlier. The default value of
130places it after the standard WooCommerce tabs, while values below10place it before them. - Conditions — determine which products display the tab. You can include or exclude all products, individual products, categories and their child categories, tags, attributes, product types, shipping classes, and brands.
Add tab content
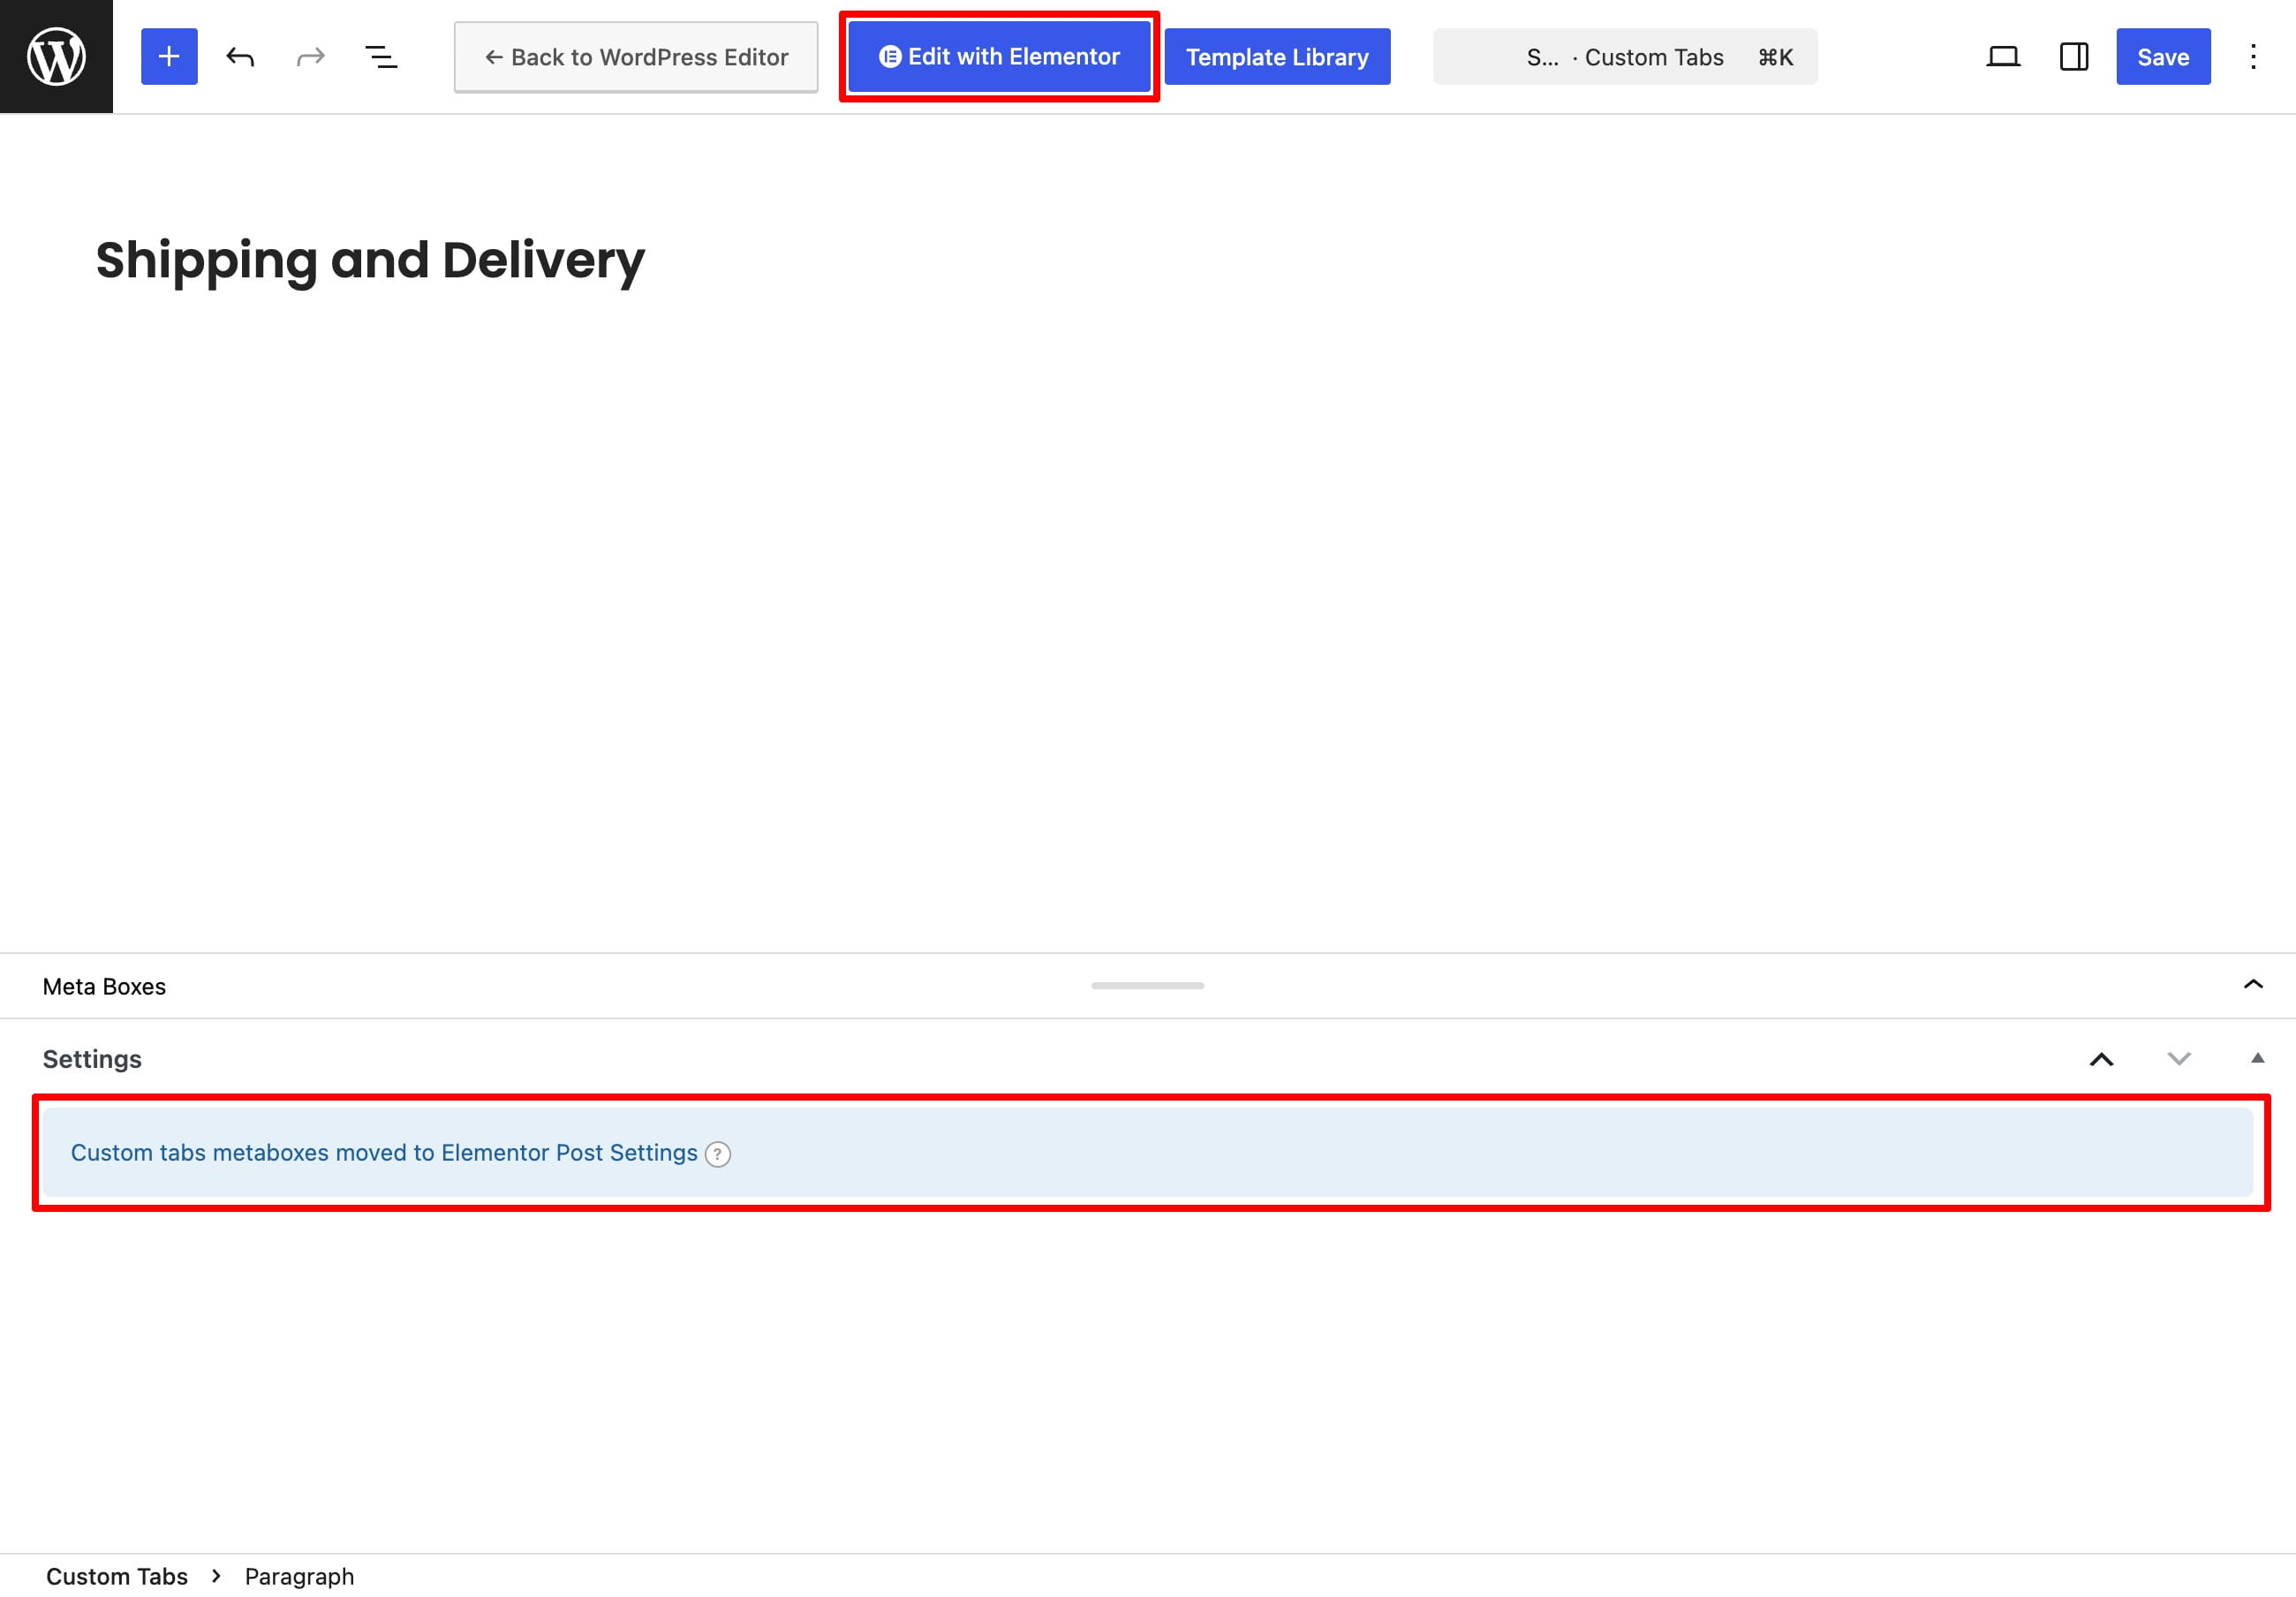
Add the required content with your active page builder, then publish or update the tab. When a tab is built with Elementor, its title, priority, and display conditions are available in Elementor Post Settings.
Legacy tabs
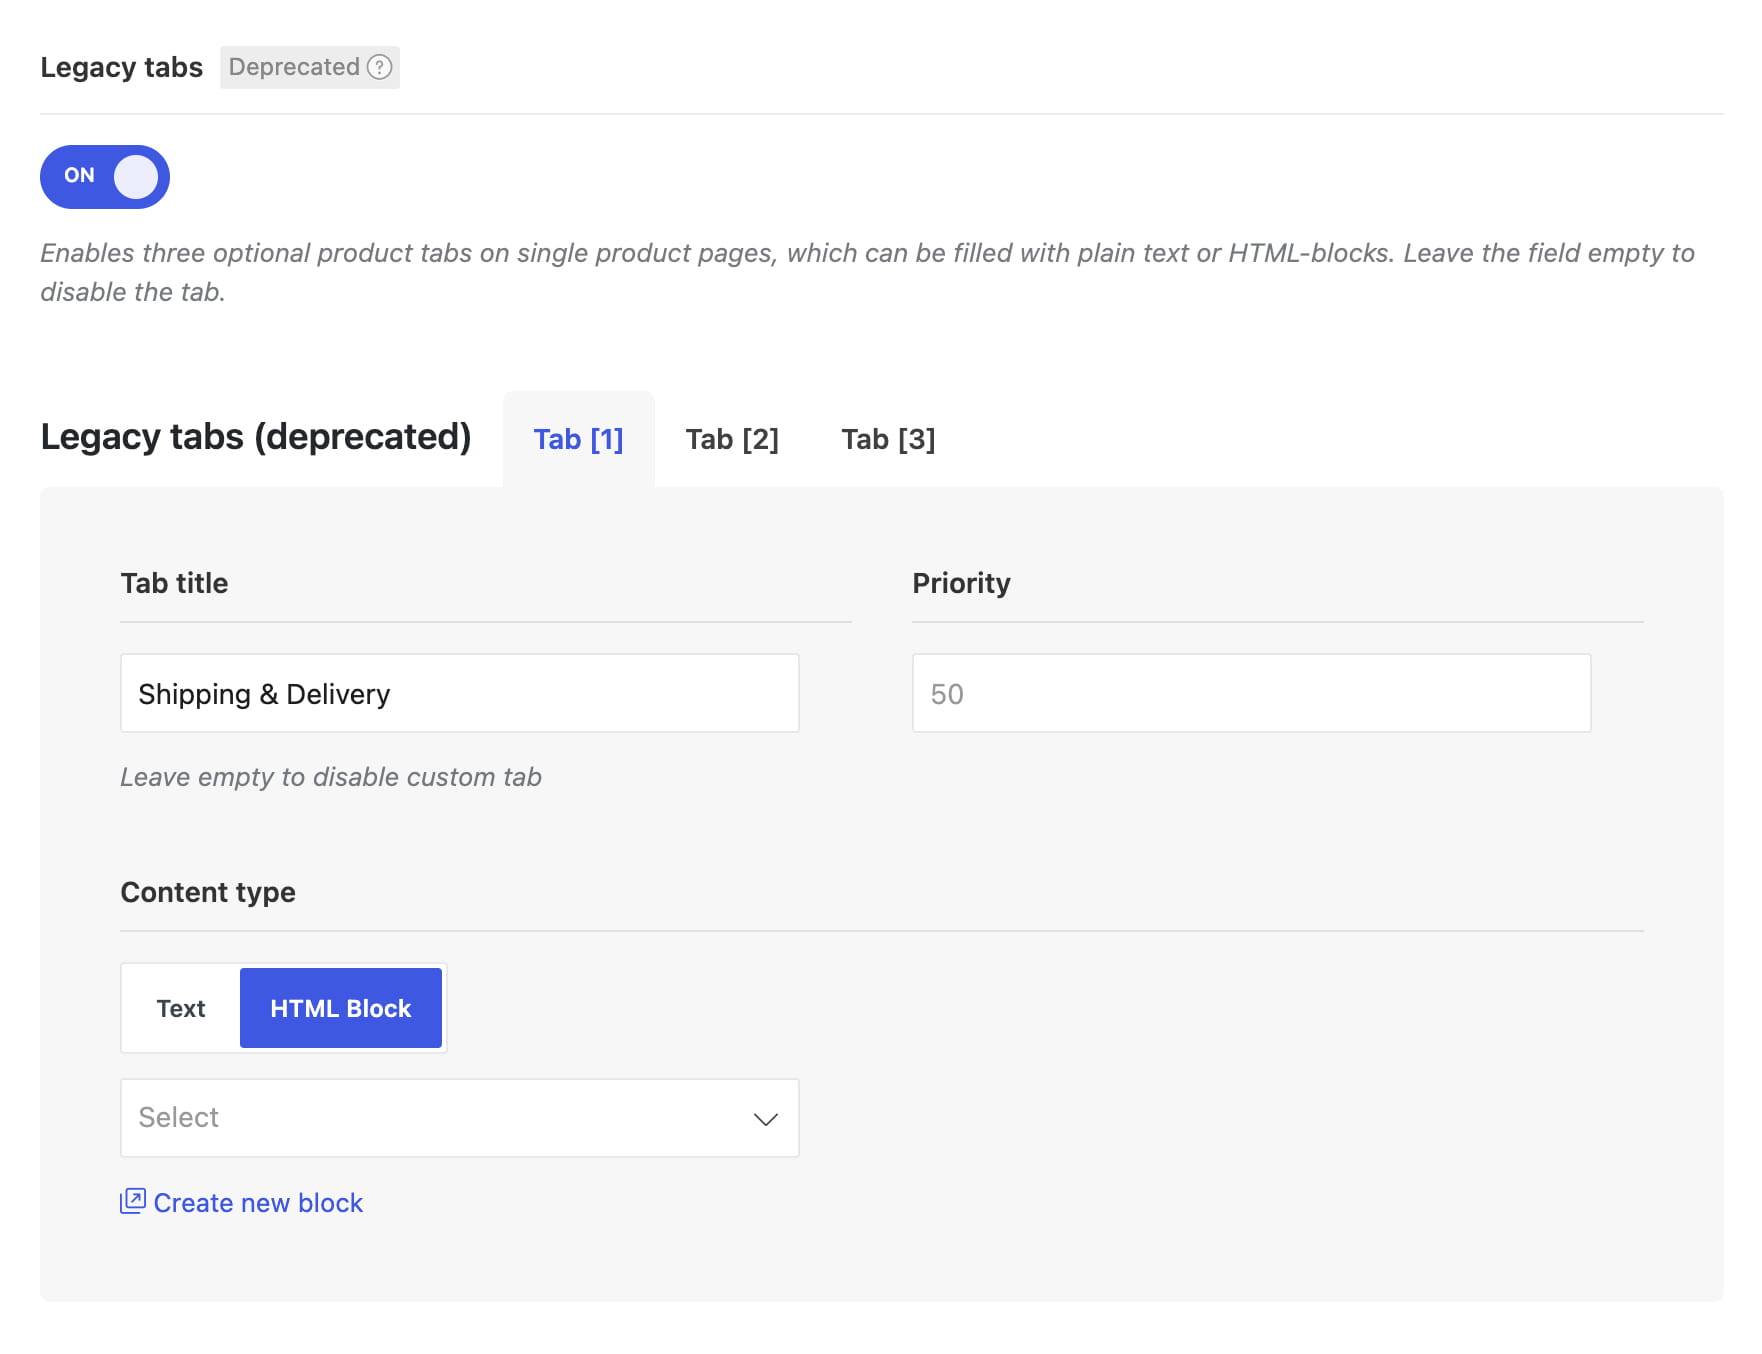
Existing legacy tabs can be managed in Dashboard -> Theme Settings -> Single product -> Tabs.
Don’t miss WoodMart updates
Receive feature updates, tutorials, and WoodMart news via email.
 Last updated: August 17, 2026