
Manual setup
If you skipped the automatic setup wizard, you can complete the essential WoodMart setup tasks manually from your WordPress dashboard. Before you begin, make sure that WoodMart is installed and activated and that your website meets the theme requirements.
Step 1: Activate your license
Navigate to Dashboard -> WoodMart -> Theme License, enter your purchase code, and activate the theme. License activation enables automatic theme updates and access to other WoodMart services.
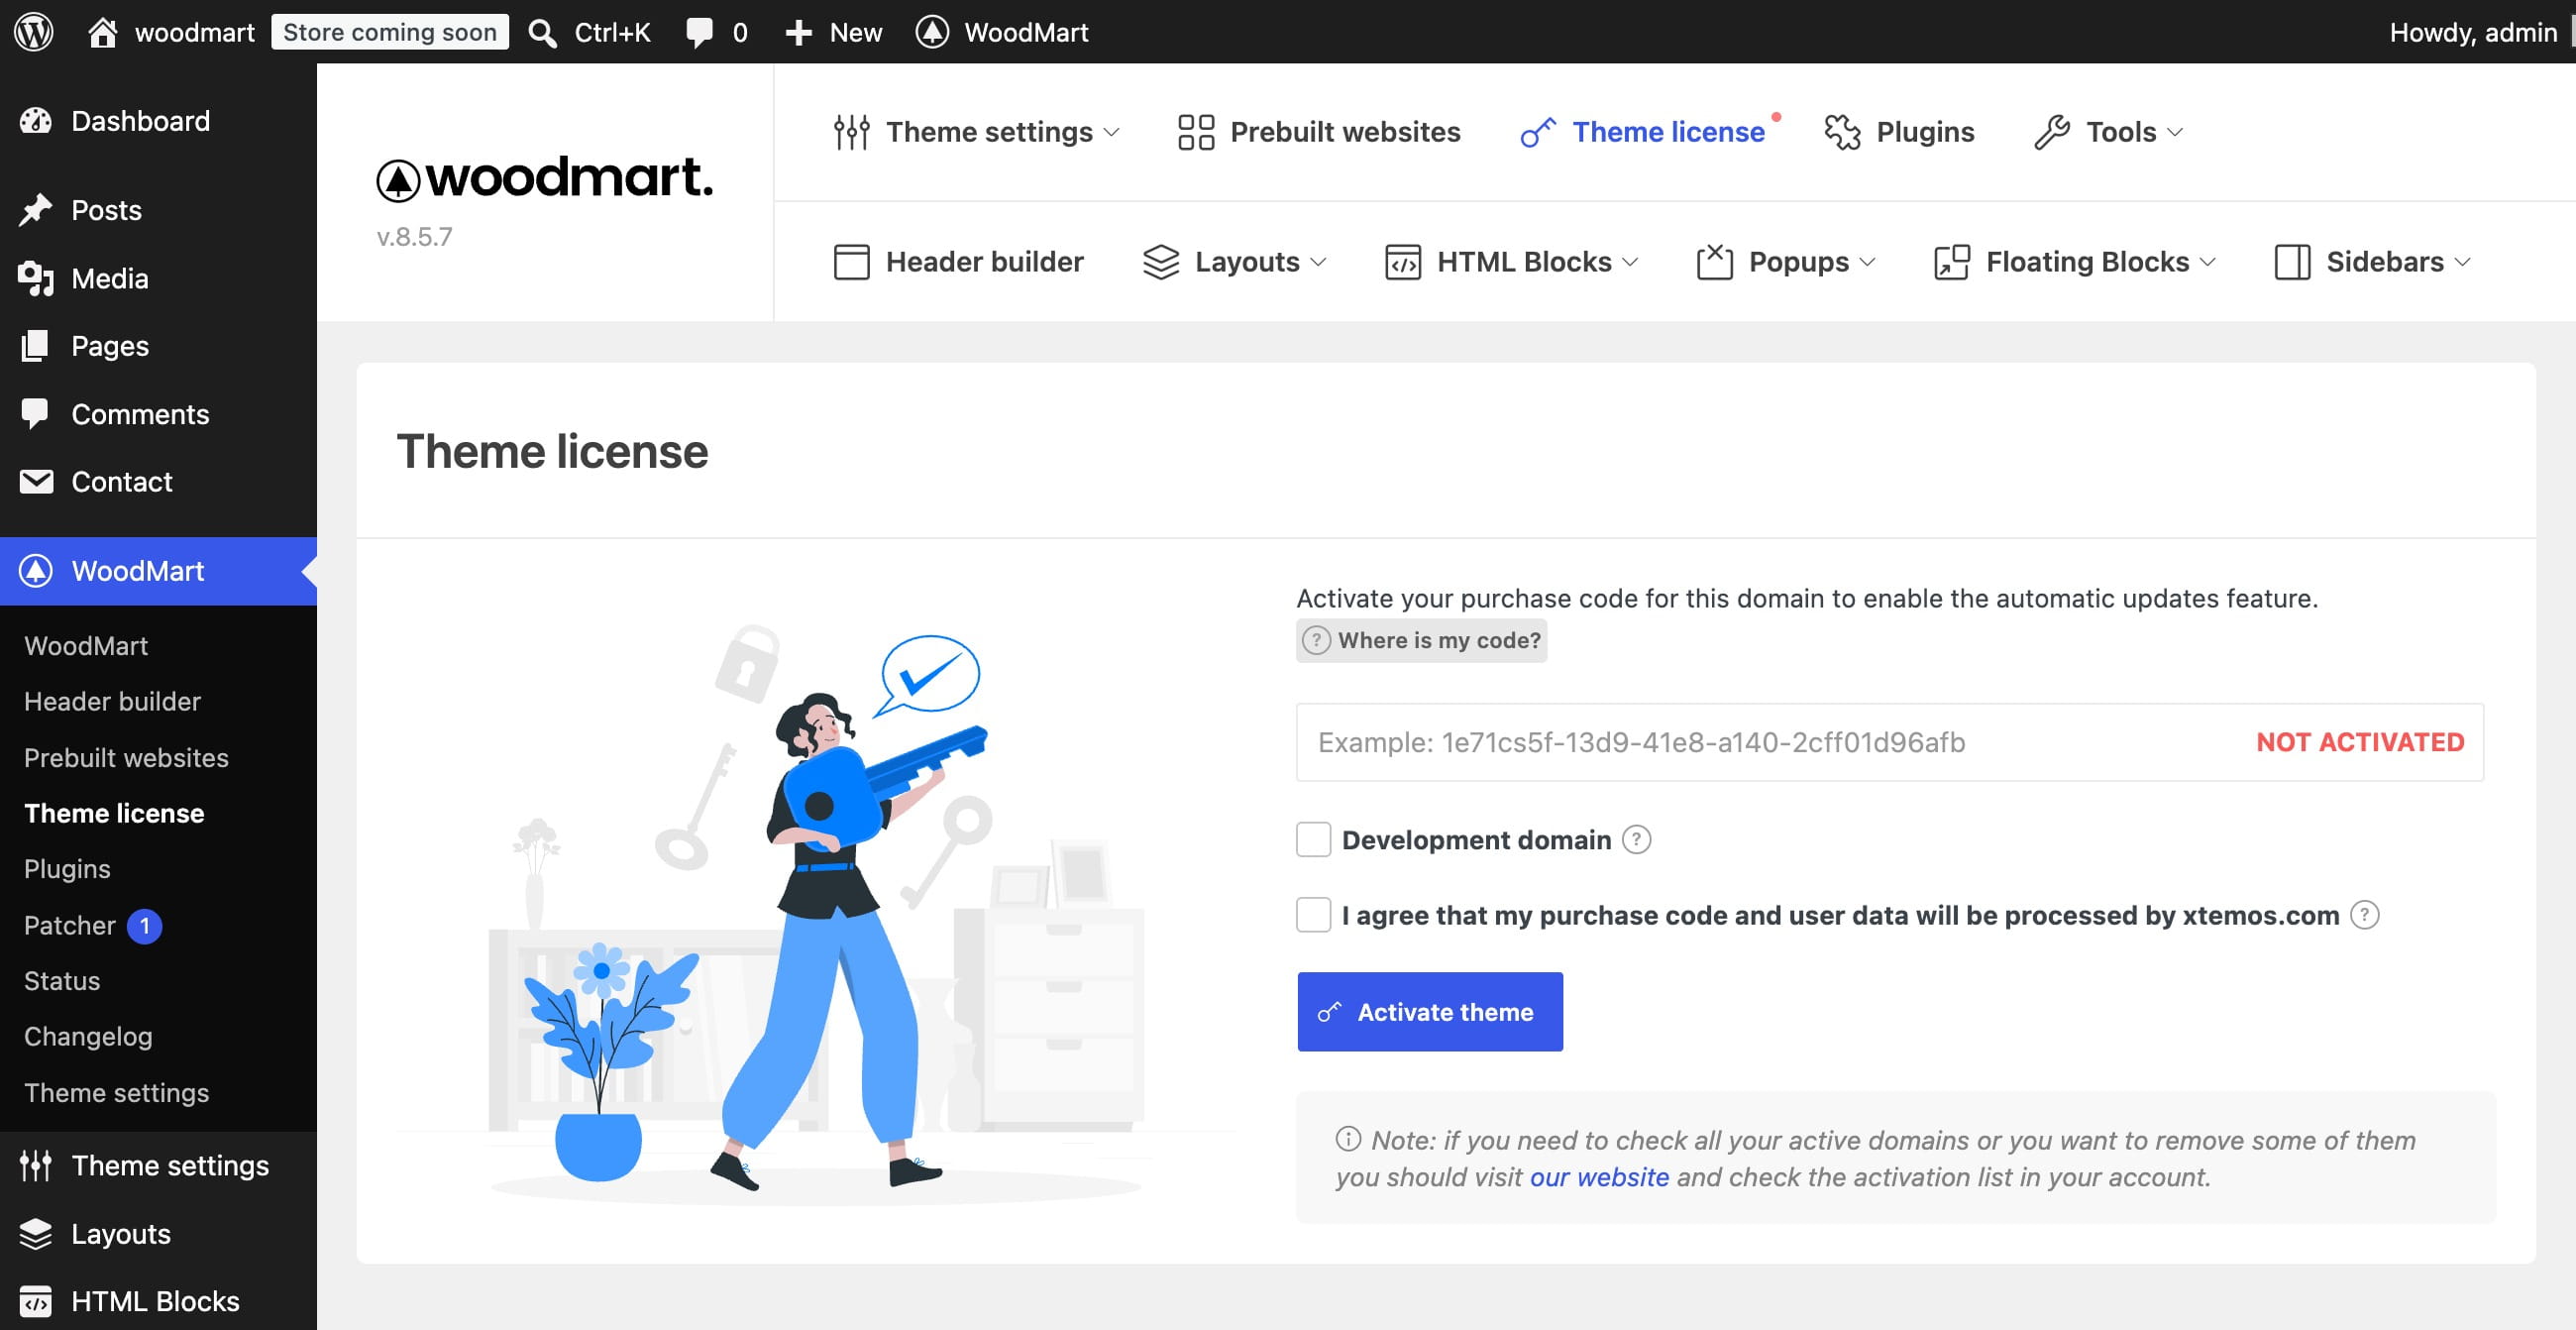
For information about purchase codes, domain activation, and license management, see our Theme license Q&A.
Step 2: Install a child theme (optional)
Install a child theme if you plan to add custom PHP code, override templates, or modify theme files. A child theme keeps these file-based customizations separate from the parent WoodMart theme so they are not lost during theme updates. You do not need a child theme for regular Theme Settings or page-builder content.
- Locate the woodmart-child.zip file in the original WoodMart package downloaded from ThemeForest, or download it here.
- Navigate to Appearance -> Themes -> Add New Theme -> Upload Theme.
- Select woodmart-child.zip and click Install Now.
- Activate the WoodMart child theme.
For more information, see our Set up the child theme guide and the official WordPress Child Themes documentation.
Step 3: Choose a page builder
Choose one page builder before importing a prebuilt website. Imported pages and layouts are created for the selected builder and are not automatically converted if you switch builders later. For a new website, install and activate only the builder you plan to use.
Elementor
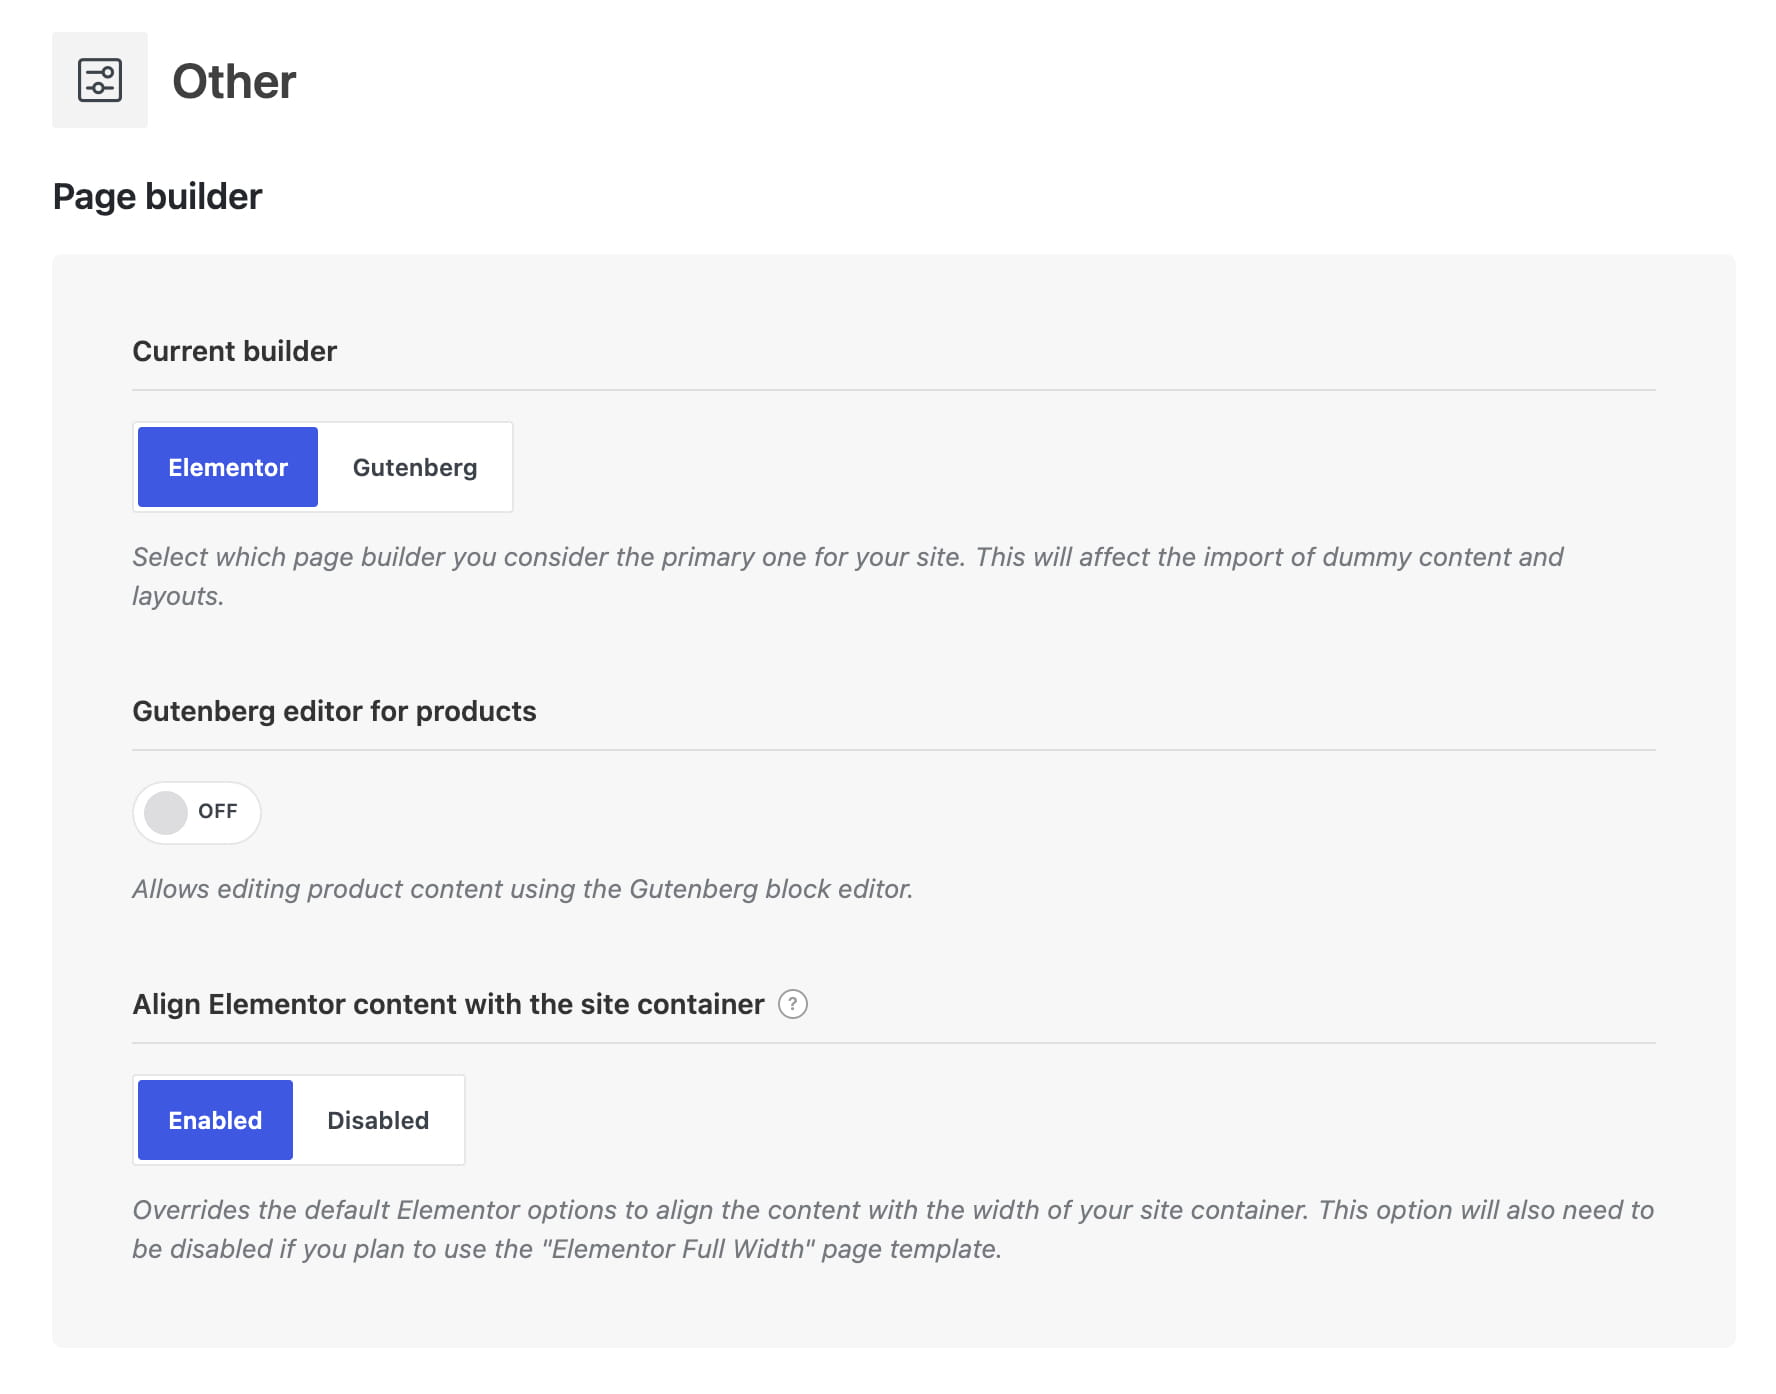
Navigate to WoodMart -> Plugins, then install and activate Elementor. Go to Theme Settings -> Other and select Elementor under Current builder.
Gutenberg
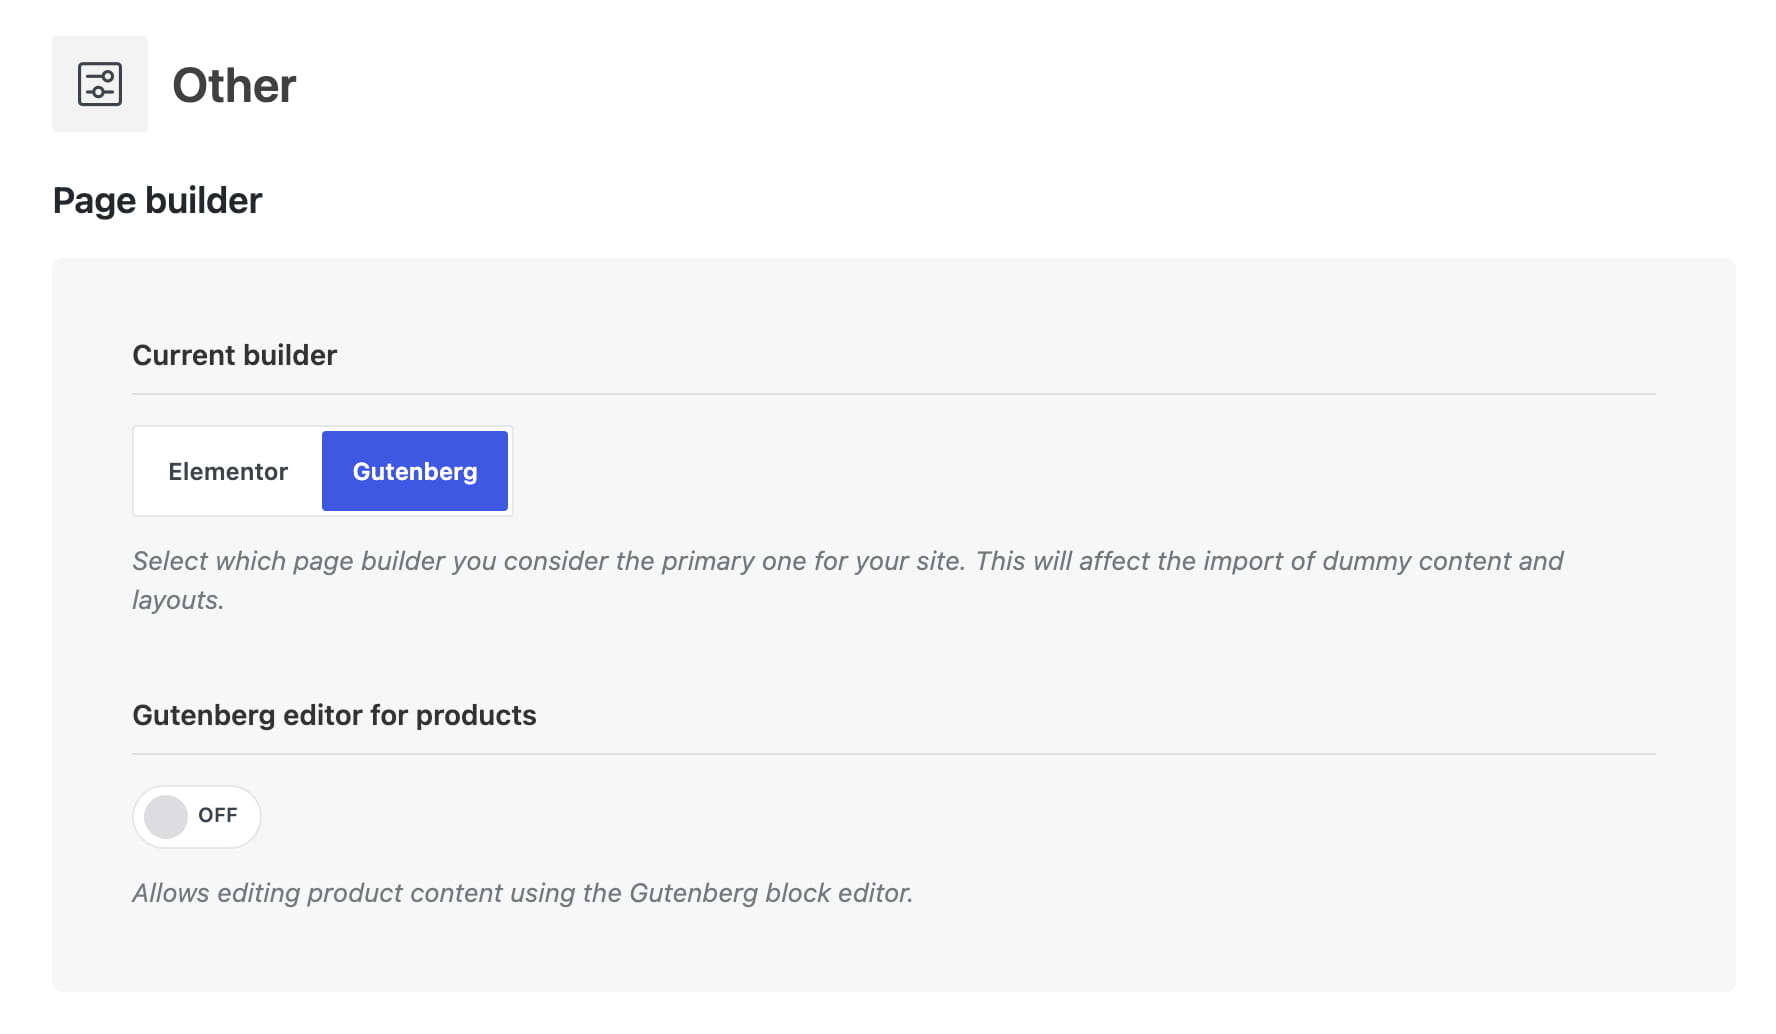
Gutenberg is included with WordPress and does not require an additional page-builder plugin. Go to Theme Settings -> Other and select Gutenberg under Current builder. Enable Gutenberg editor for products only if you want to edit product descriptions with the block editor.
WPBakery
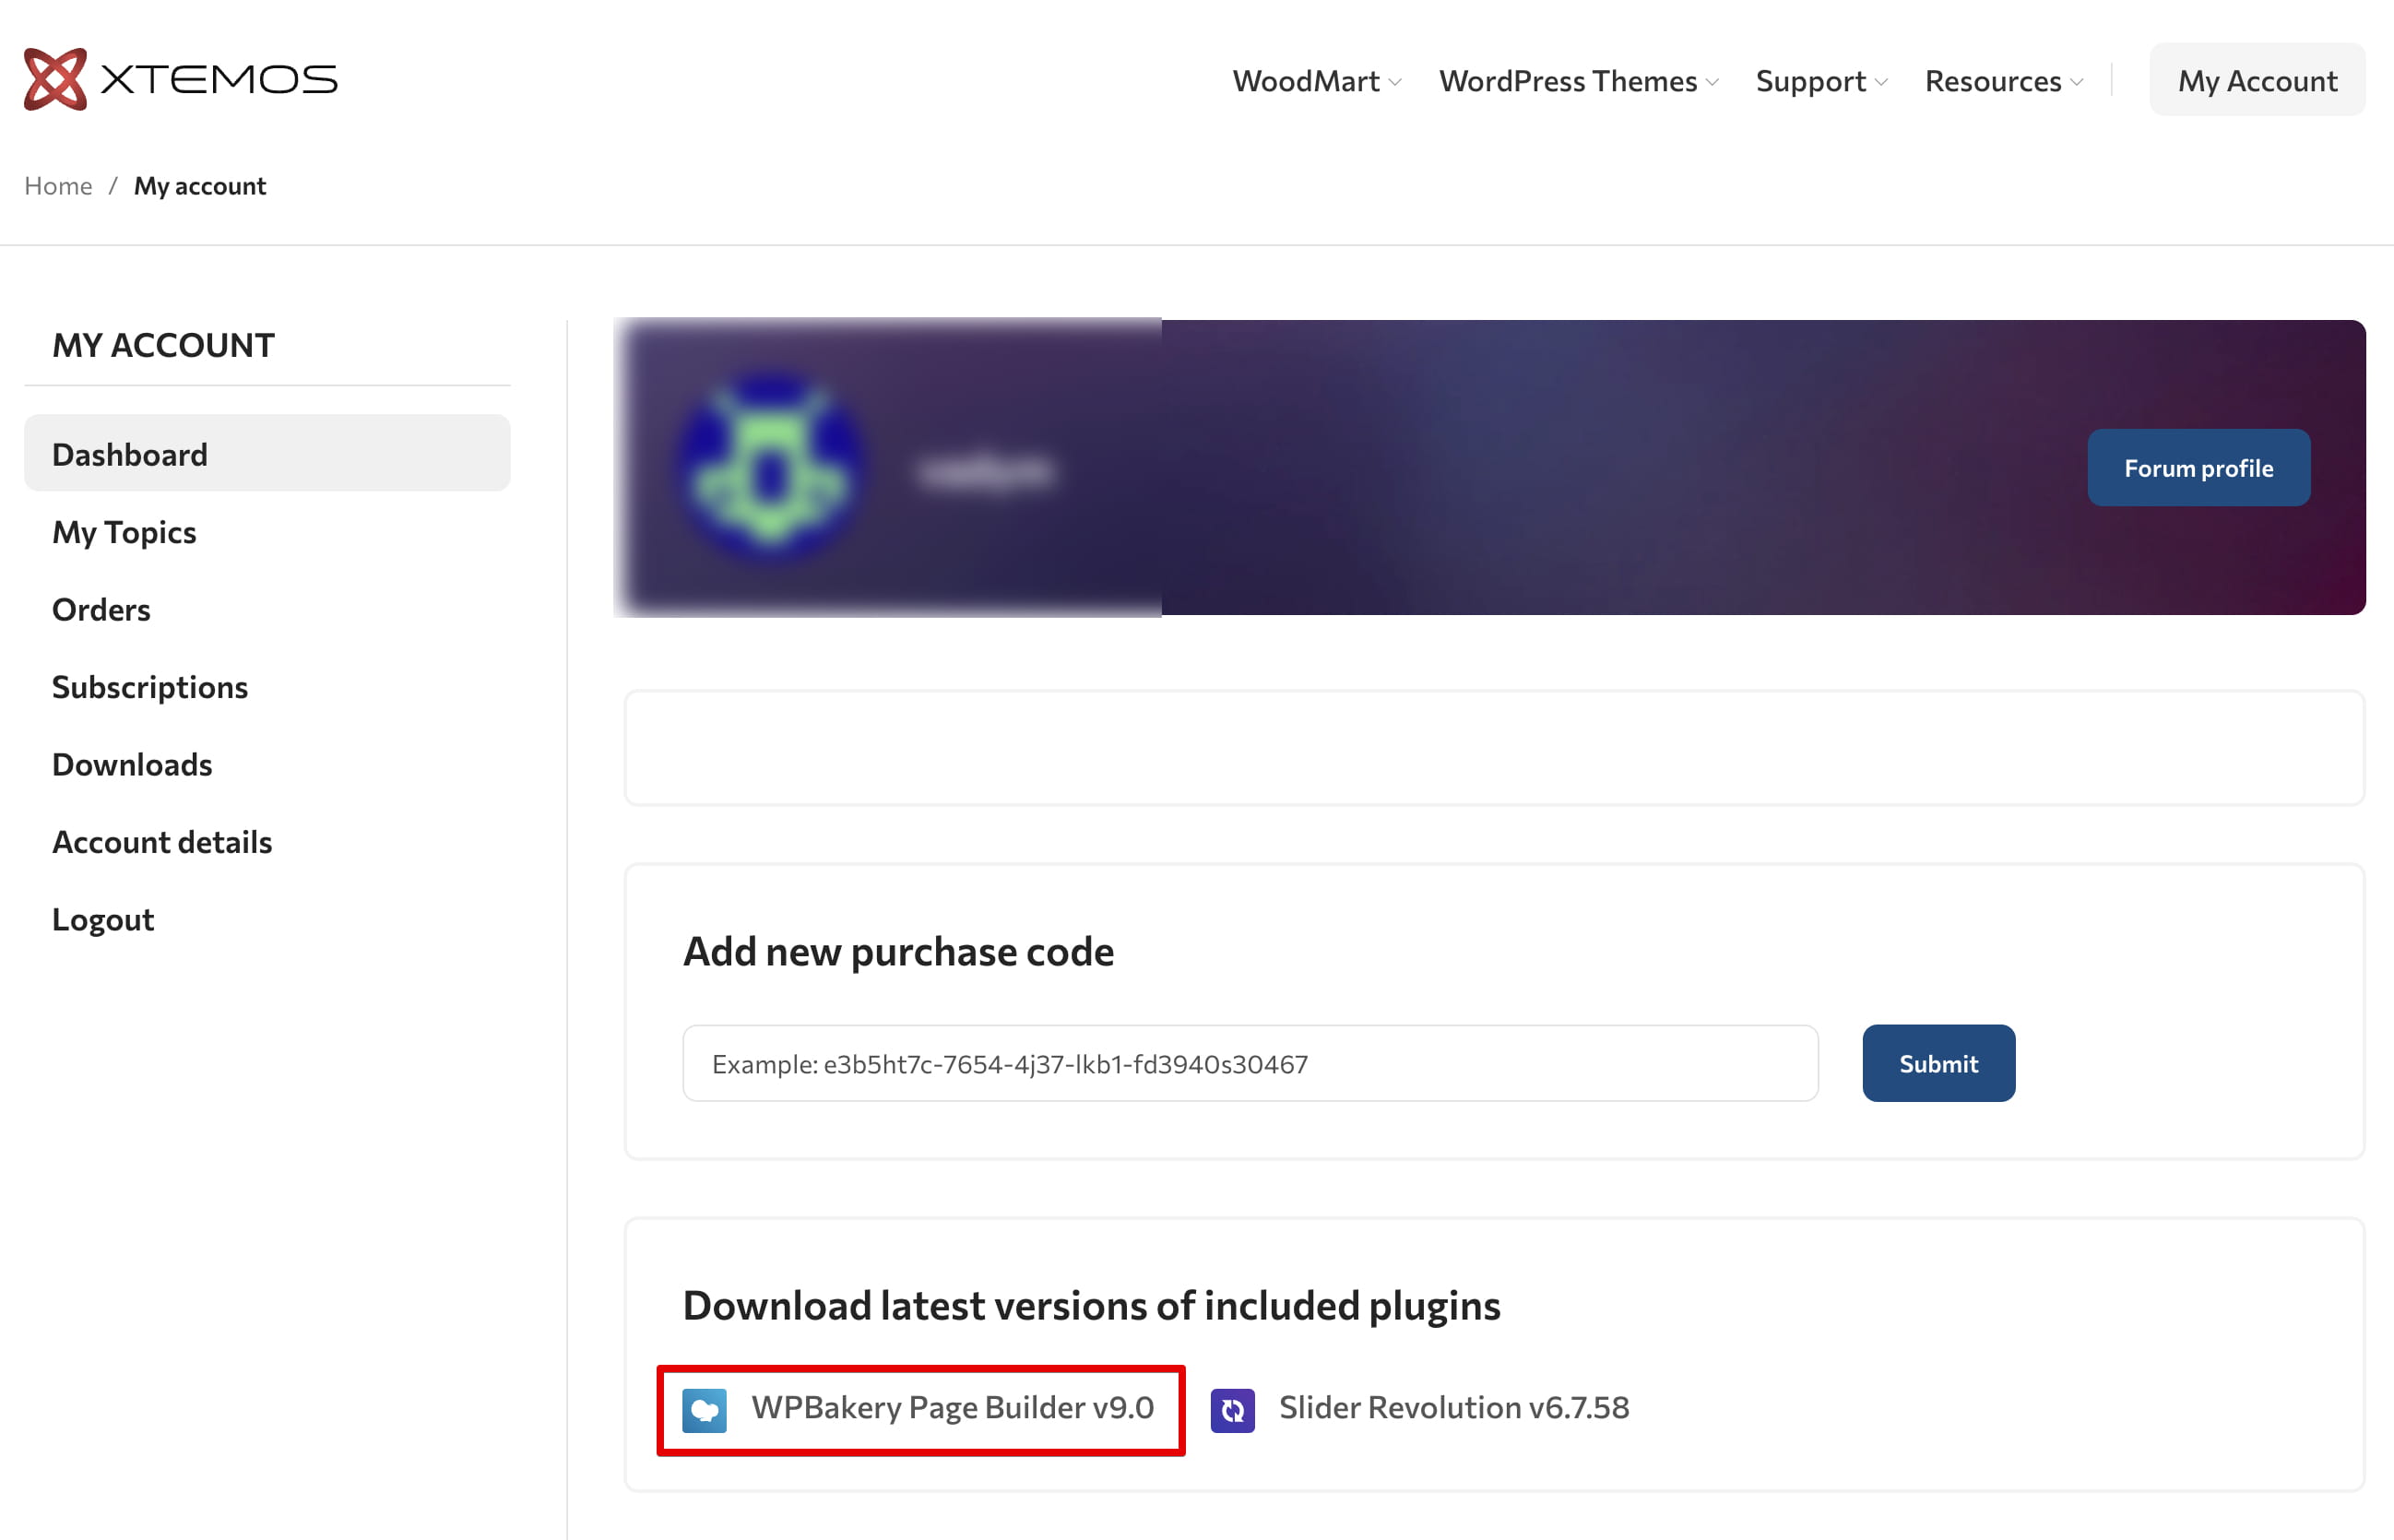
Navigate to WoodMart -> Plugins, then install and activate WPBakery Page Builder. Go to Theme Settings -> Other and select WPBakery under Current builder.
You can also download the latest version of the page builder in your account on our website.
Step 4: Install the required plugins
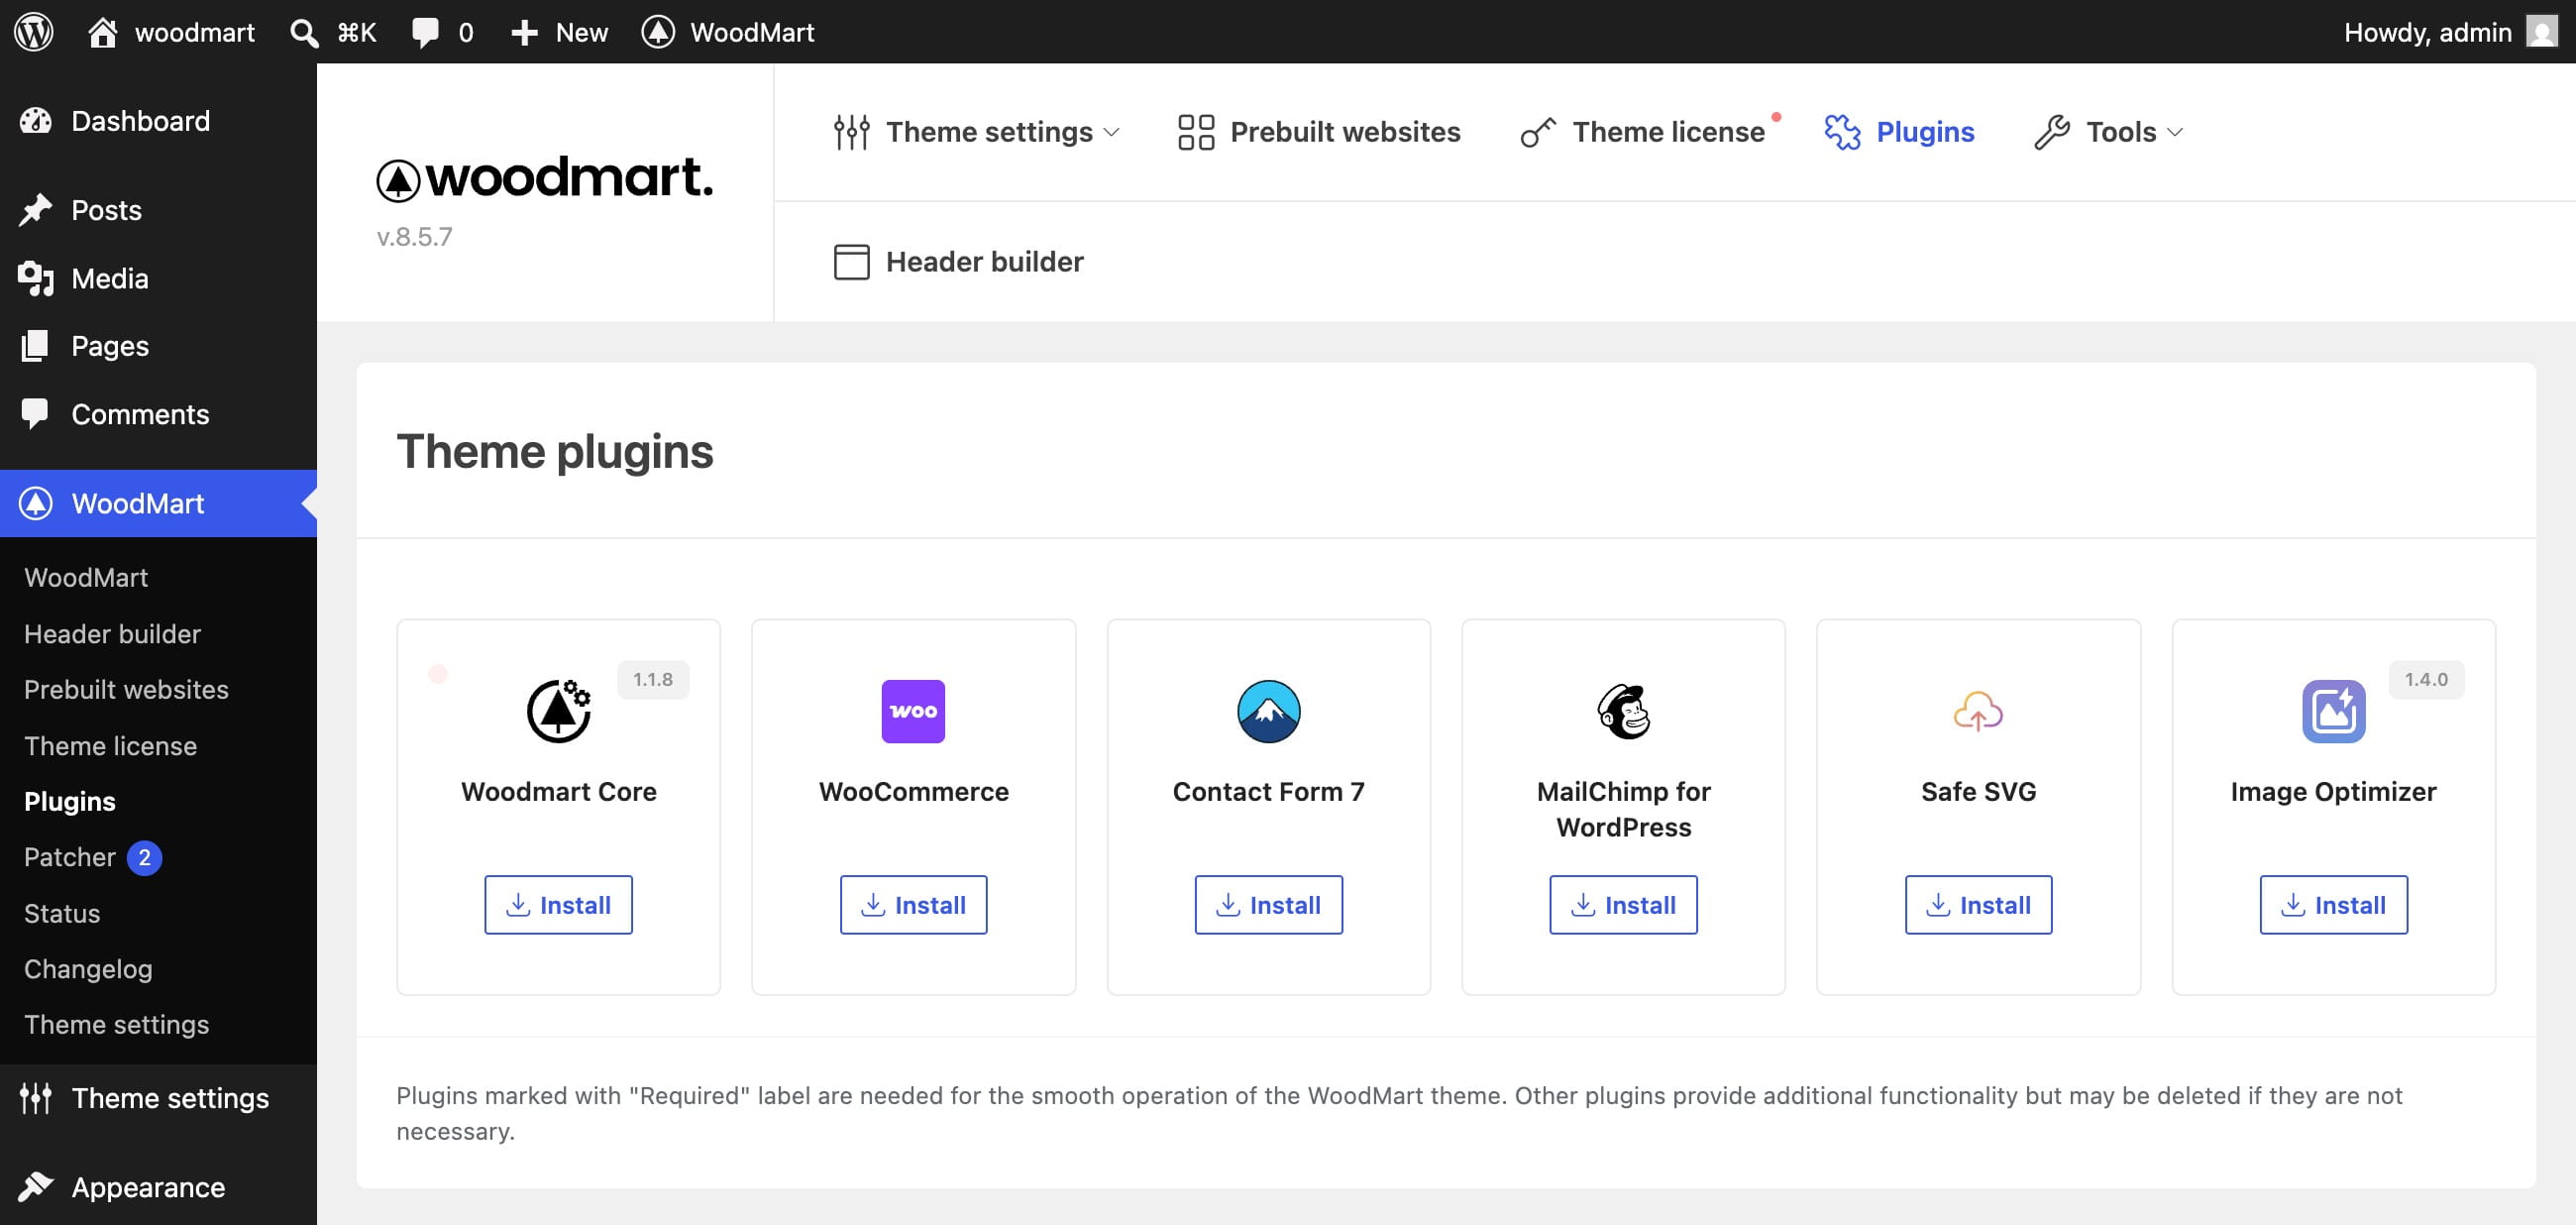
Navigate to Dashboard -> WoodMart -> Plugins. Install and activate each plugin marked as Required. Optional plugins add specific functionality and only need to be installed if you plan to use their features.
Step 5: Install and configure WooCommerce
Install WooCommerce if you want to add e-commerce functionality to your website.
- Navigate to Plugins -> Add New Plugin.
- Search for WooCommerce and click Install Now.
- Click Activate when the installation is complete.
After the first activation, WooCommerce opens its onboarding wizard. Enter the basic information about your store, then use the setup checklist to add products and configure payments, taxes, shipping, and store visibility.
See the official WooCommerce guides for installing WooCommerce and completing the WooCommerce setup.
Step 6: Import a prebuilt website
- Confirm that your preferred page builder is selected and all required plugins are active.
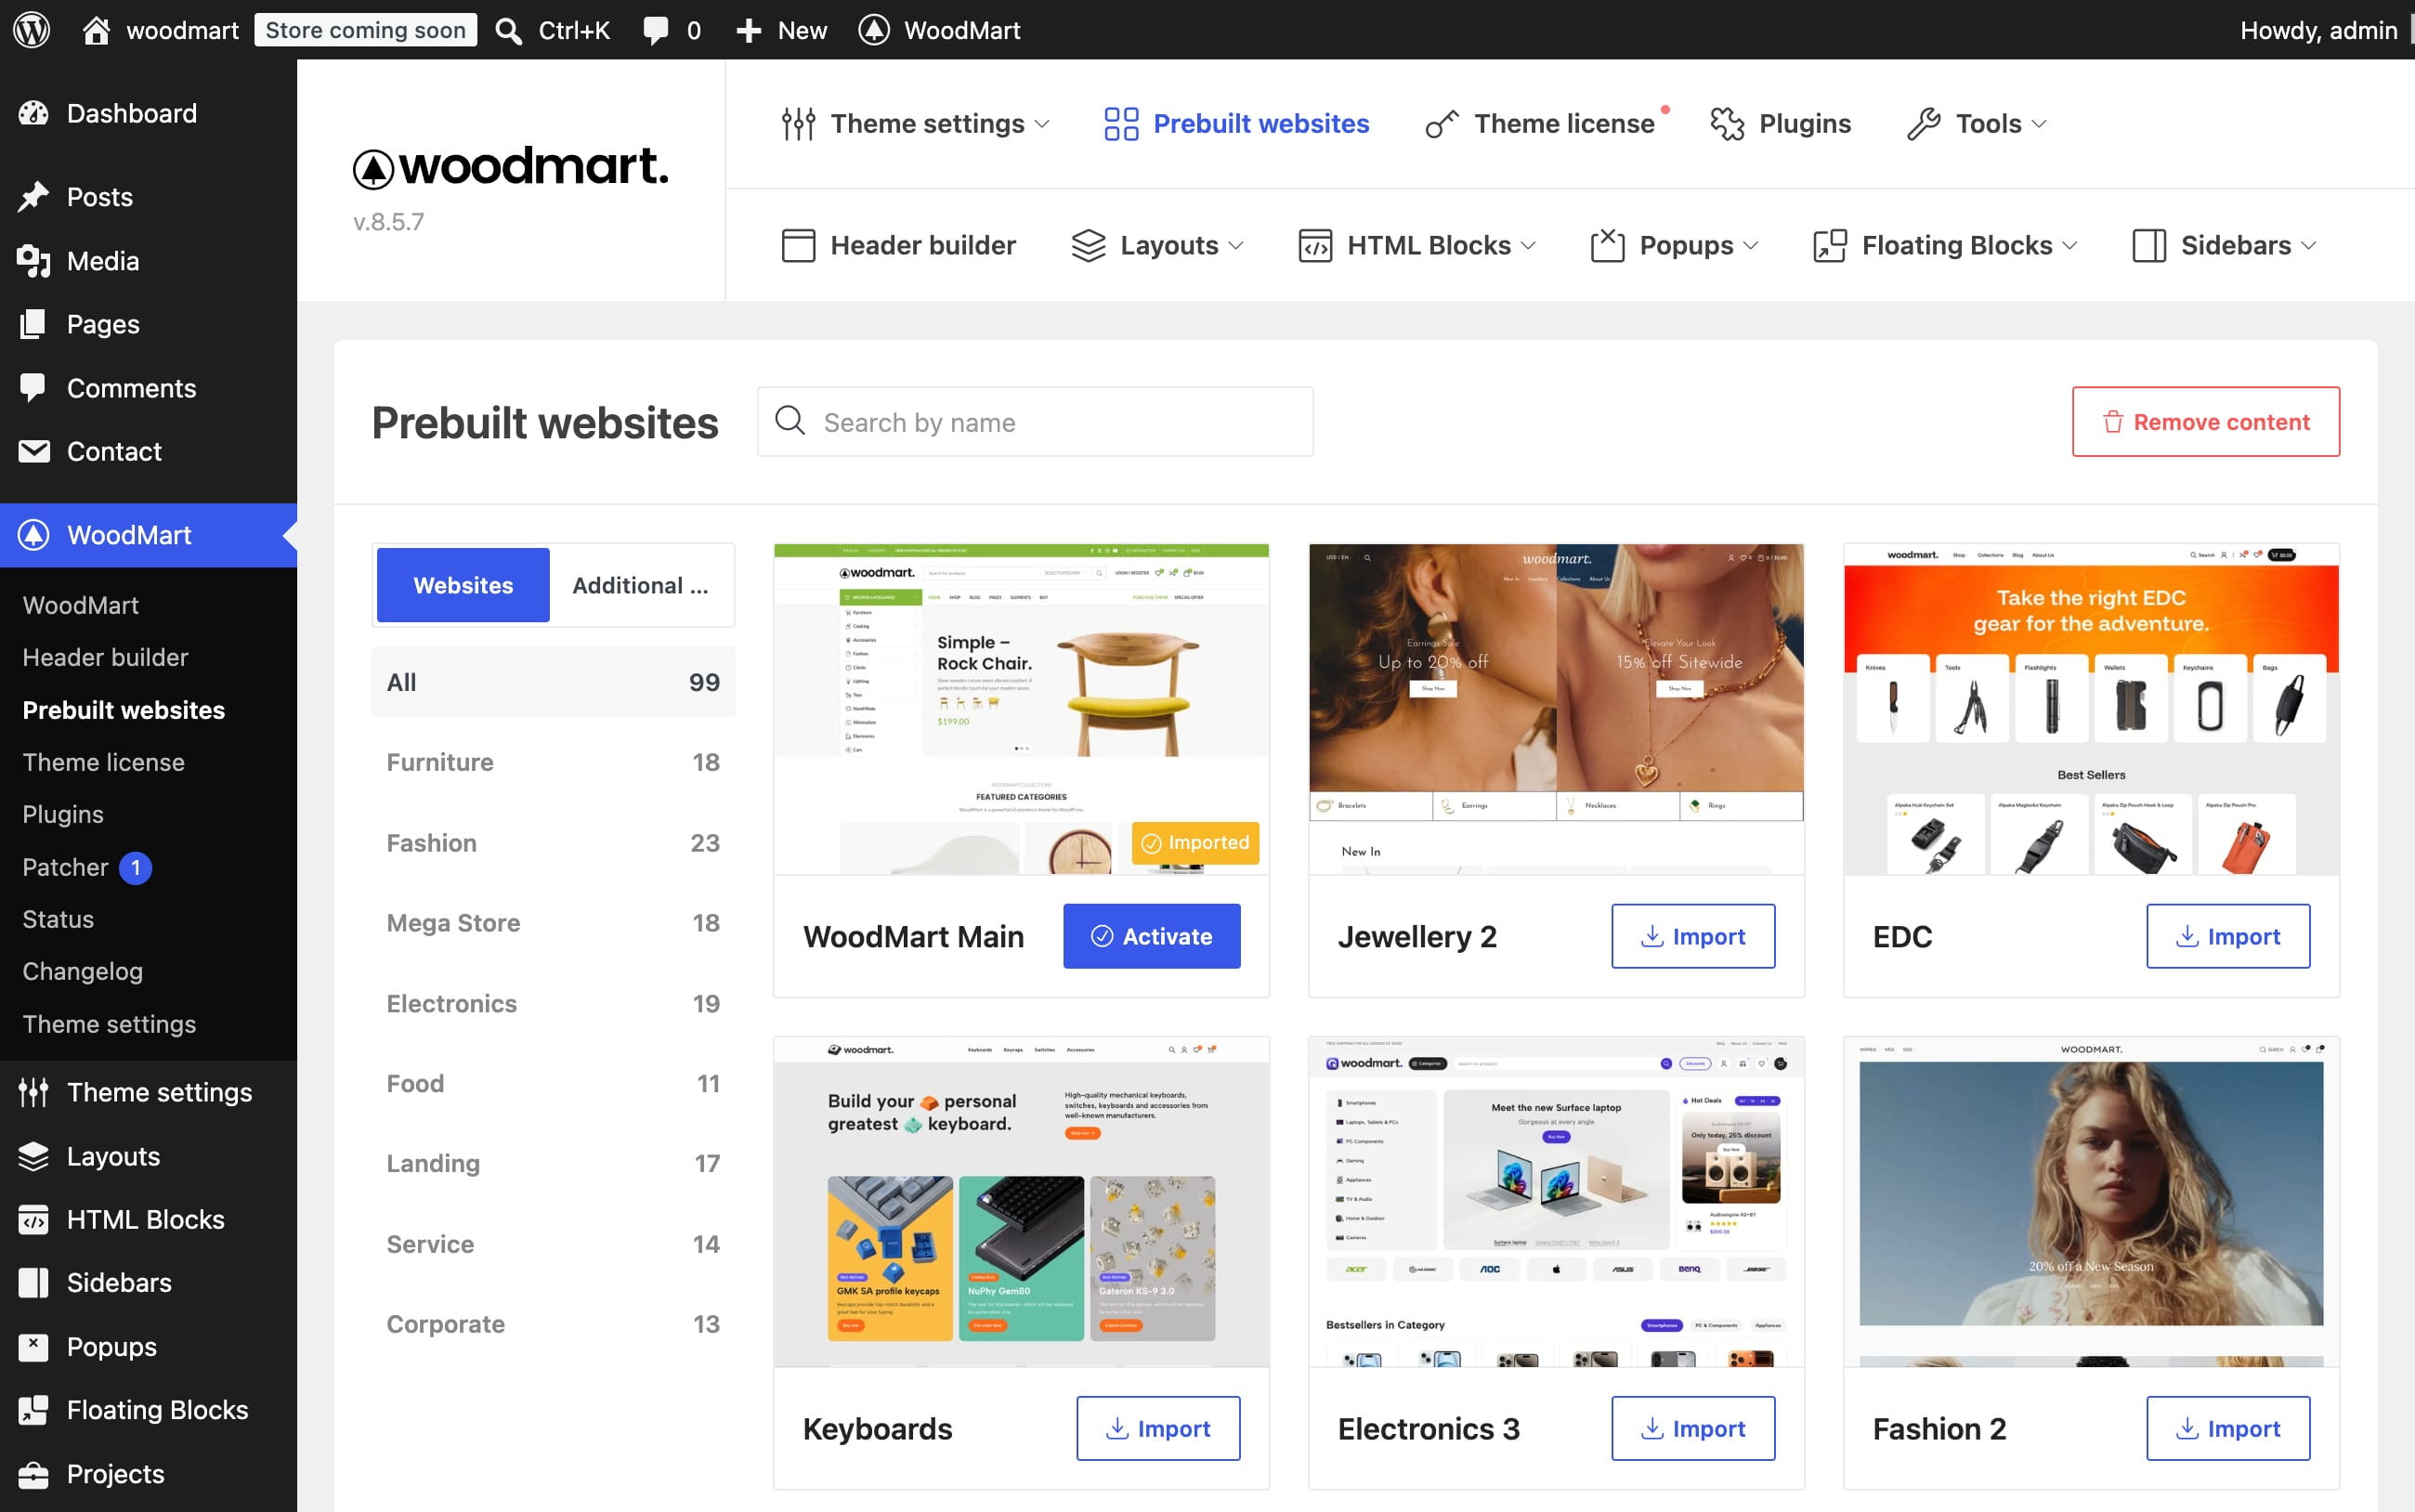
- Navigate to WoodMart -> Prebuilt Websites.
- Browse the available websites and select one created for your page builder.
- Click Import and wait until the process is complete.
- To import an individual page instead of a complete website, open the Additional pages tab.
Don’t miss WoodMart updates
Receive feature updates, tutorials, and WoodMart news via email.
 Last updated: August 4, 2026