
Add slides to a slider
Each slide is a separate item that contains its own content, image, layout settings, and slider assignment. Create the reusable slider first, then add the slides that it should display.
Create and assign a slide
1. Navigate to Dashboard -> Slides -> Add Slide and enter a recognizable title.
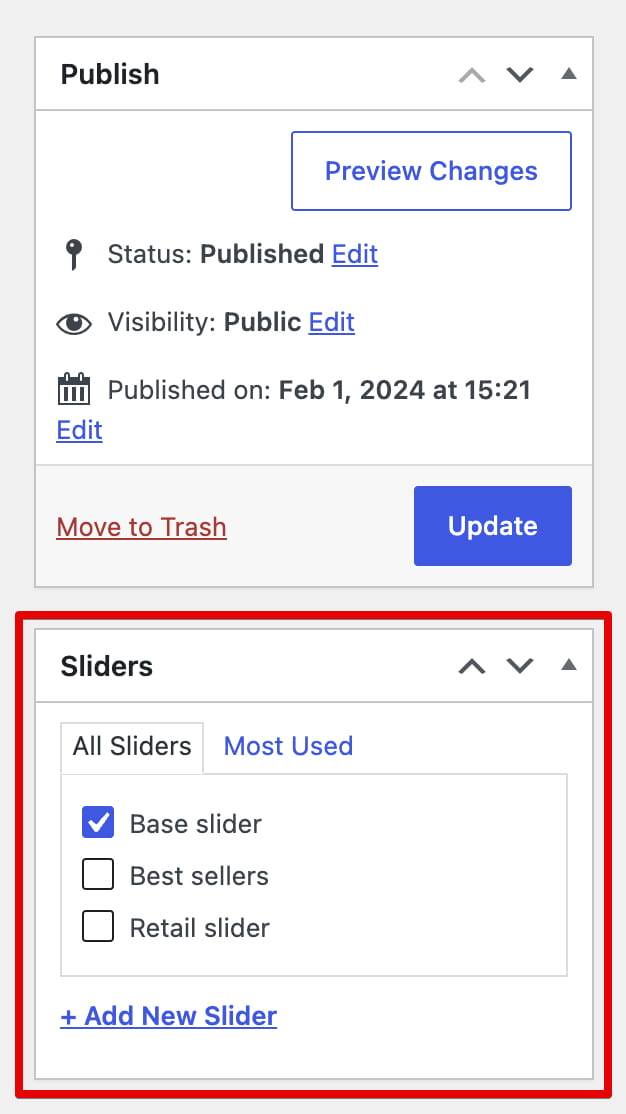
2. Assign the slide to the required slider in the slider selection field.
3. Build the slide content with the page builder used on your website. In Elementor, slide options are available in the document settings. In WPBakery, use the Slide Settings panel.
4. Configure the slide image, layout, alignment, and animation, then publish the slide.
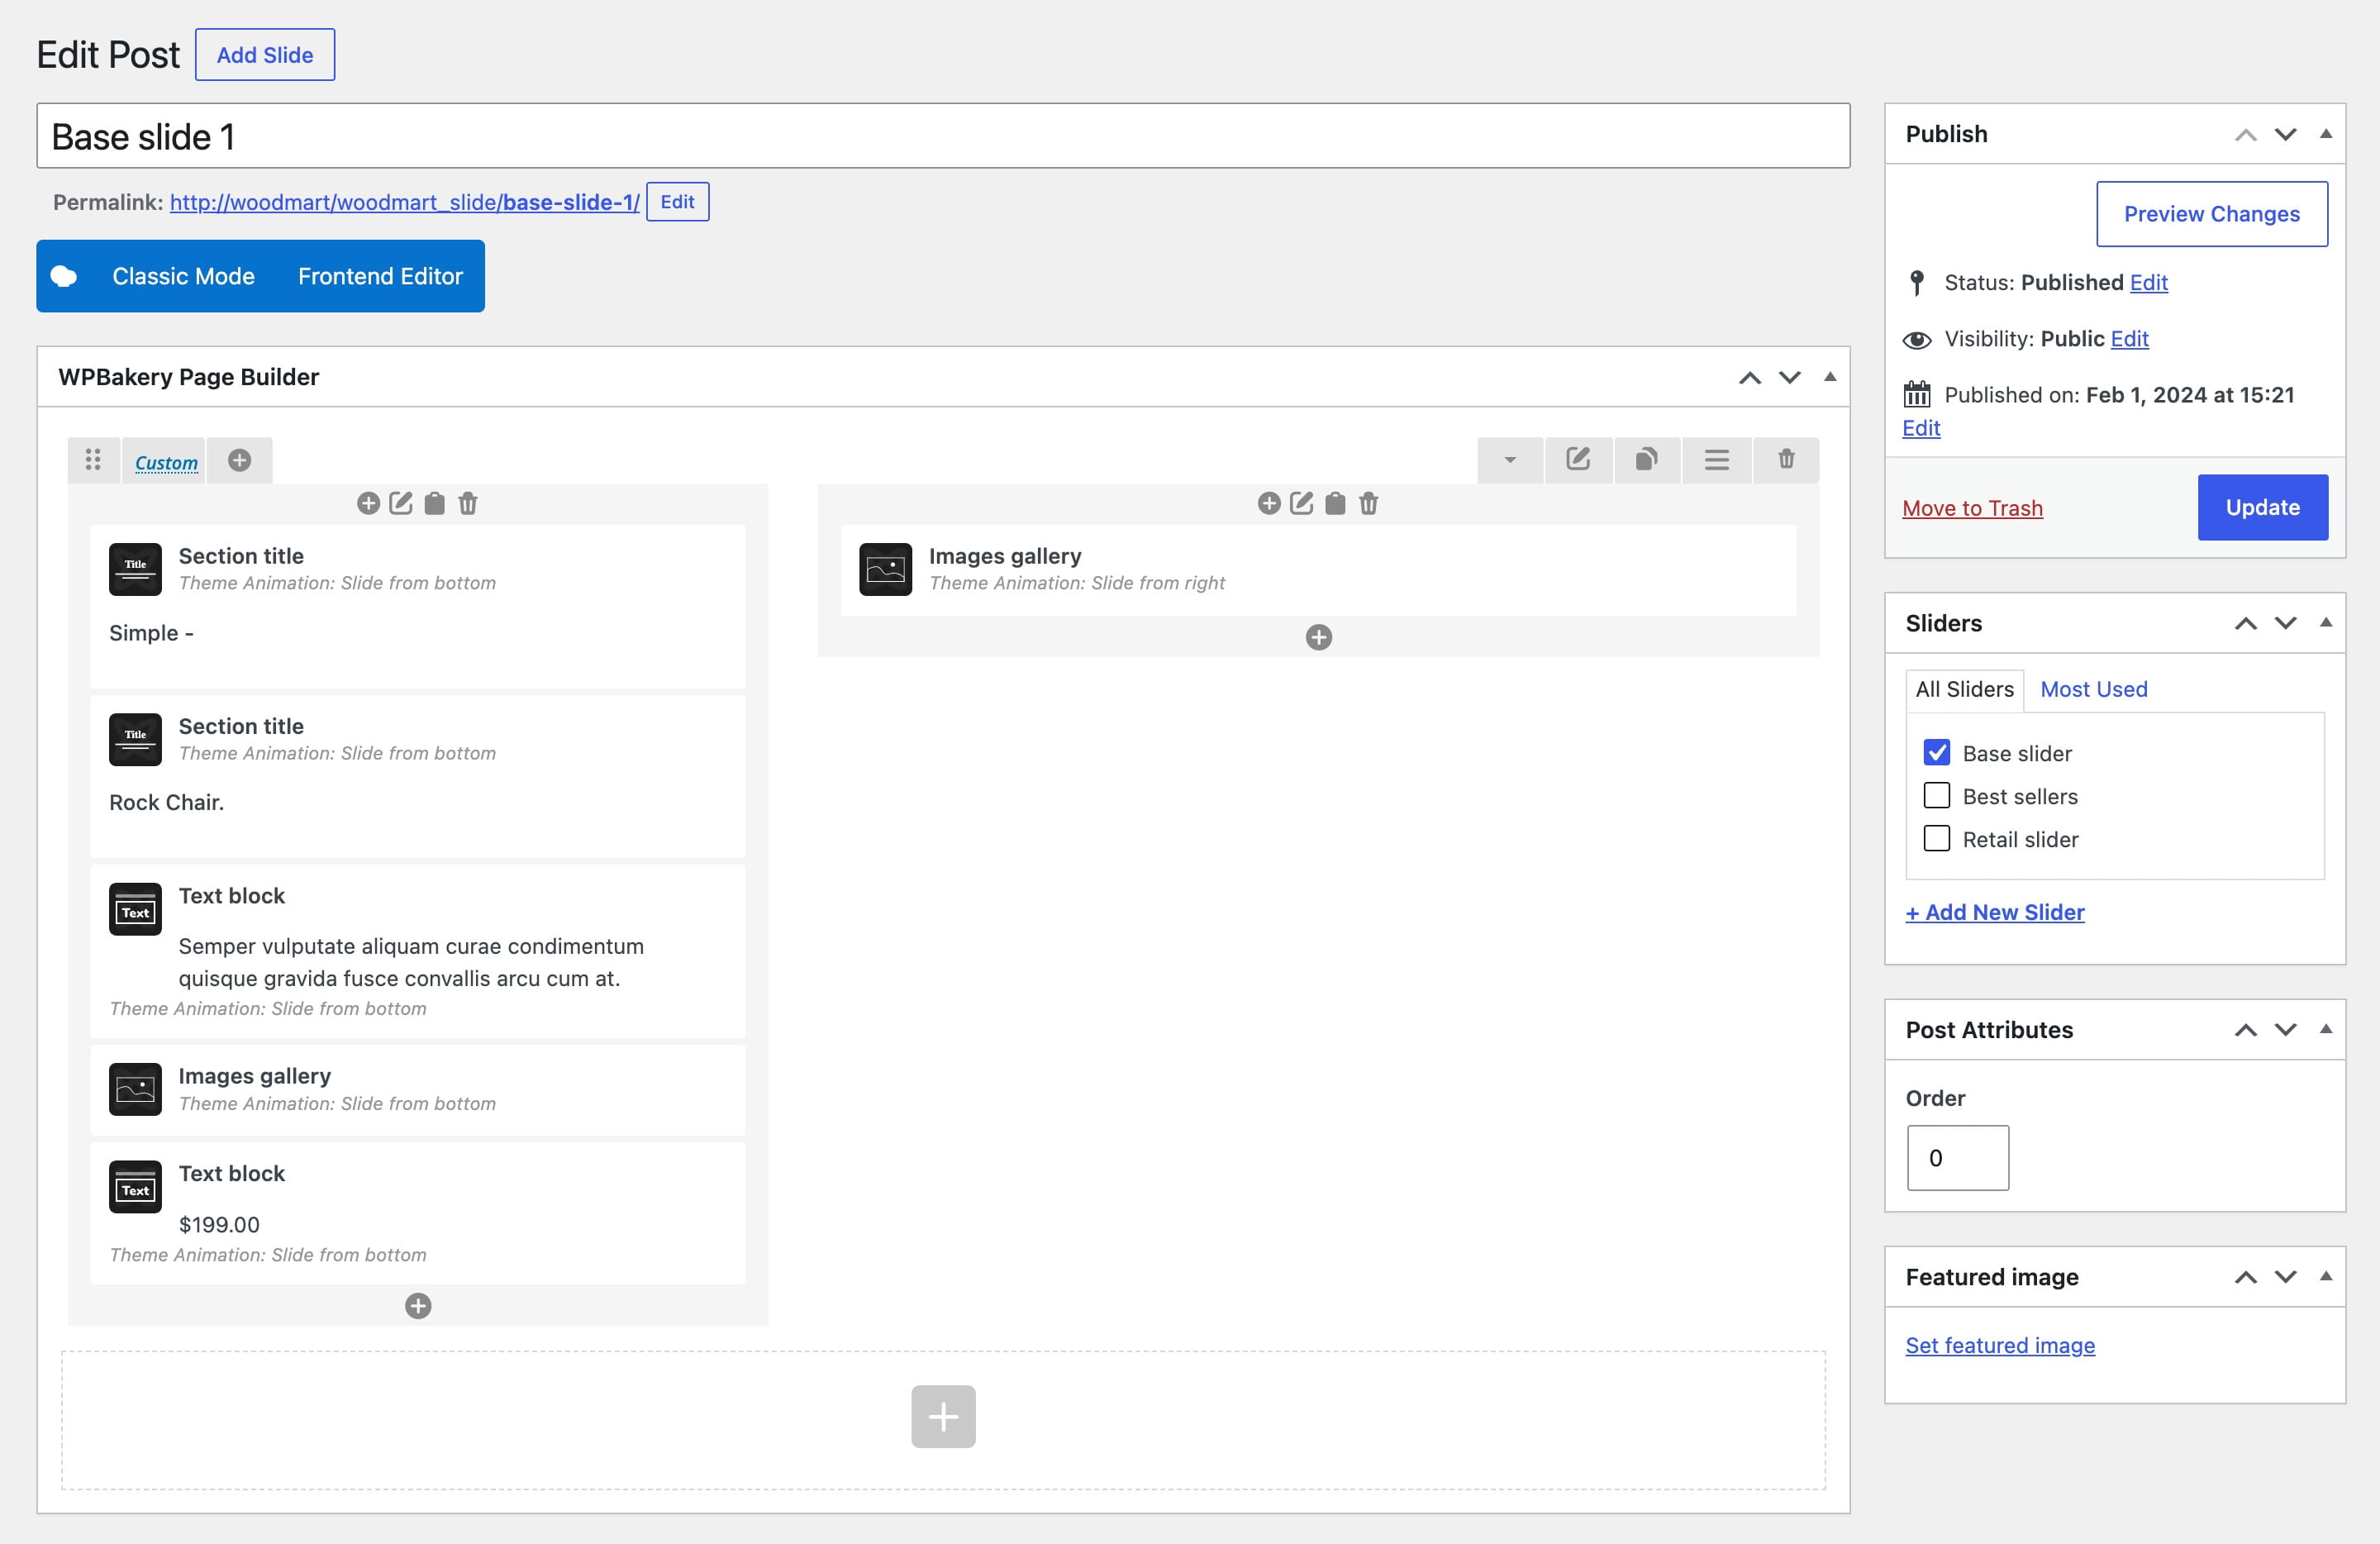
Slide image and background
The Image option is the recommended way to display the main visual. It outputs an image element and supports responsive image sources, helping the browser load an appropriate size for the visitor’s device.
Use the Background section when the image needs to behave as a CSS background or when you need separate background images and positioning for desktop, tablet, and mobile. You can also set a background color.
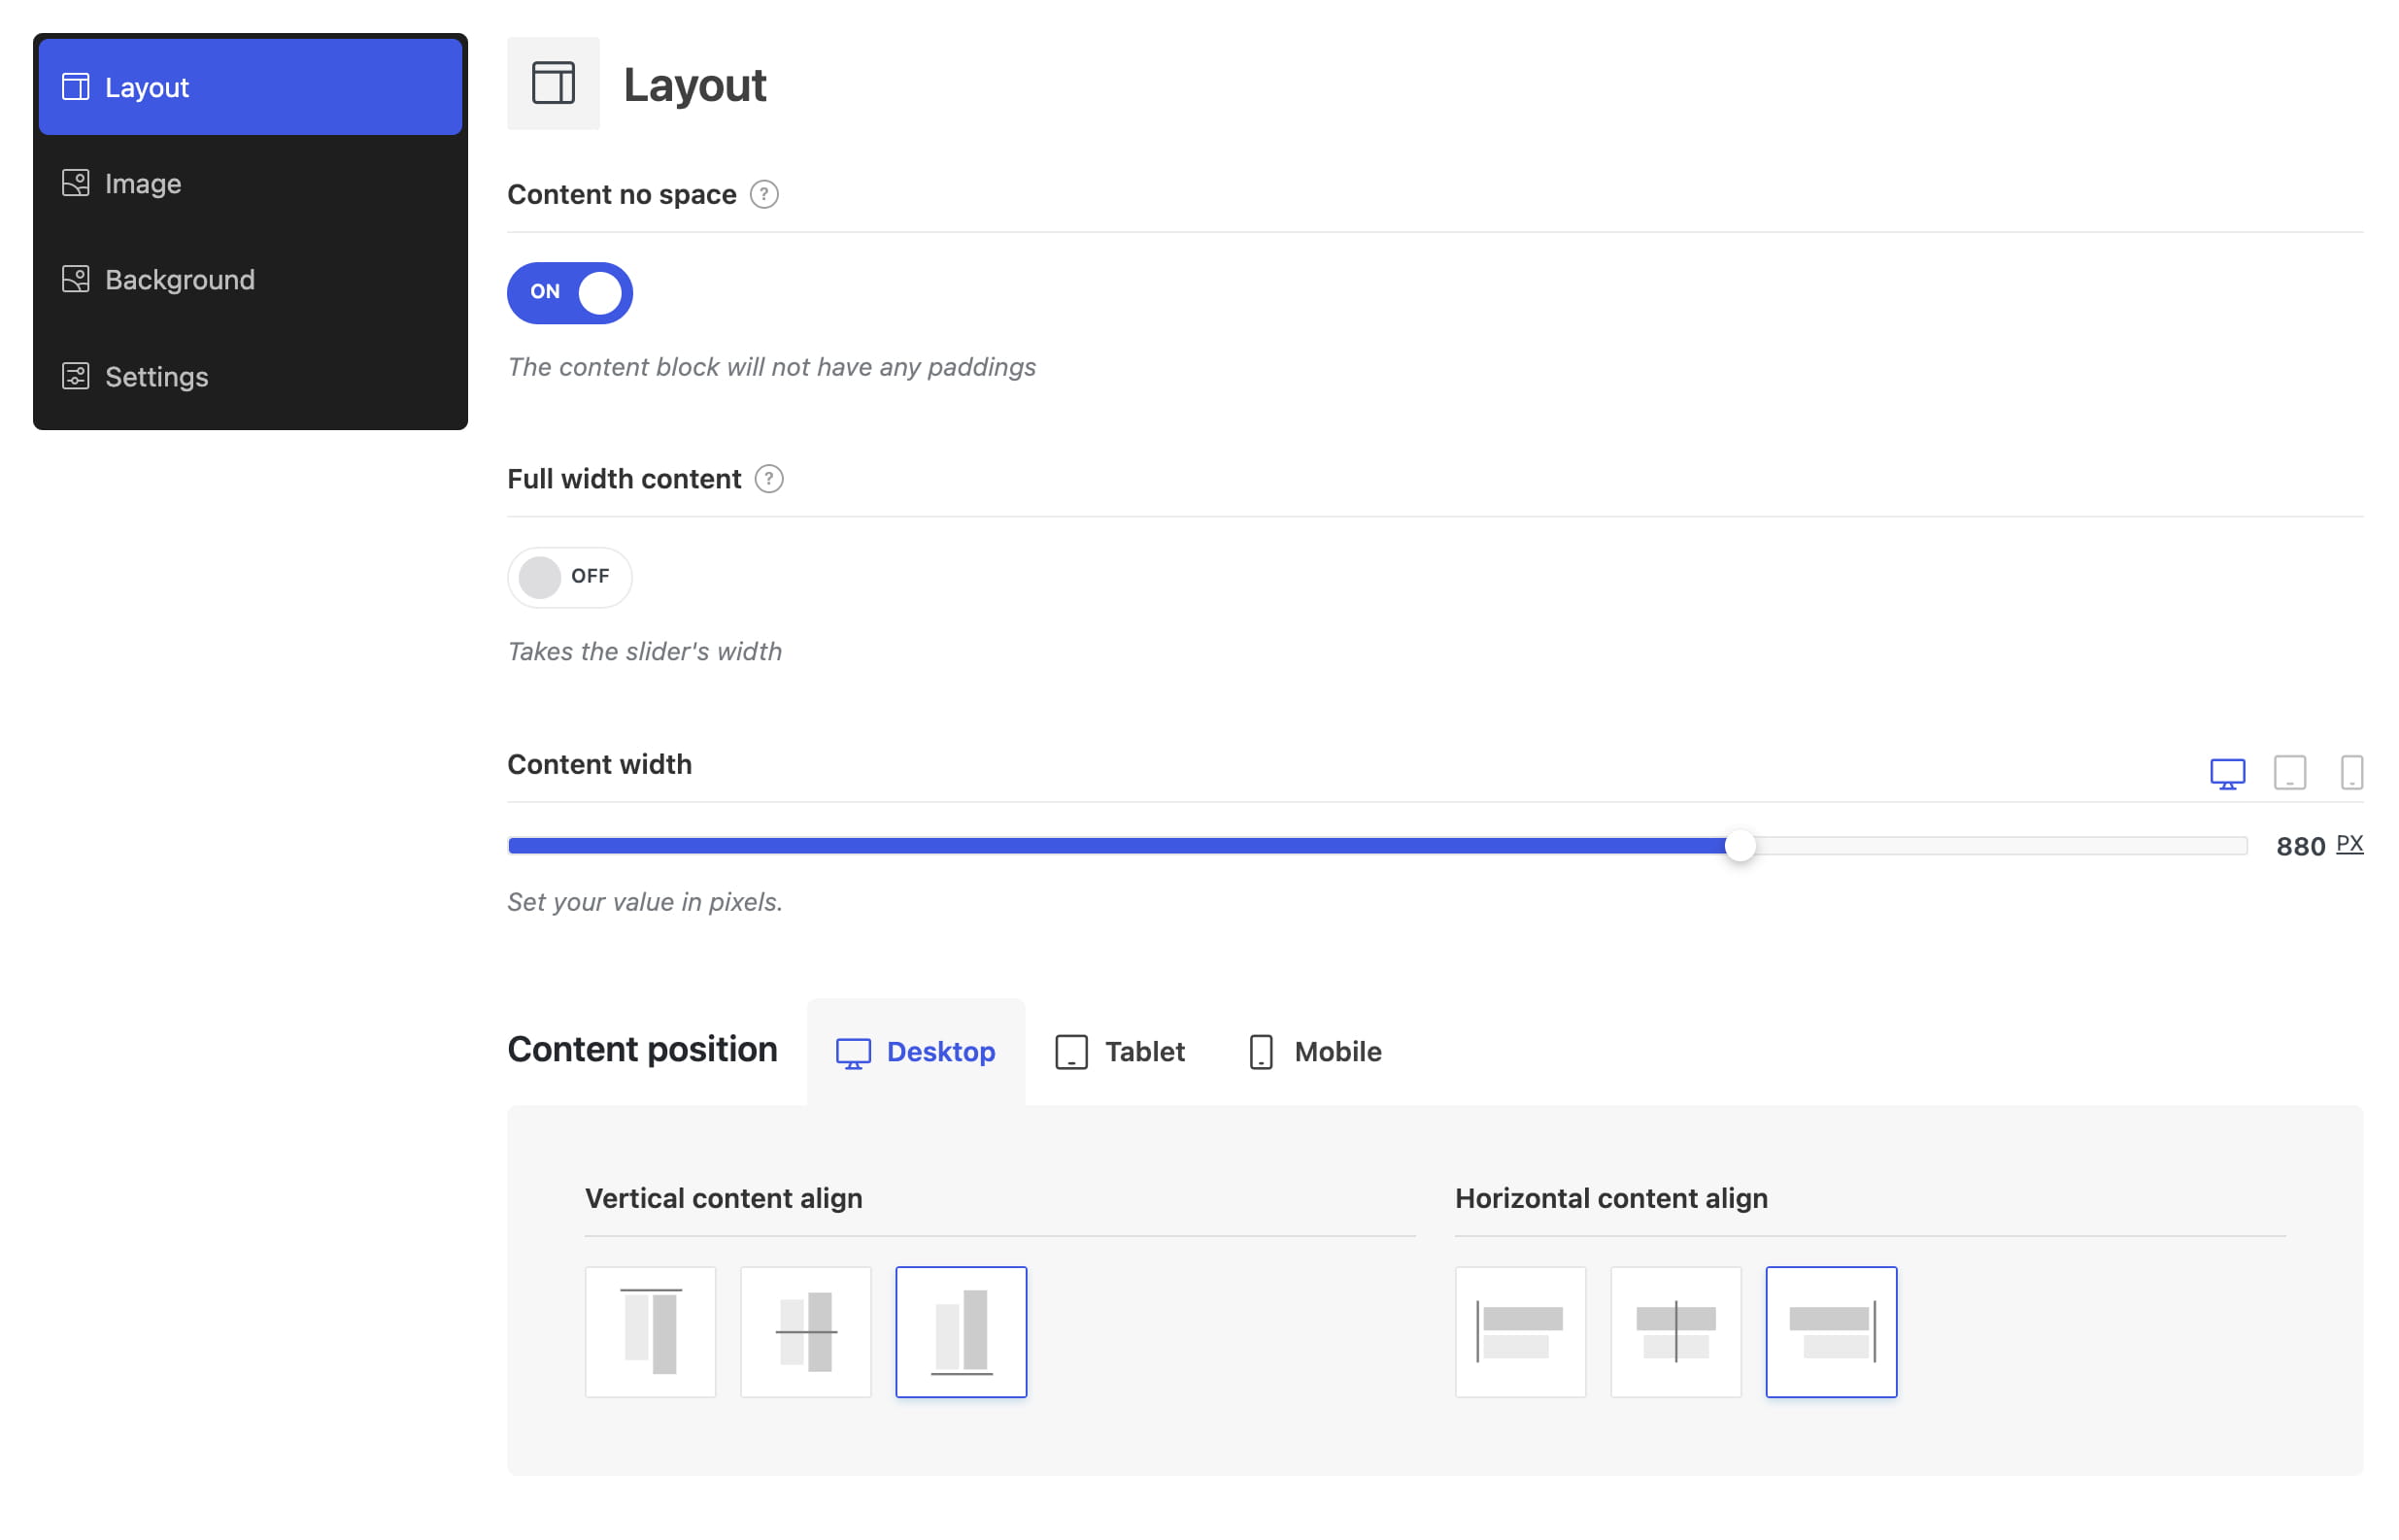
Content layout
- Content no space — removes the padding around the slide content.
- Full width content — allows the content area to use the available slider width.
- Content width — sets a custom responsive width when full-width content is disabled.
- Vertical content align and Horizontal content align — position the content independently on desktop, tablet, and mobile.
- Animation — applies an entrance animation to the slide content.
Slider assignment and order
A slide appears only in the slider to which it is assigned. You can assign a slide when creating it or change the assignment later.
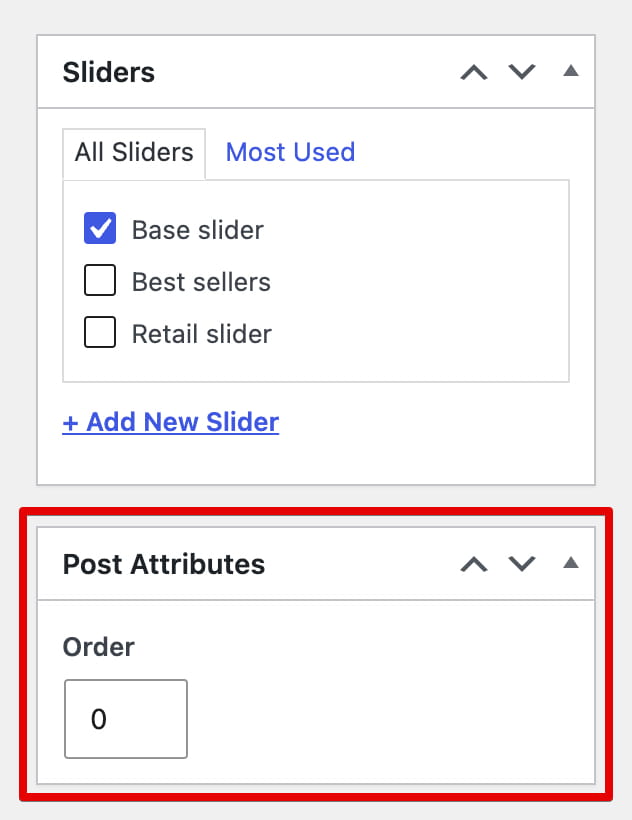
Use the Order field in Page Attributes to control the slide sequence. Lower values are displayed before higher values.
To make the entire slider full width, use Stretch slider in the slider settings. The per-slide Full width content option controls only the content area inside that slide.
Don’t miss WoodMart updates
Receive feature updates, tutorials, and WoodMart news via email.
 Last updated: September 7, 2026