
Checkout page
WooCommerce supports two types of checkout pages: the classic checkout built on a shortcode, and the Block Checkout based on Gutenberg blocks. WoodMart is compatible with both, but the setup of the two checkouts has its differences.
Classic checkout and Block checkout
Classic Checkout – this is a page with the [woocommerce_checkout] shortcode. The form is rendered by WooCommerce and theme templates, and it supports hooks and custom layouts.
Block Checkout – this is a page with the Checkout block in the Gutenberg editor. It’s a separate implementation based on the Store API.
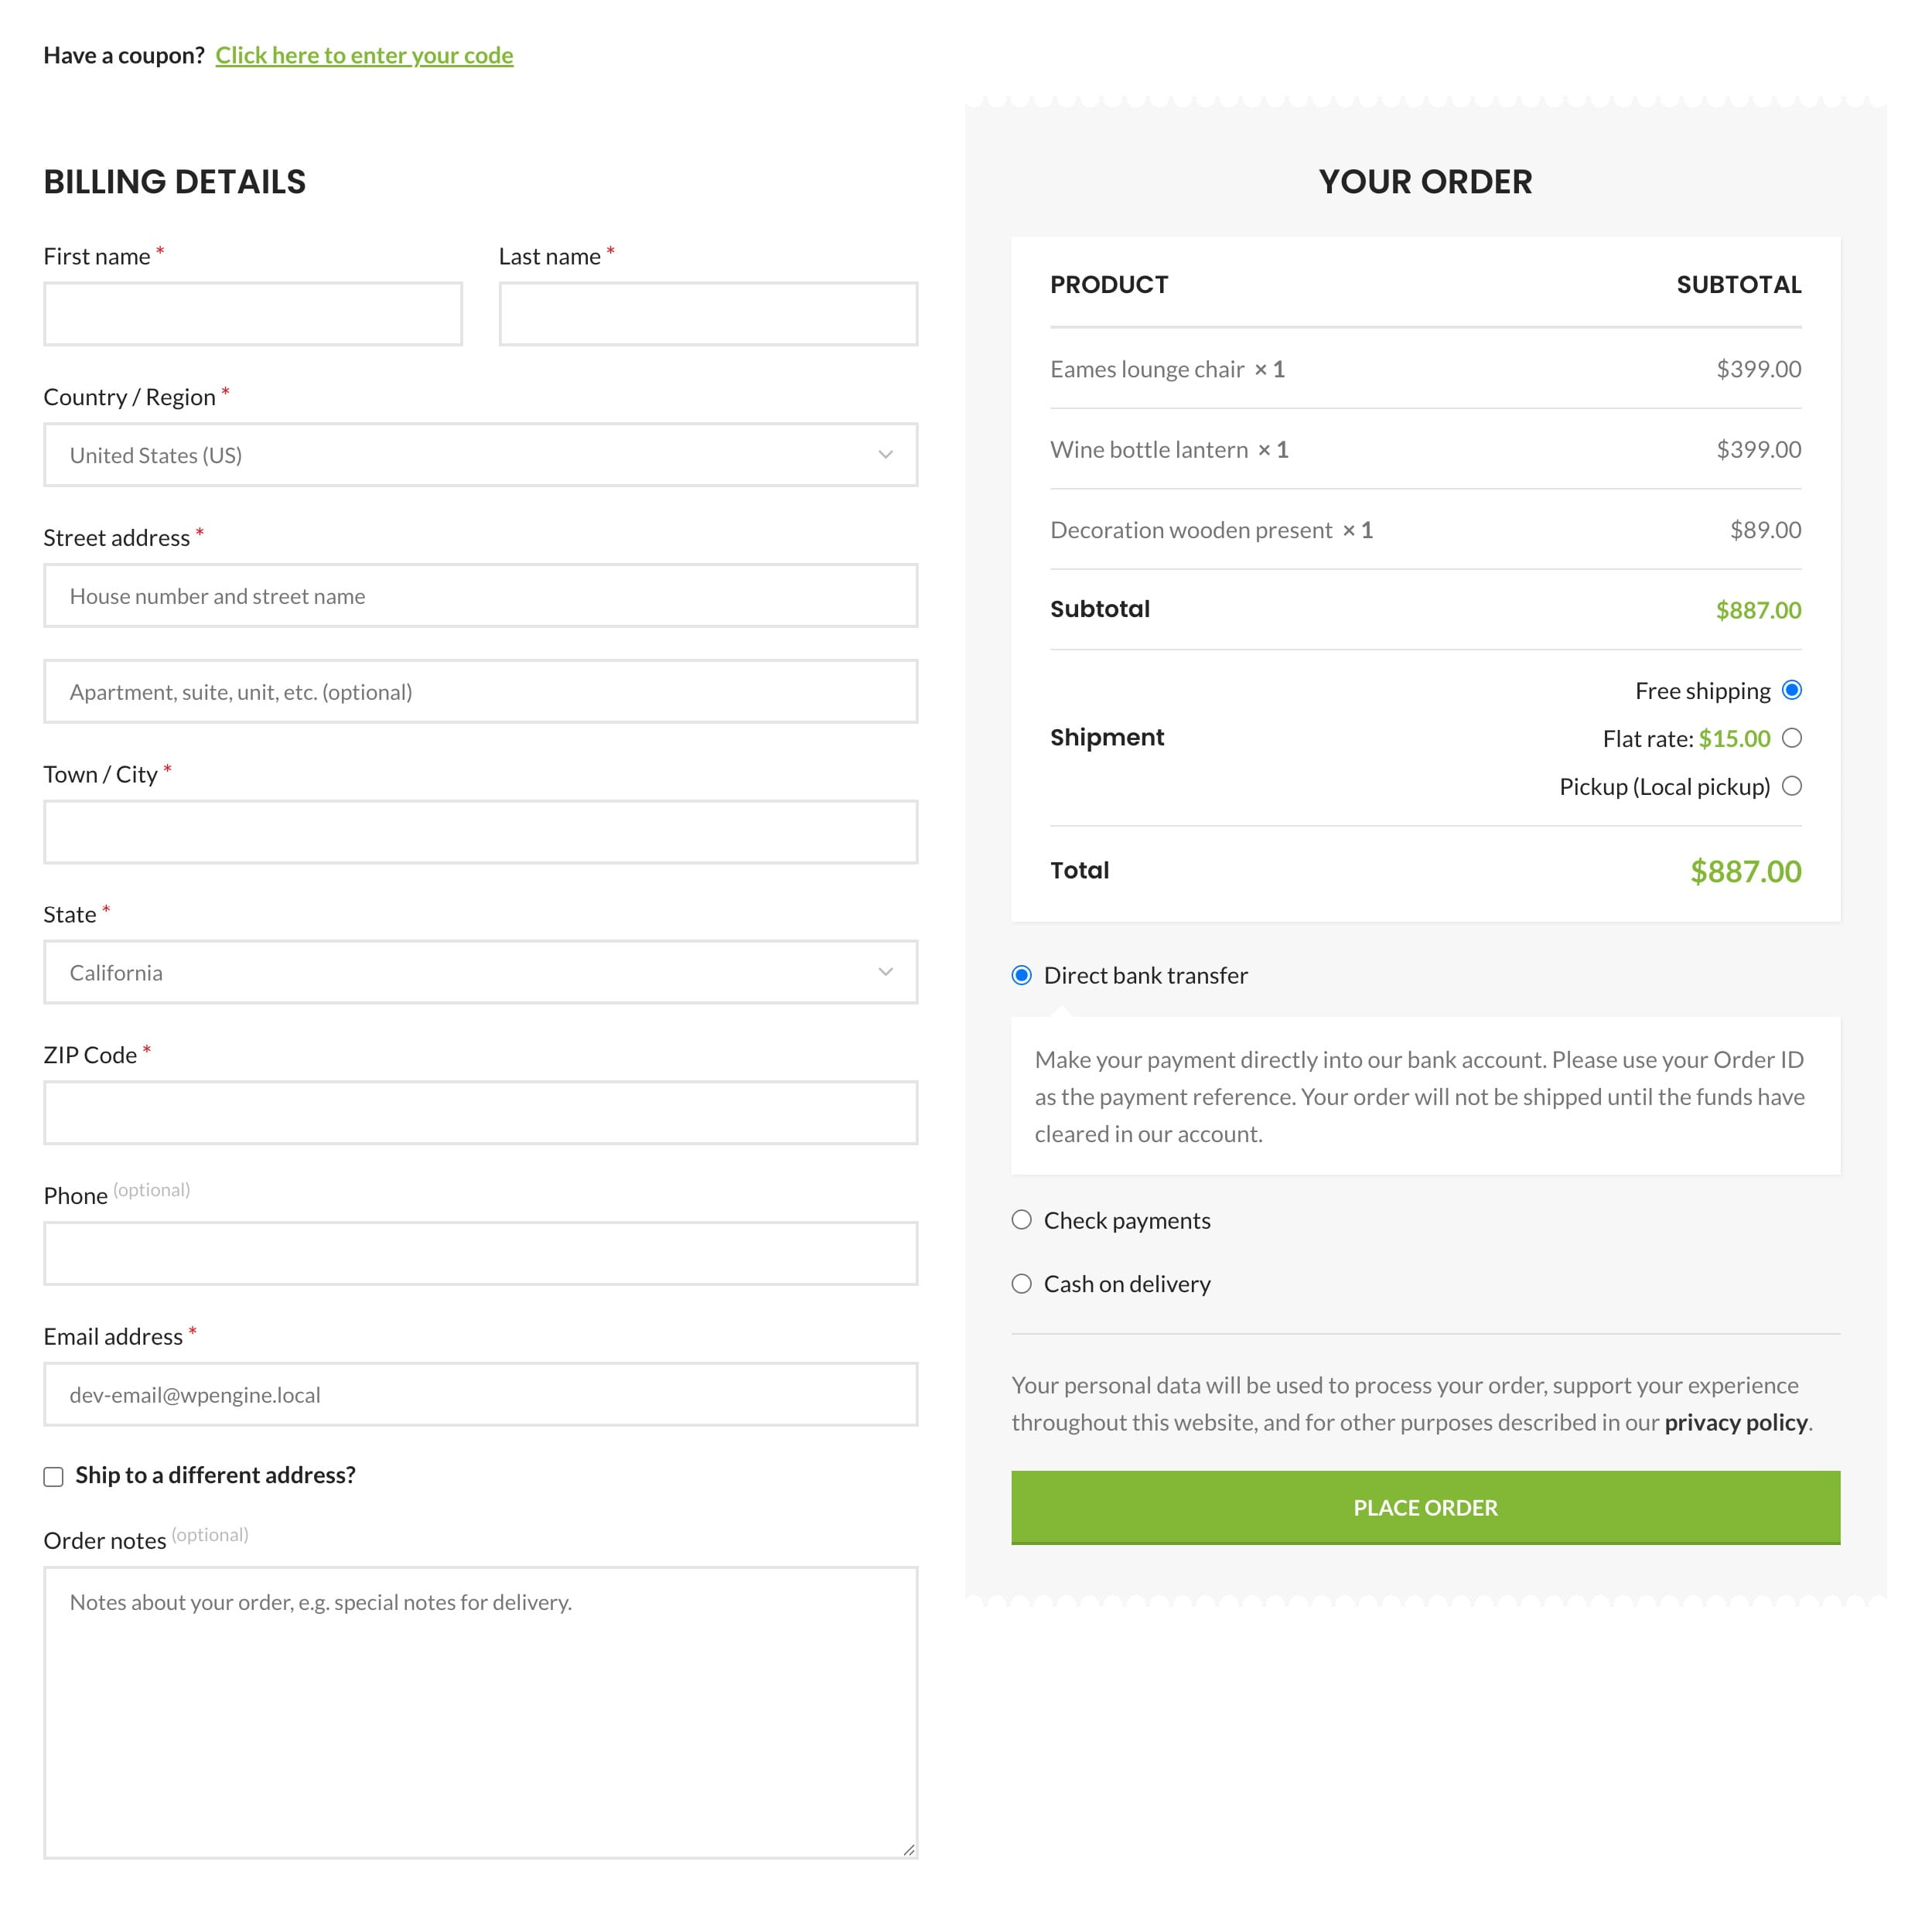
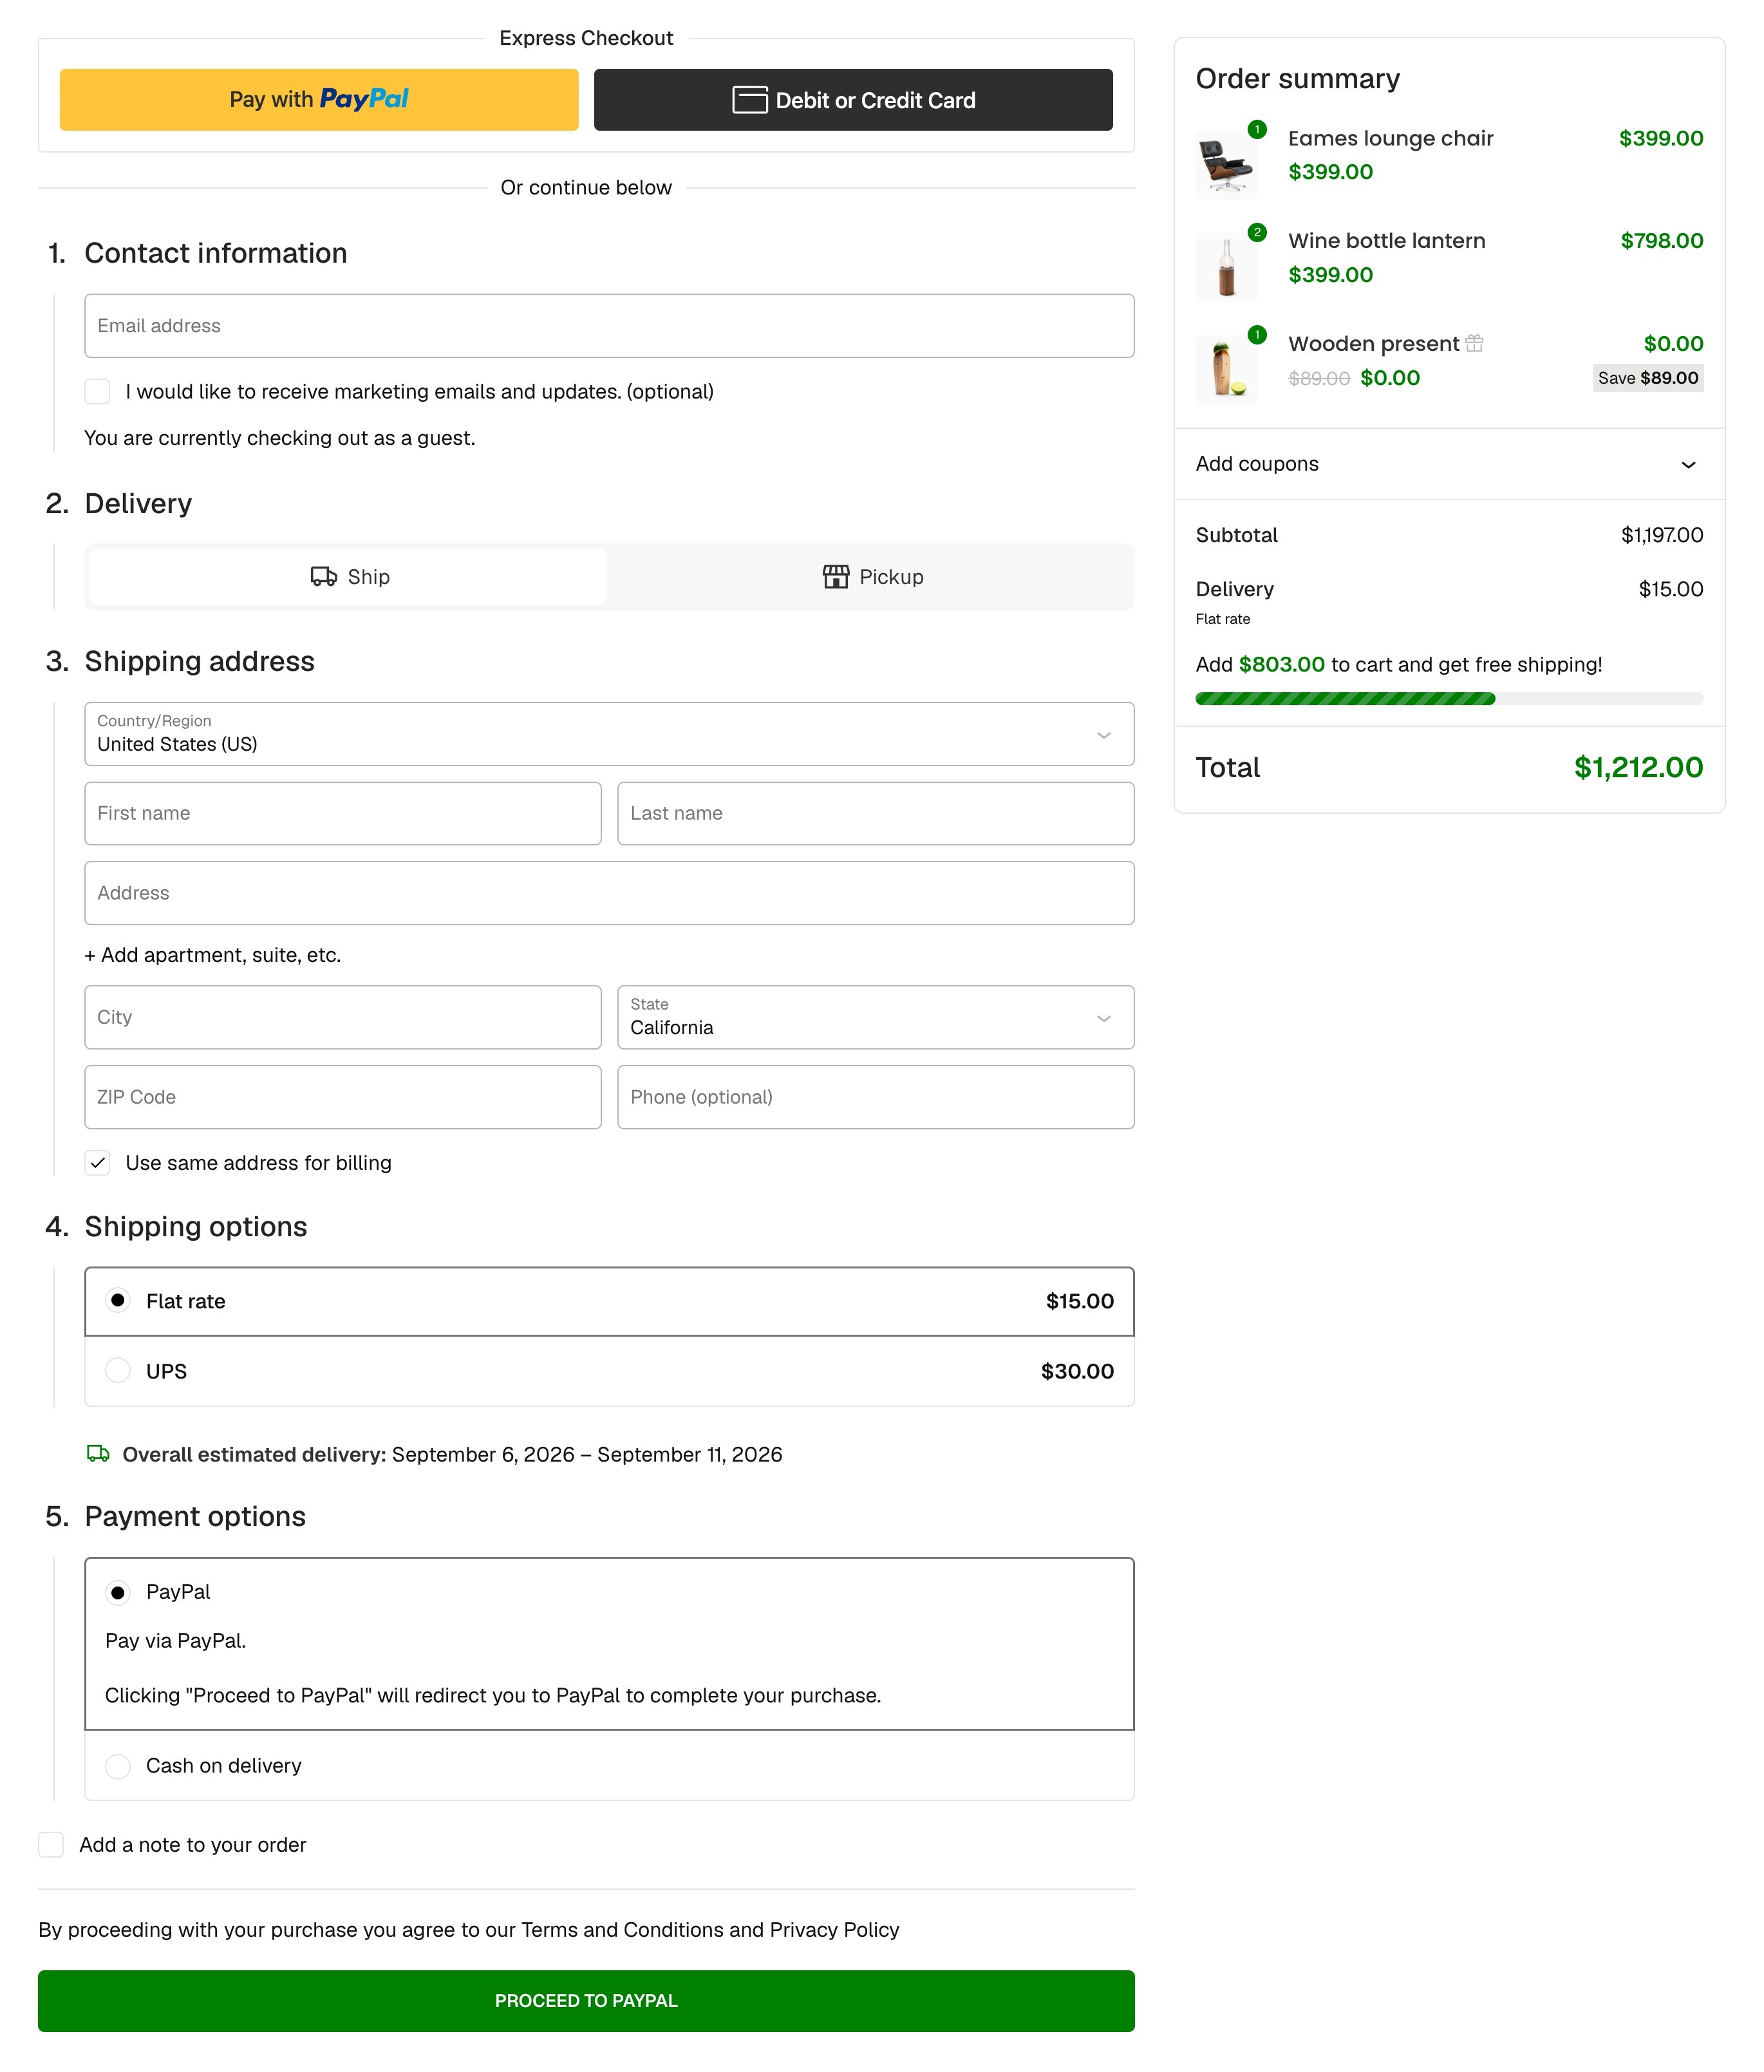
Overview comparison
| Classic Checkout | Block Checkout | |
|---|---|---|
| Editing fields | Via Checkout Fields Manager | Inside the checkout block |
| Layout setup | Via WoodMart Layout Builder | Inside the checkout block |
| Design options location | In Theme Settings → Shop → Checkout | Inside the checkout block |
Switching between checkout types
- Check which page is assigned in WooCommerce → Settings → Advanced.
- On that page, replace the Checkout block with the
[woocommerce_checkout]shortcode or the Classic Checkout block, or vice versa.
Setting up the classic checkout
Checking the page type
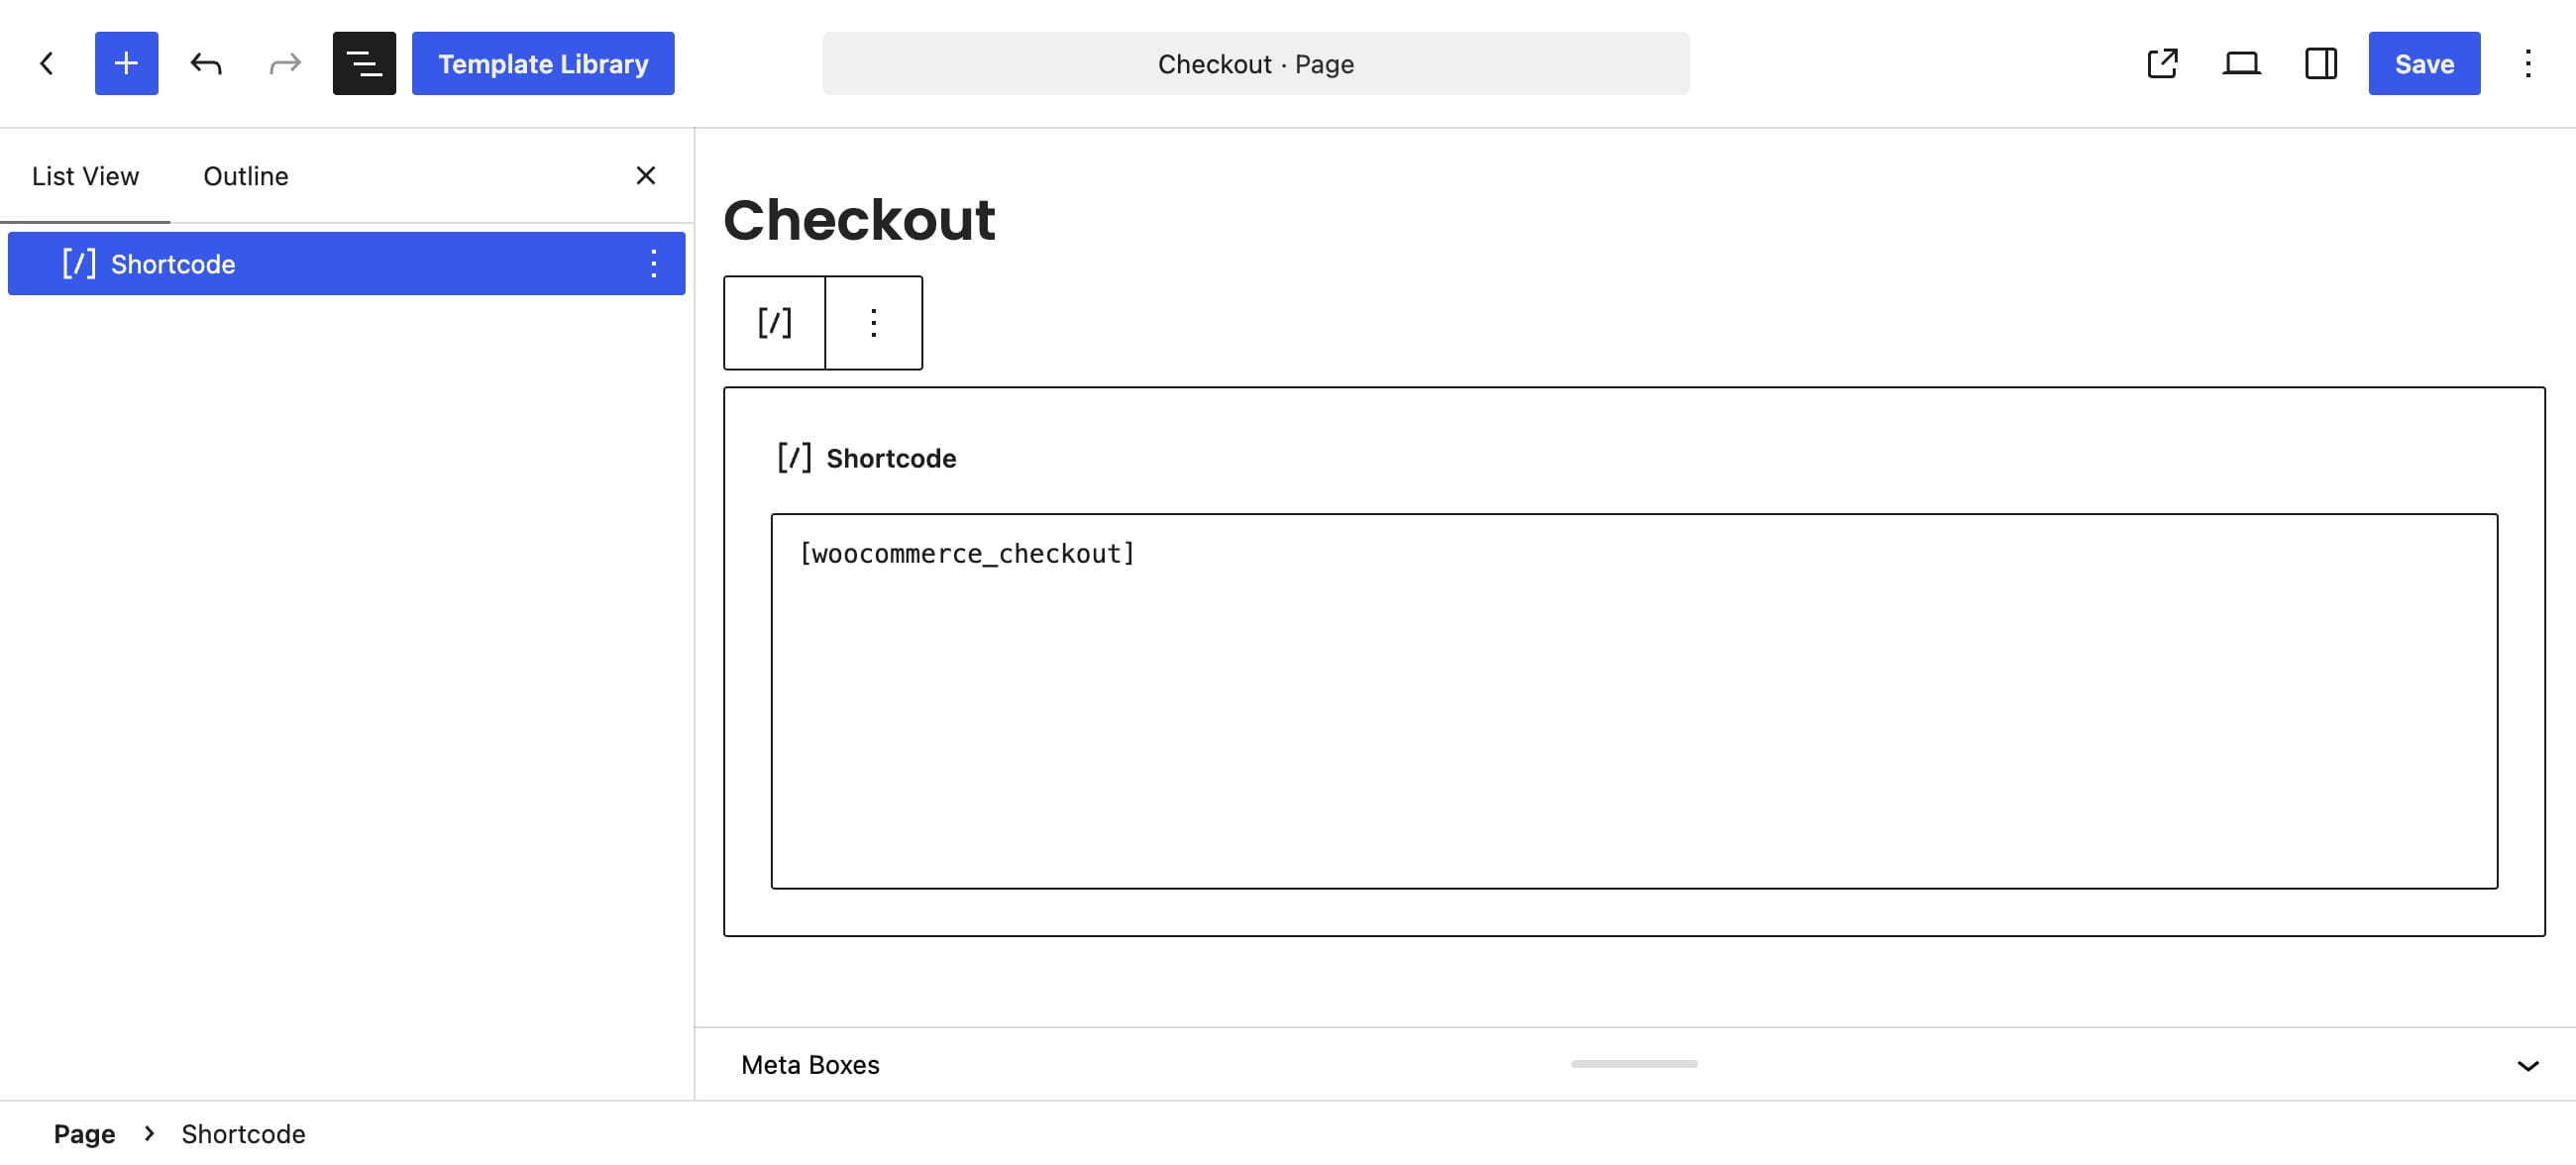
Open the Checkout page in the editor. If it contains the [woocommerce_checkout] shortcode rather than a Checkout block, the classic checkout is active. If neither is present, add the shortcode.
Checkout design options
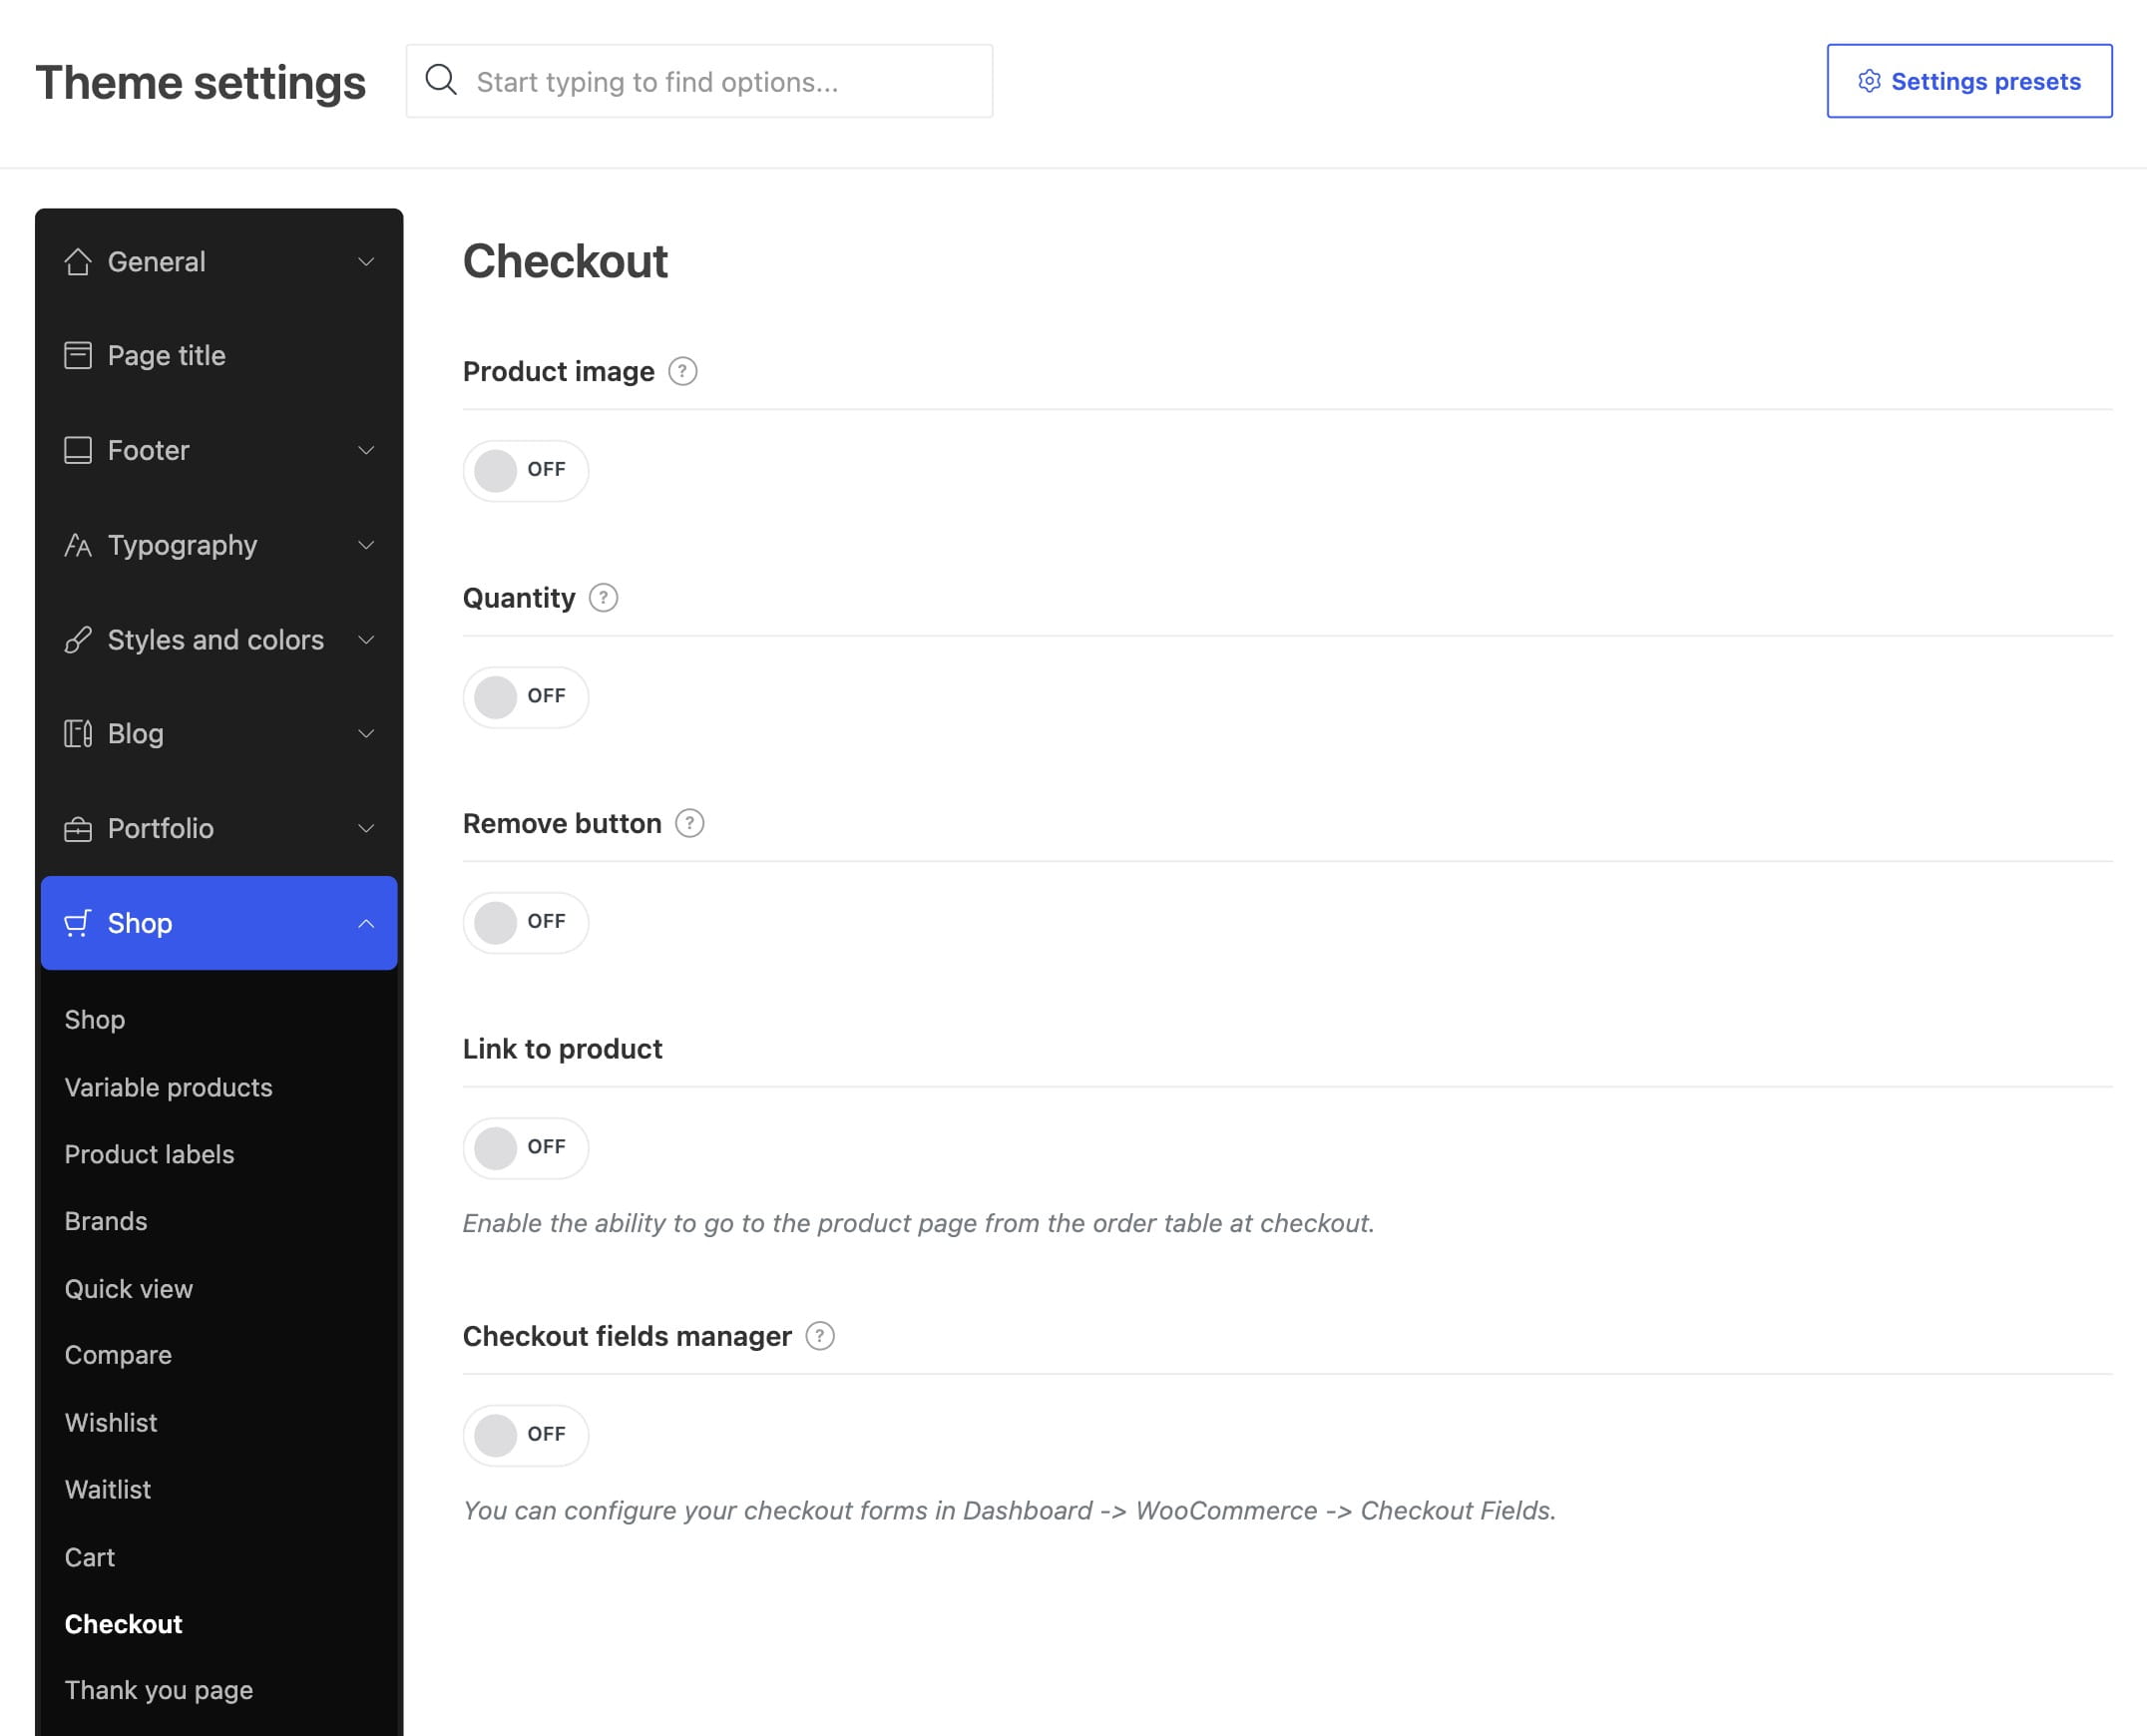
The Theme Settings → Shop → Checkout section contains options for the page design. These options apply only to the shortcode page.
- Product image: the product image in the order table.
- Quantity: the product quantity.
- Remove button: the button for removing a product from the order.
- Link to product: allows navigating to the product page from the order table at checkout.
- Checkout fields manager: enables the field-editing functionality on the classic checkout.
Editing checkout fields
Fields can be edited using the Checkout Fields Manager. It allows editing, hiding, and arranging checkout fields. Works only with the classic checkout. Detailed description: Checkout fields manager.
Creating a custom checkout layout
For Elementor and WPBakery, two layouts are needed: Checkout form (the form and the order button) and Checkout top content (the login and coupon forms). For Gutenberg, a single Checkout layout is used.
To create a layout:
- Go to Dashboard → Layouts → Checkout and click Add new.
- Choose the layout type and enter a name.
- Click Create layout.
- Add the needed elements and publish the layout.
Learn more about working with the Checkout Layout Builder documentation.
Setting up the block checkout
Enabling the block checkout
- Check which page is assigned in WooCommerce → Settings → Advanced.
- On that page, add the Checkout block.
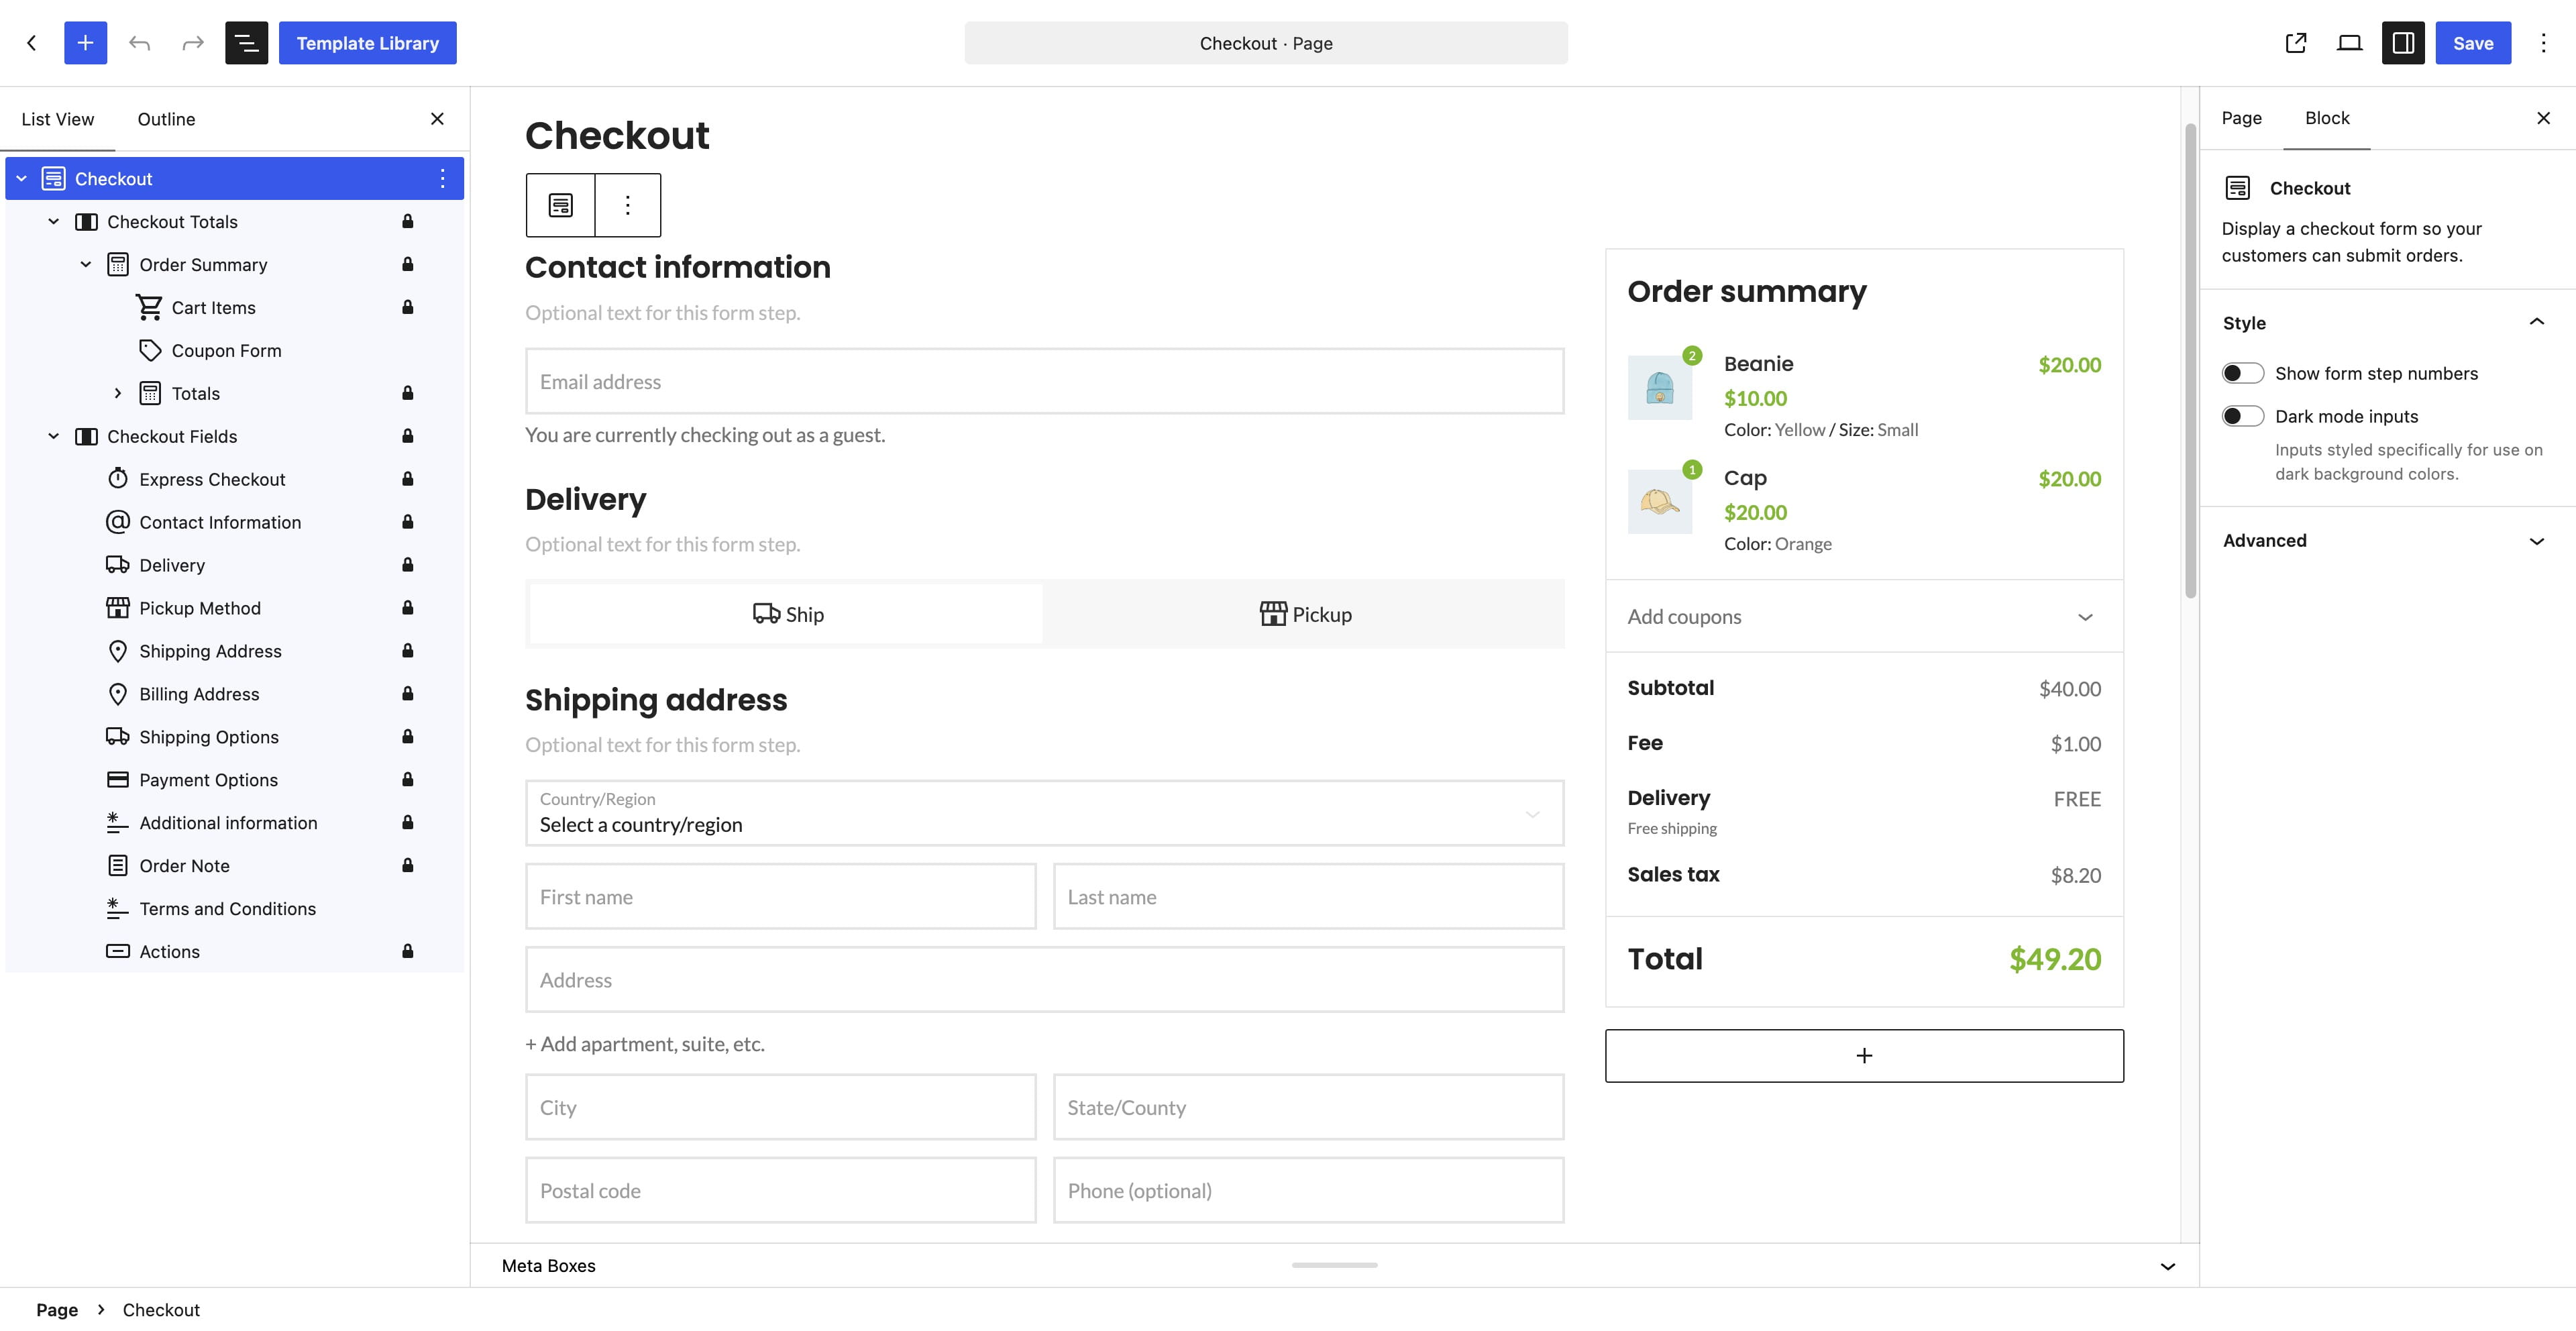
Editing the layout and options
The layout and options of the Block Checkout are configured directly in the Checkout block: by clicking on each corresponding inner element of the checkout. Options from Theme Settings → Shop → Checkout do not apply to the block checkout.
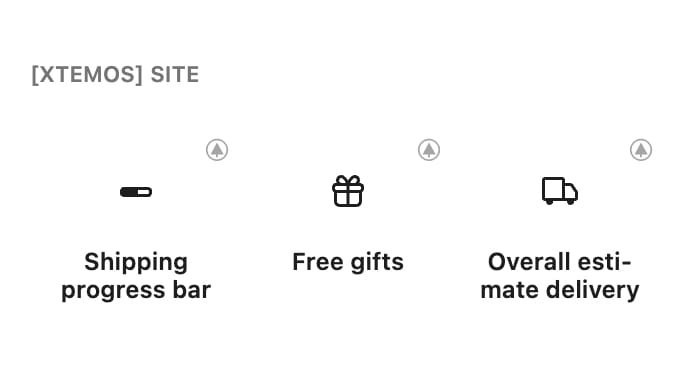
For options like Free gifts, the Free shipping progress bar, or Estimate Delivery, you first need to enable the relevant option in Theme Settings, and then add the corresponding block to the page.
Don’t miss WoodMart updates
Receive feature updates, tutorials, and WoodMart news via email.
 Last updated: September 22, 2026