
Getting started
Use this guide as a roadmap for getting started with WoodMart. It covers the server requirements, theme installation, setup wizard, and the first configuration tasks. Follow the links in each section for more detailed instructions.
Requirements and WordPress setup
Before installing WoodMart, make sure that your hosting environment is properly configured. WoodMart requires PHP 8.3 or later, an up-to-date version of WordPress, and HTTPS support. See the requirements and WordPress setup guide for the complete server requirements and recommended PHP configuration.
Install WoodMart
The recommended method is to install WoodMart through the WordPress Dashboard. If your server has an upload-size restriction or you cannot access the WordPress admin area, you can upload the theme through your hosting file manager or SFTP instead.
1. In the WordPress Dashboard, navigate to Appearance -> Themes -> Add New.
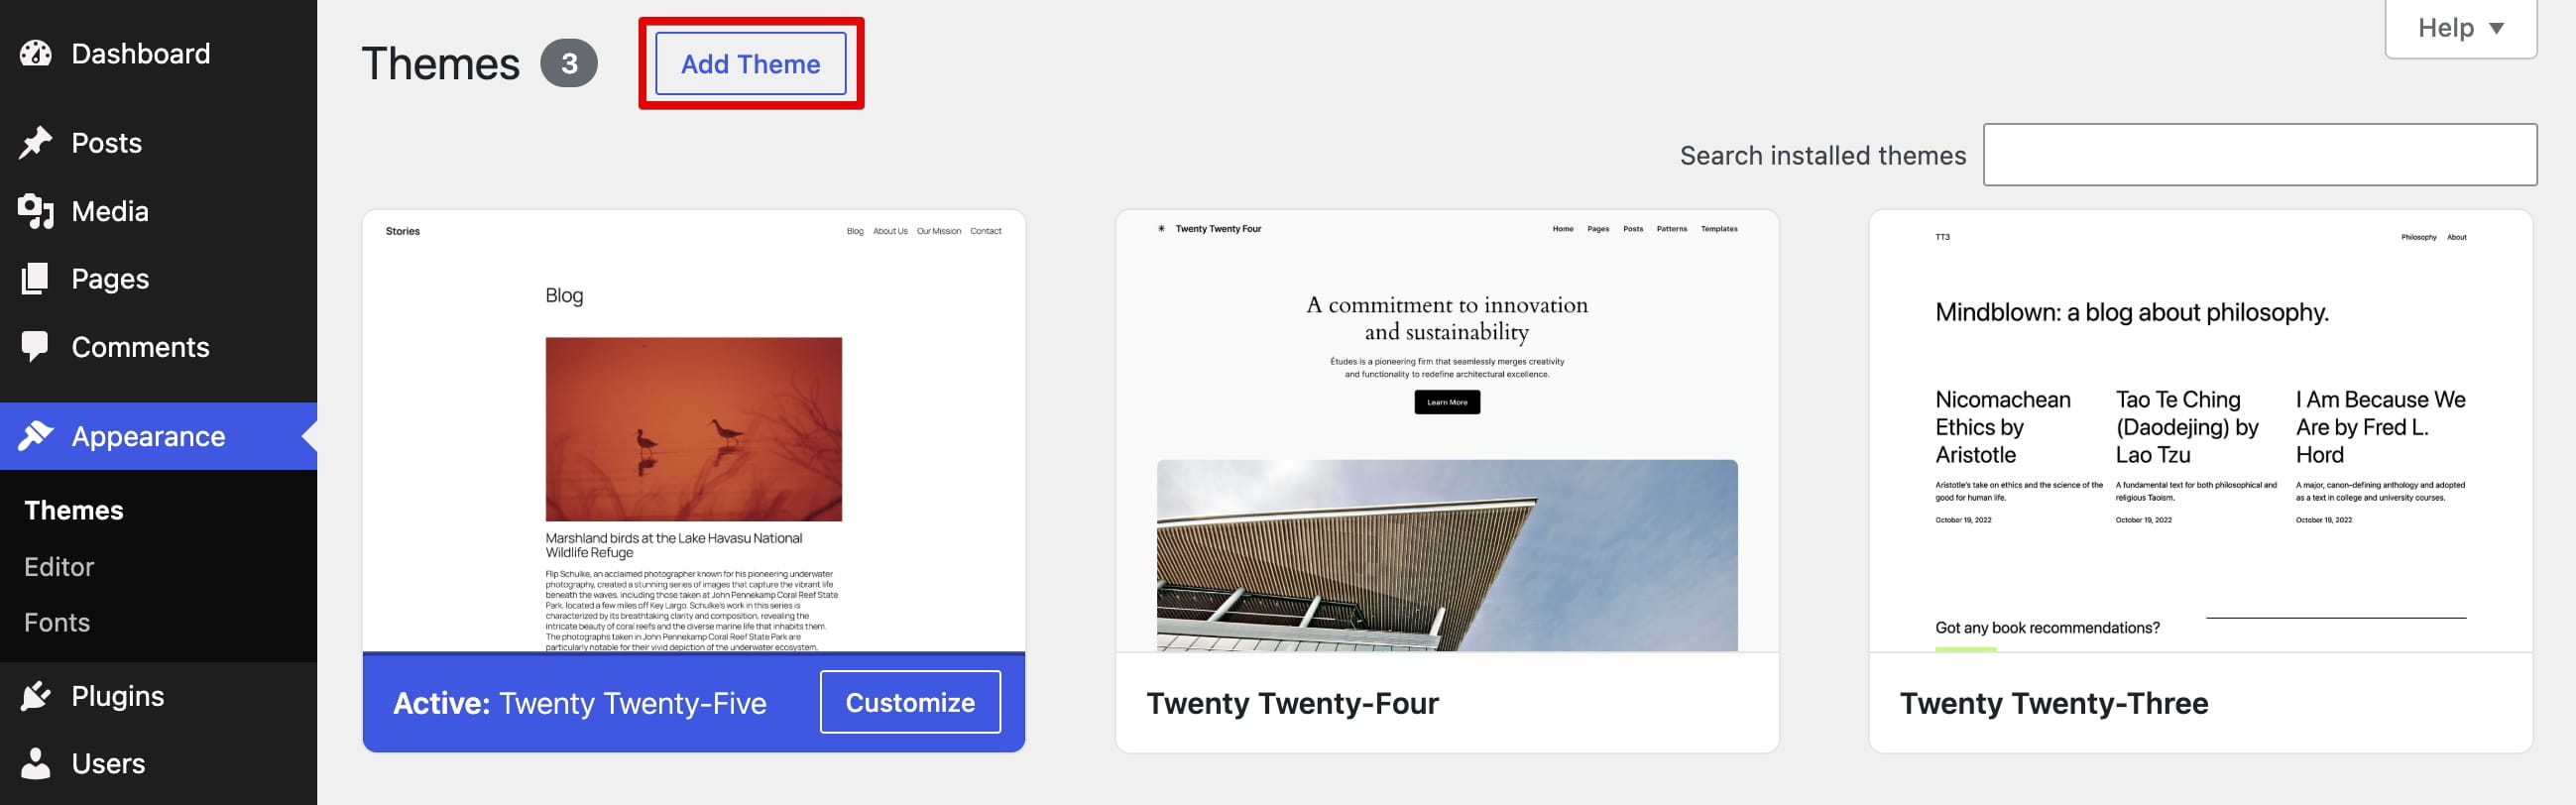
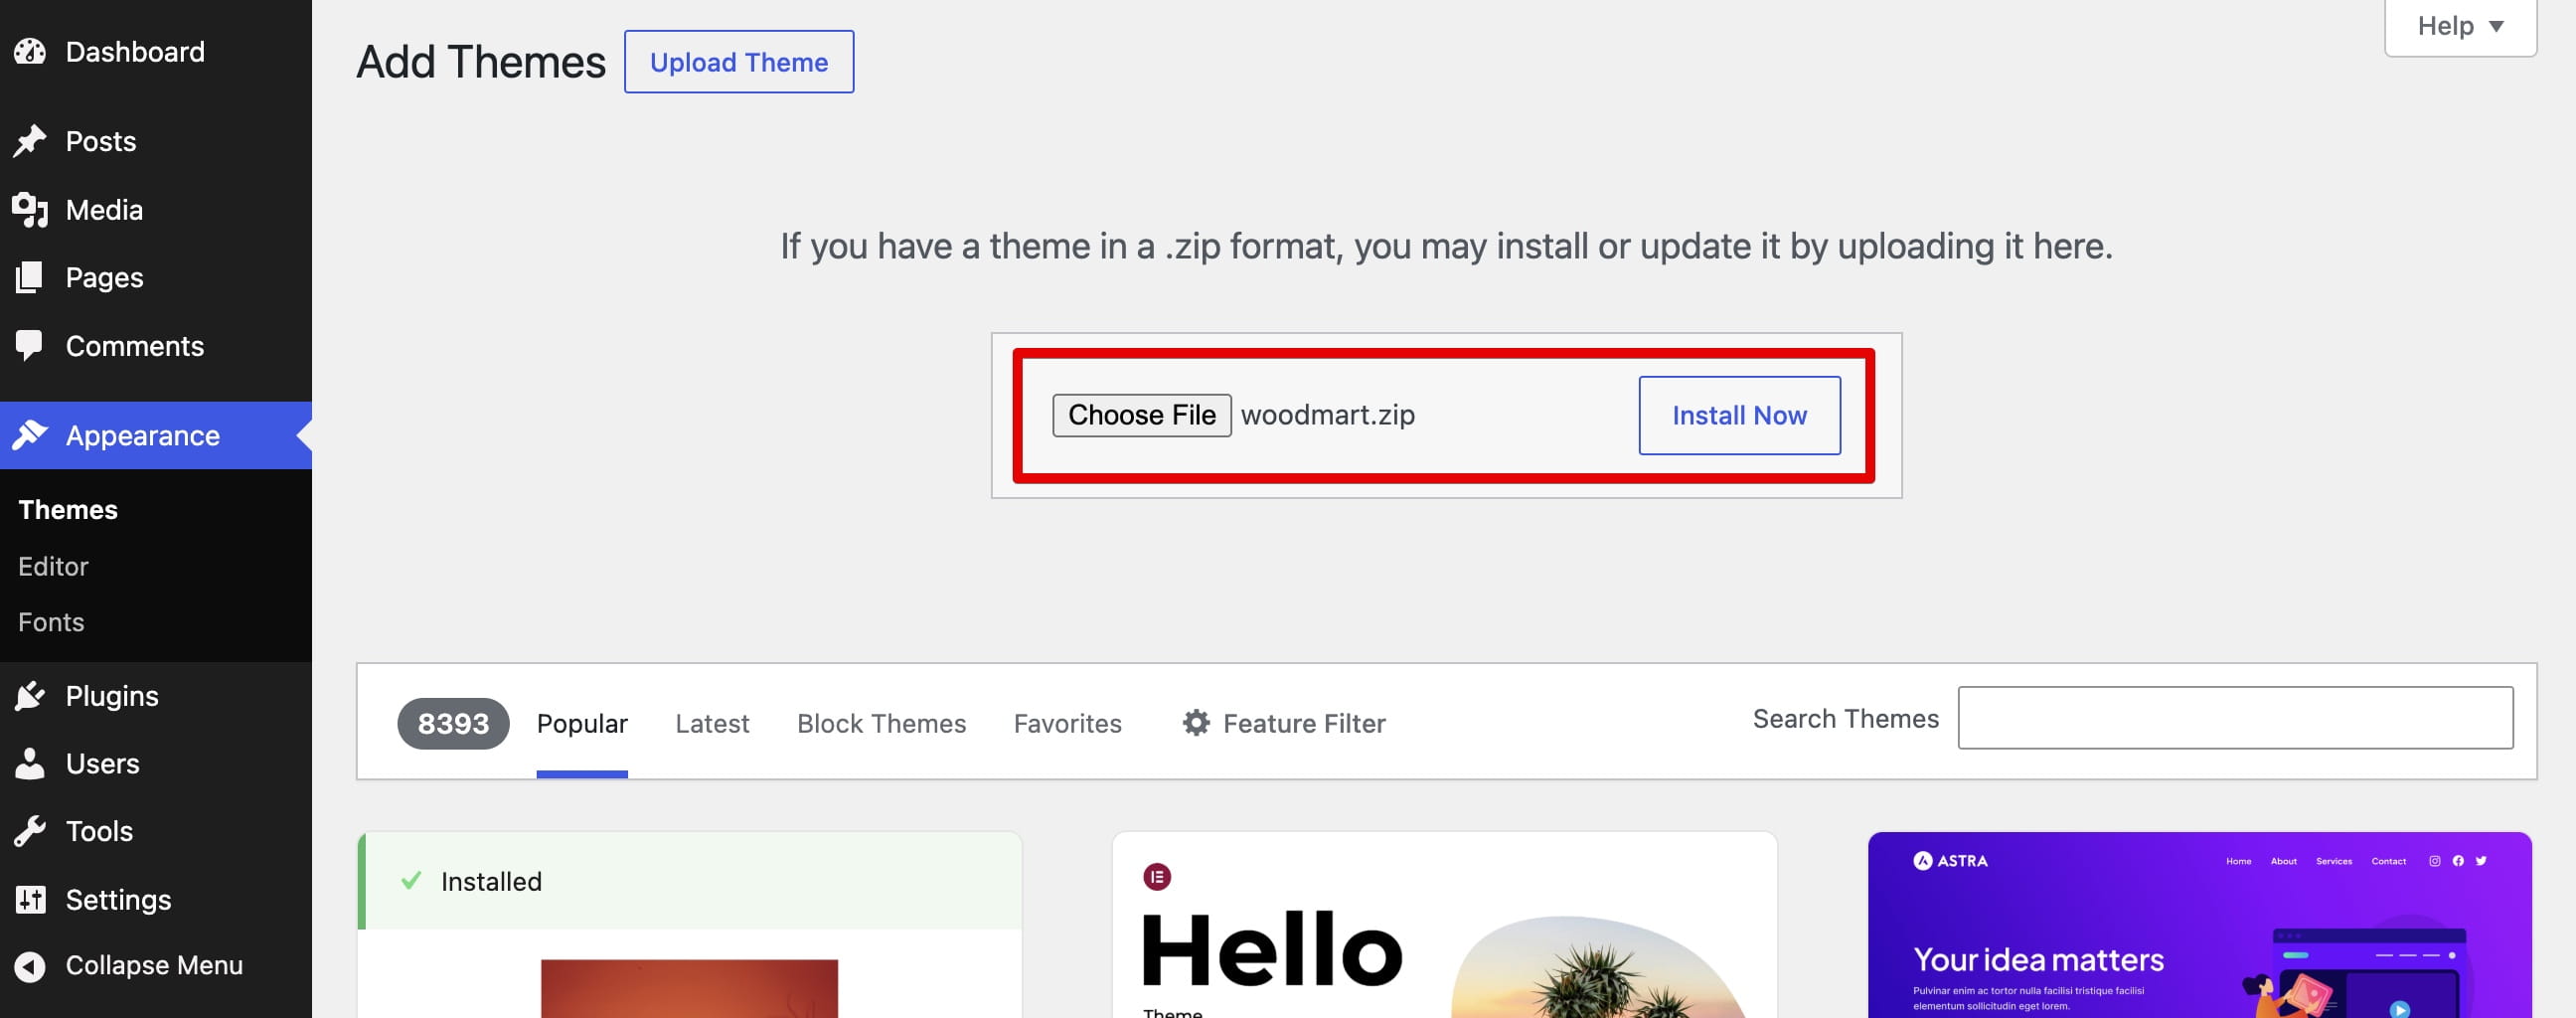
2. Select the woodmart.zip file and click Install Now.
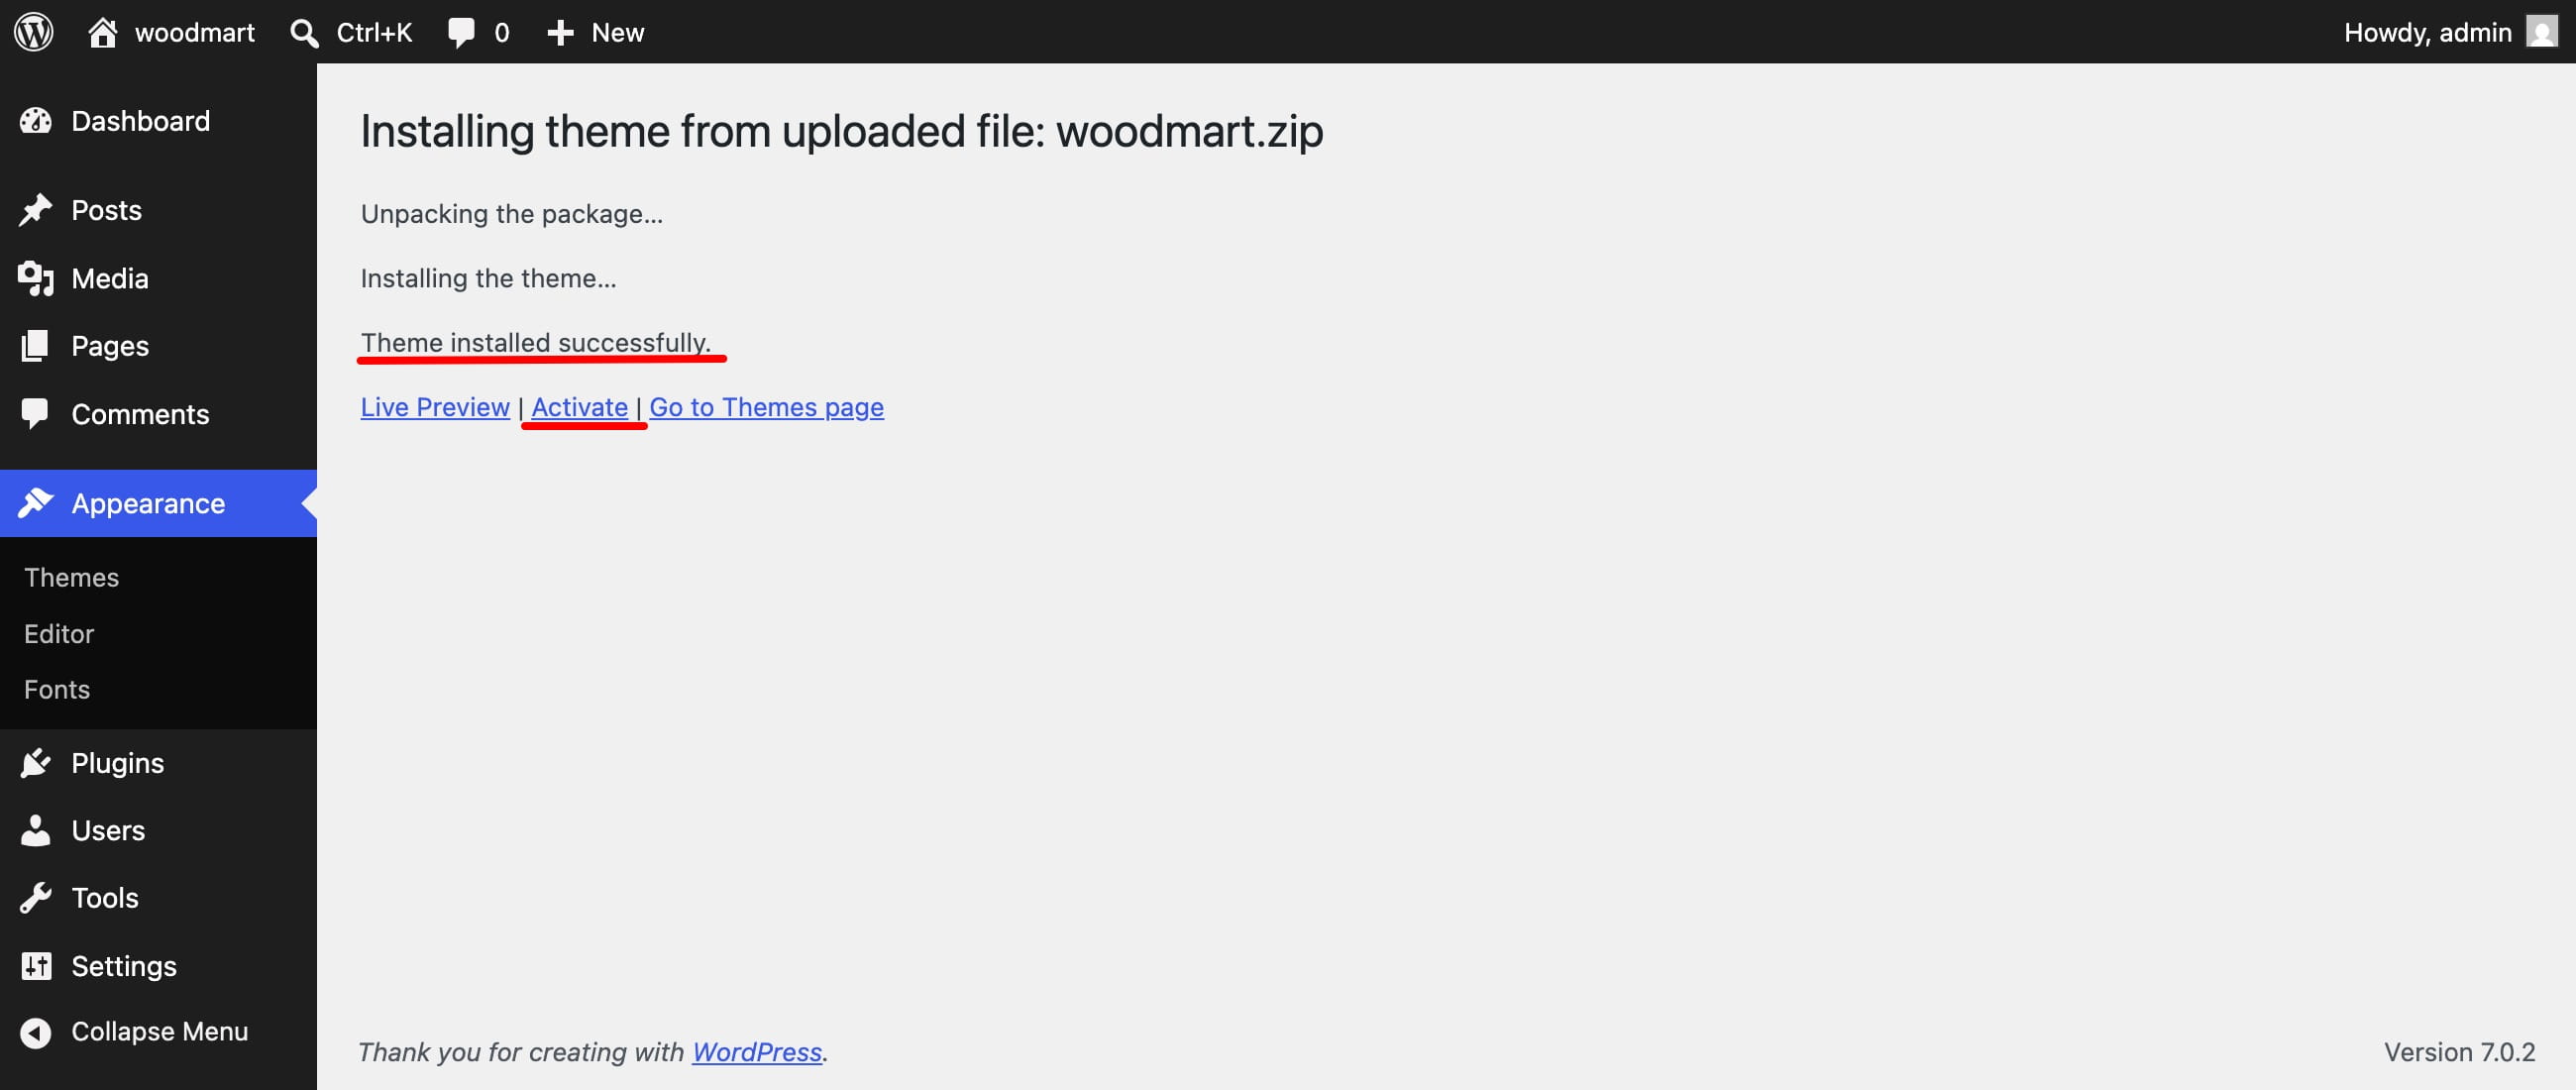
3. When the installation is complete, click Activate.
4. After activation, WoodMart opens the setup wizard.
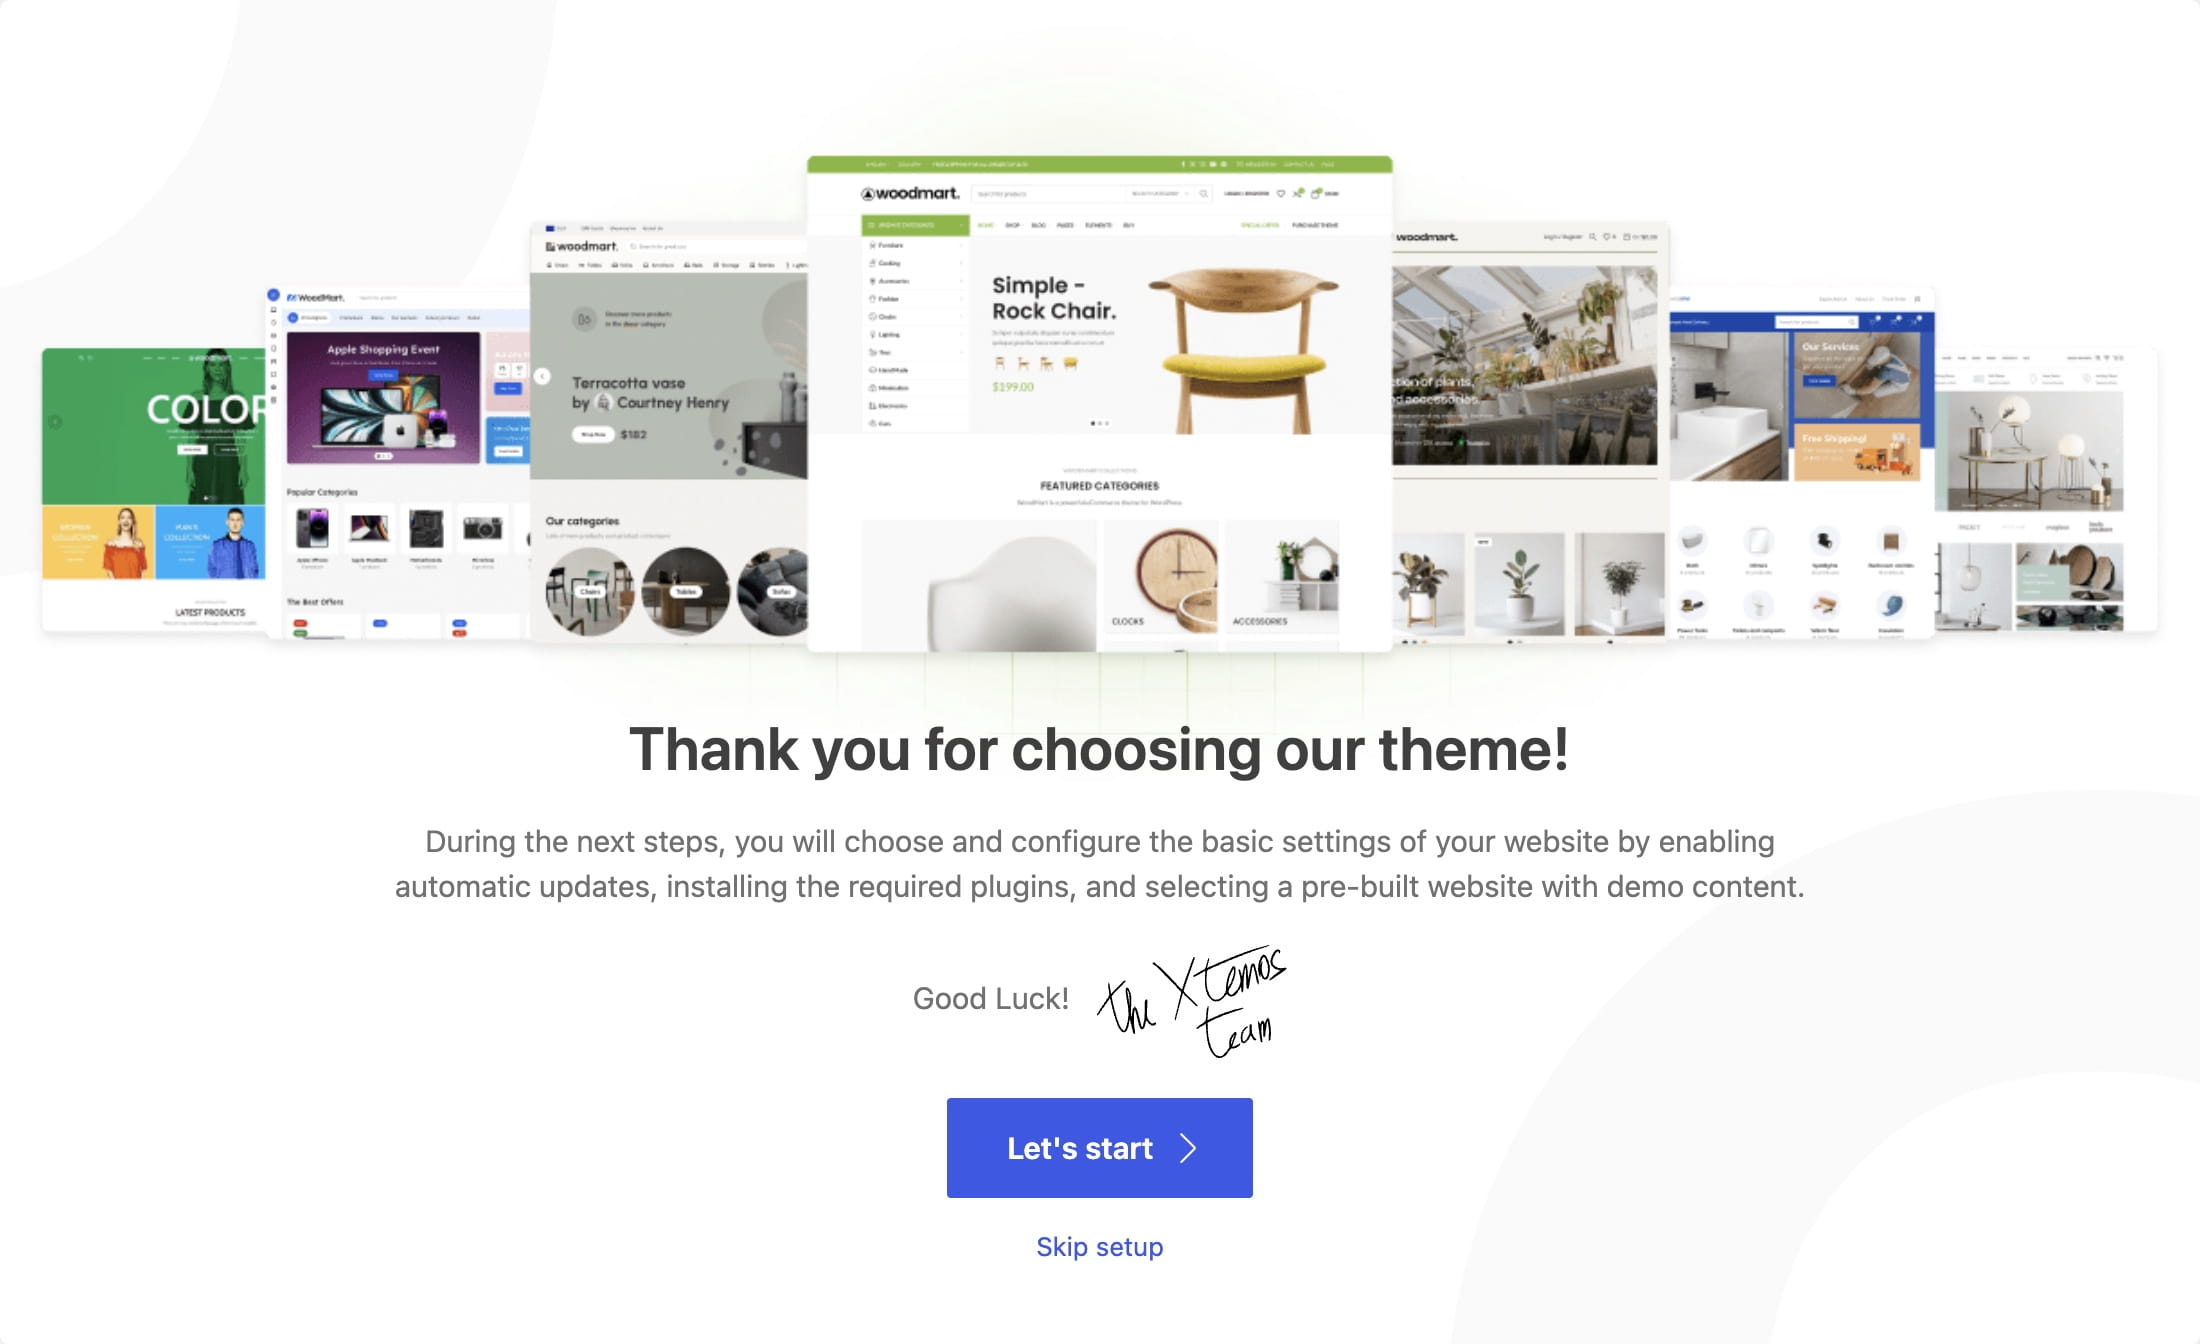
Click Let’s start and complete the following steps.
Step 1. License activation
Activate your license to enable automatic theme updates. You can also skip this step and activate the license later from the WoodMart Dashboard.
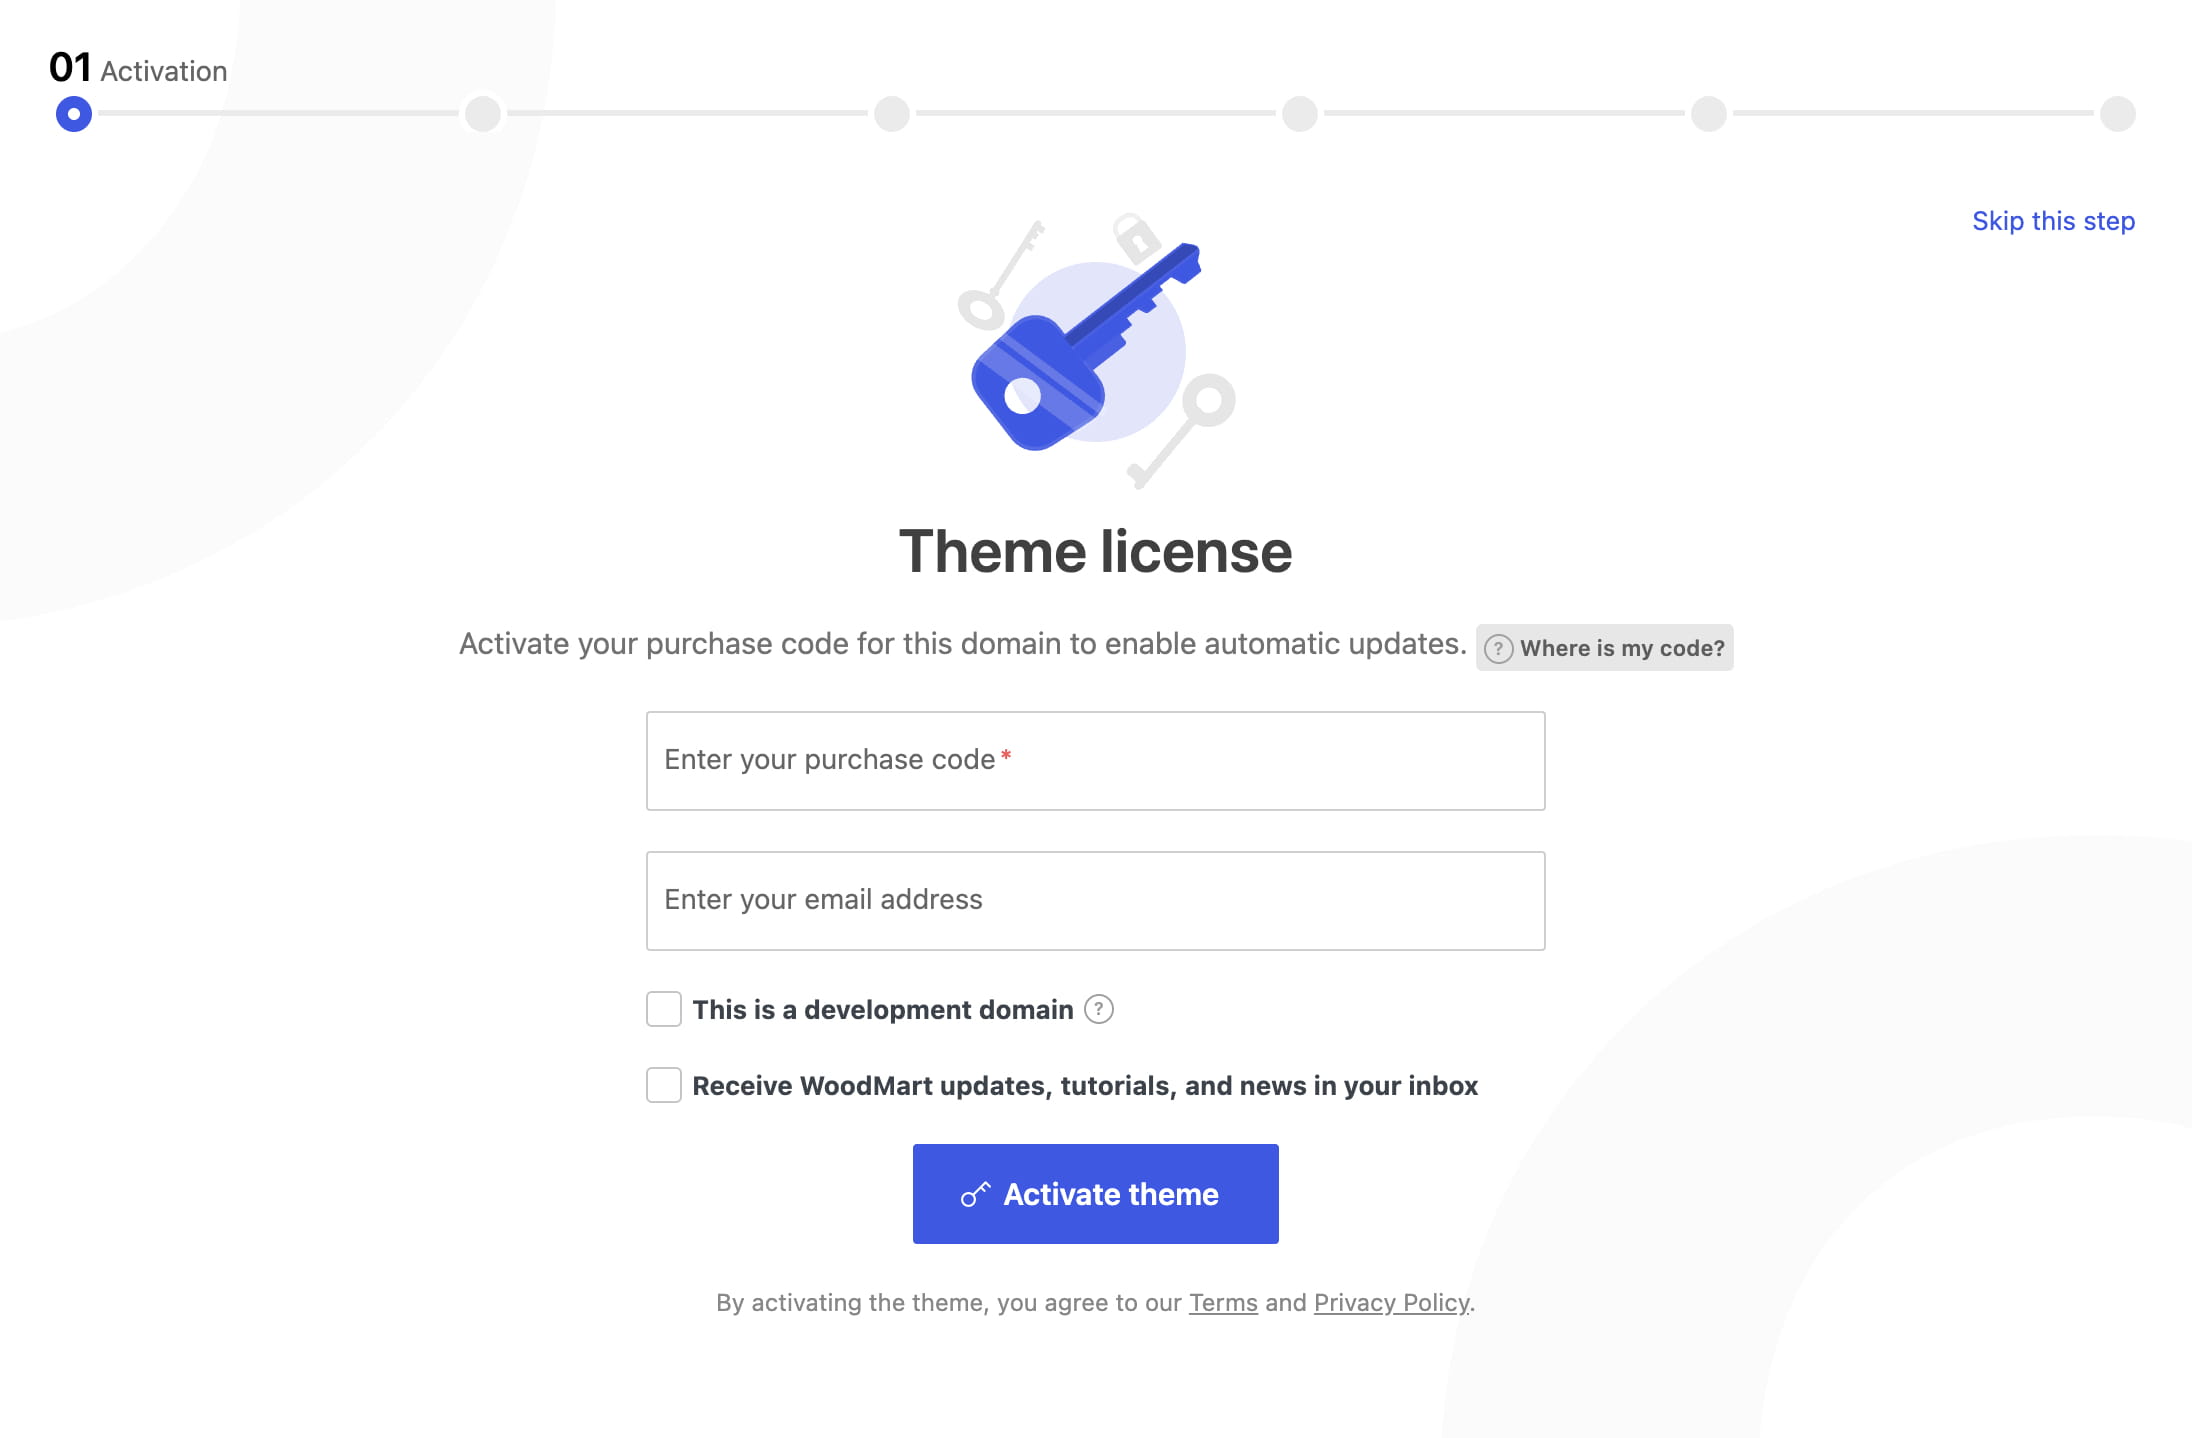
Select Development domain when activating WoodMart on a staging or development website. Leave it unselected for your live website.
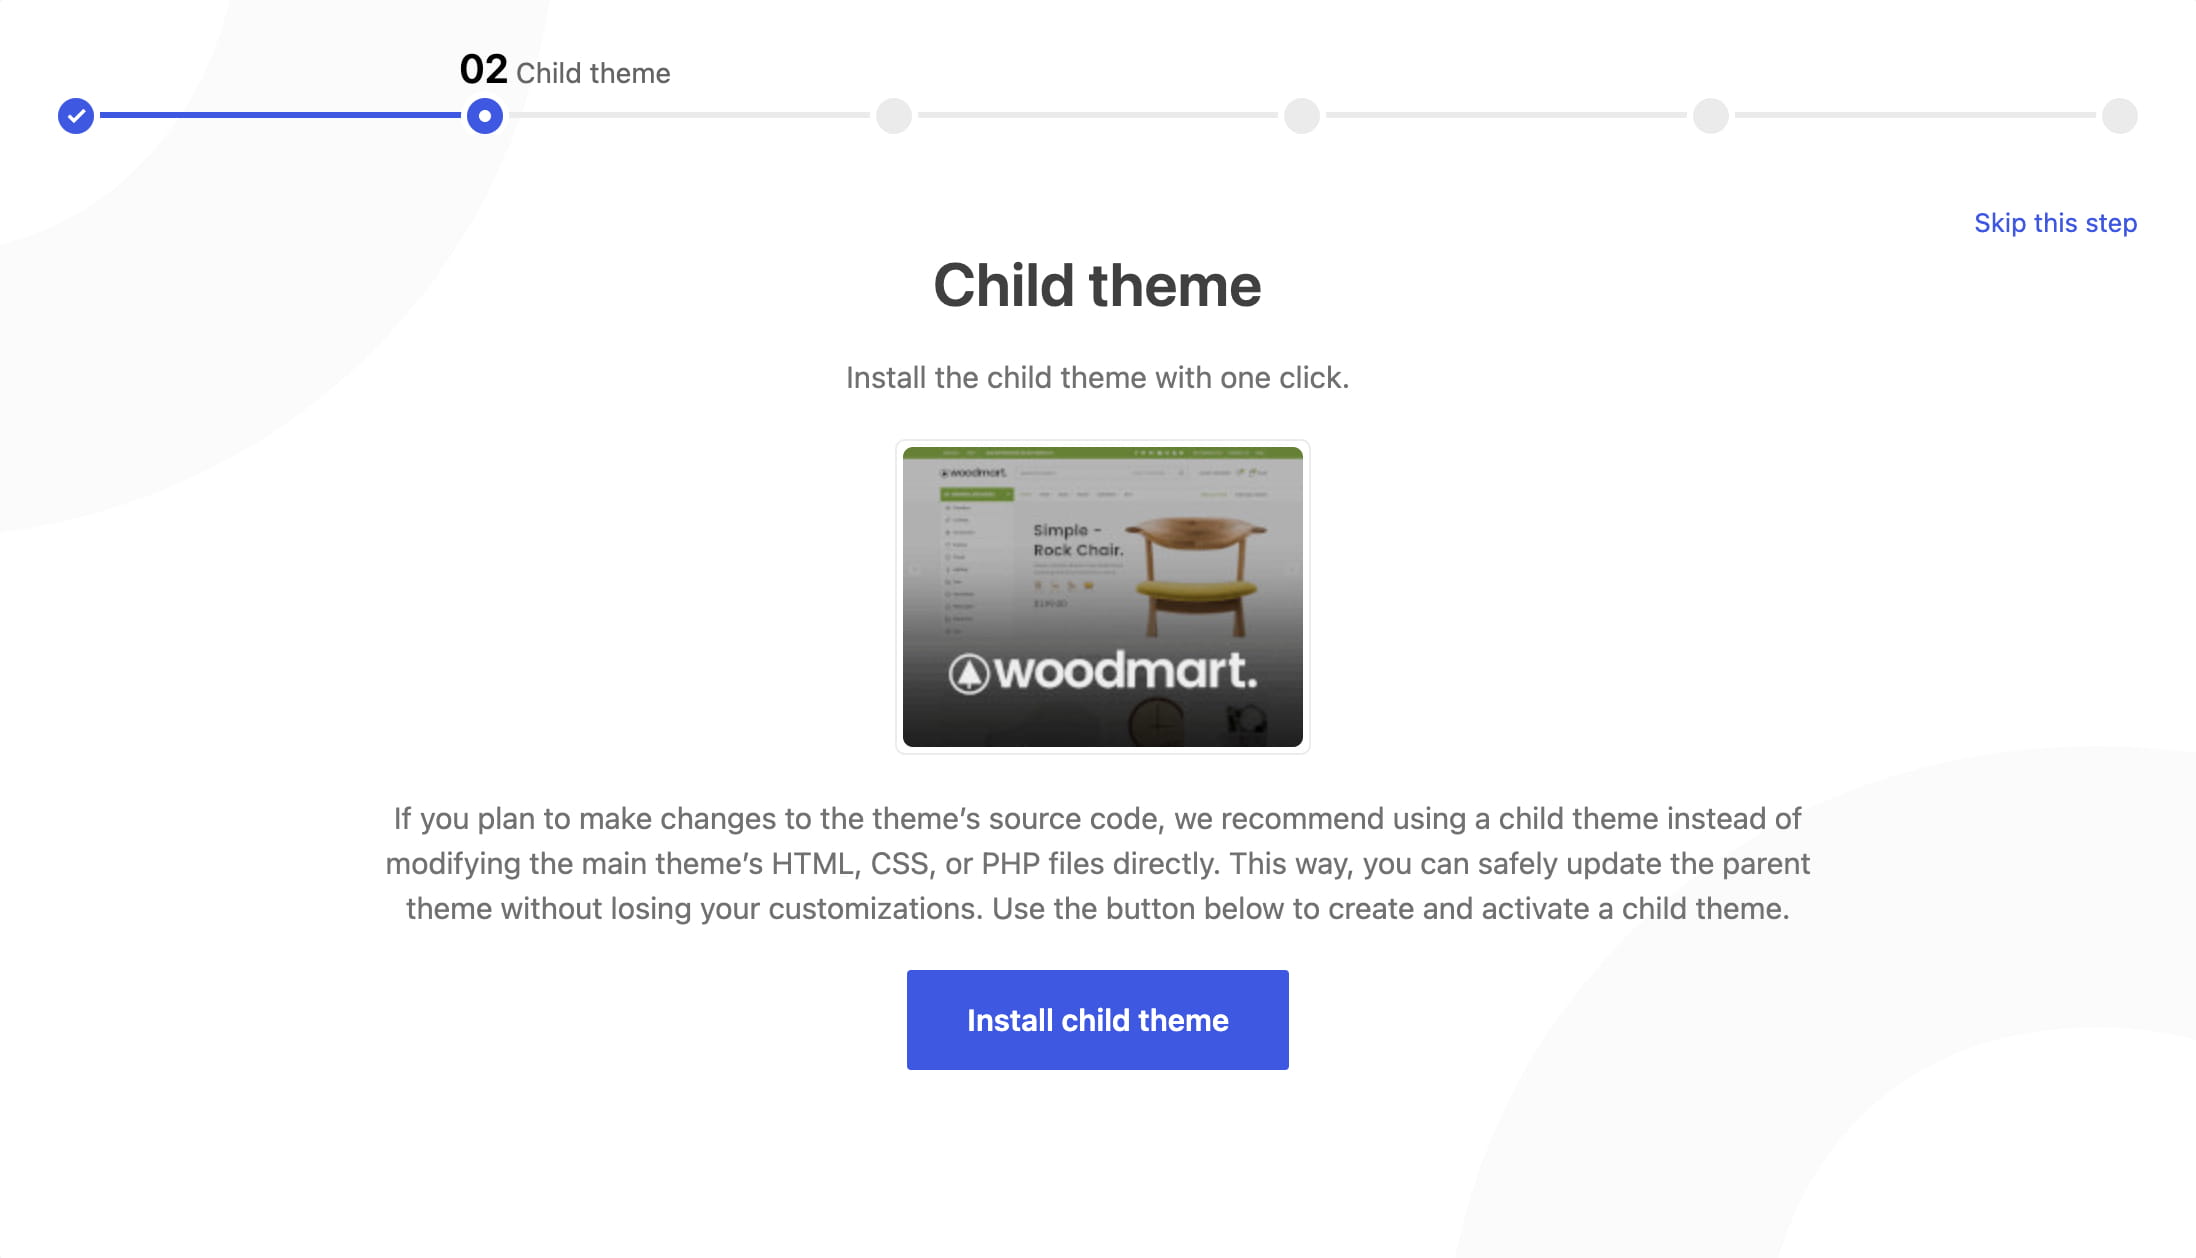
Step 2. Child theme
Click Install child theme to create and activate a child theme. Use it for code customizations that should remain in place when the parent WoodMart theme is updated. Learn more in the child theme setup guide.
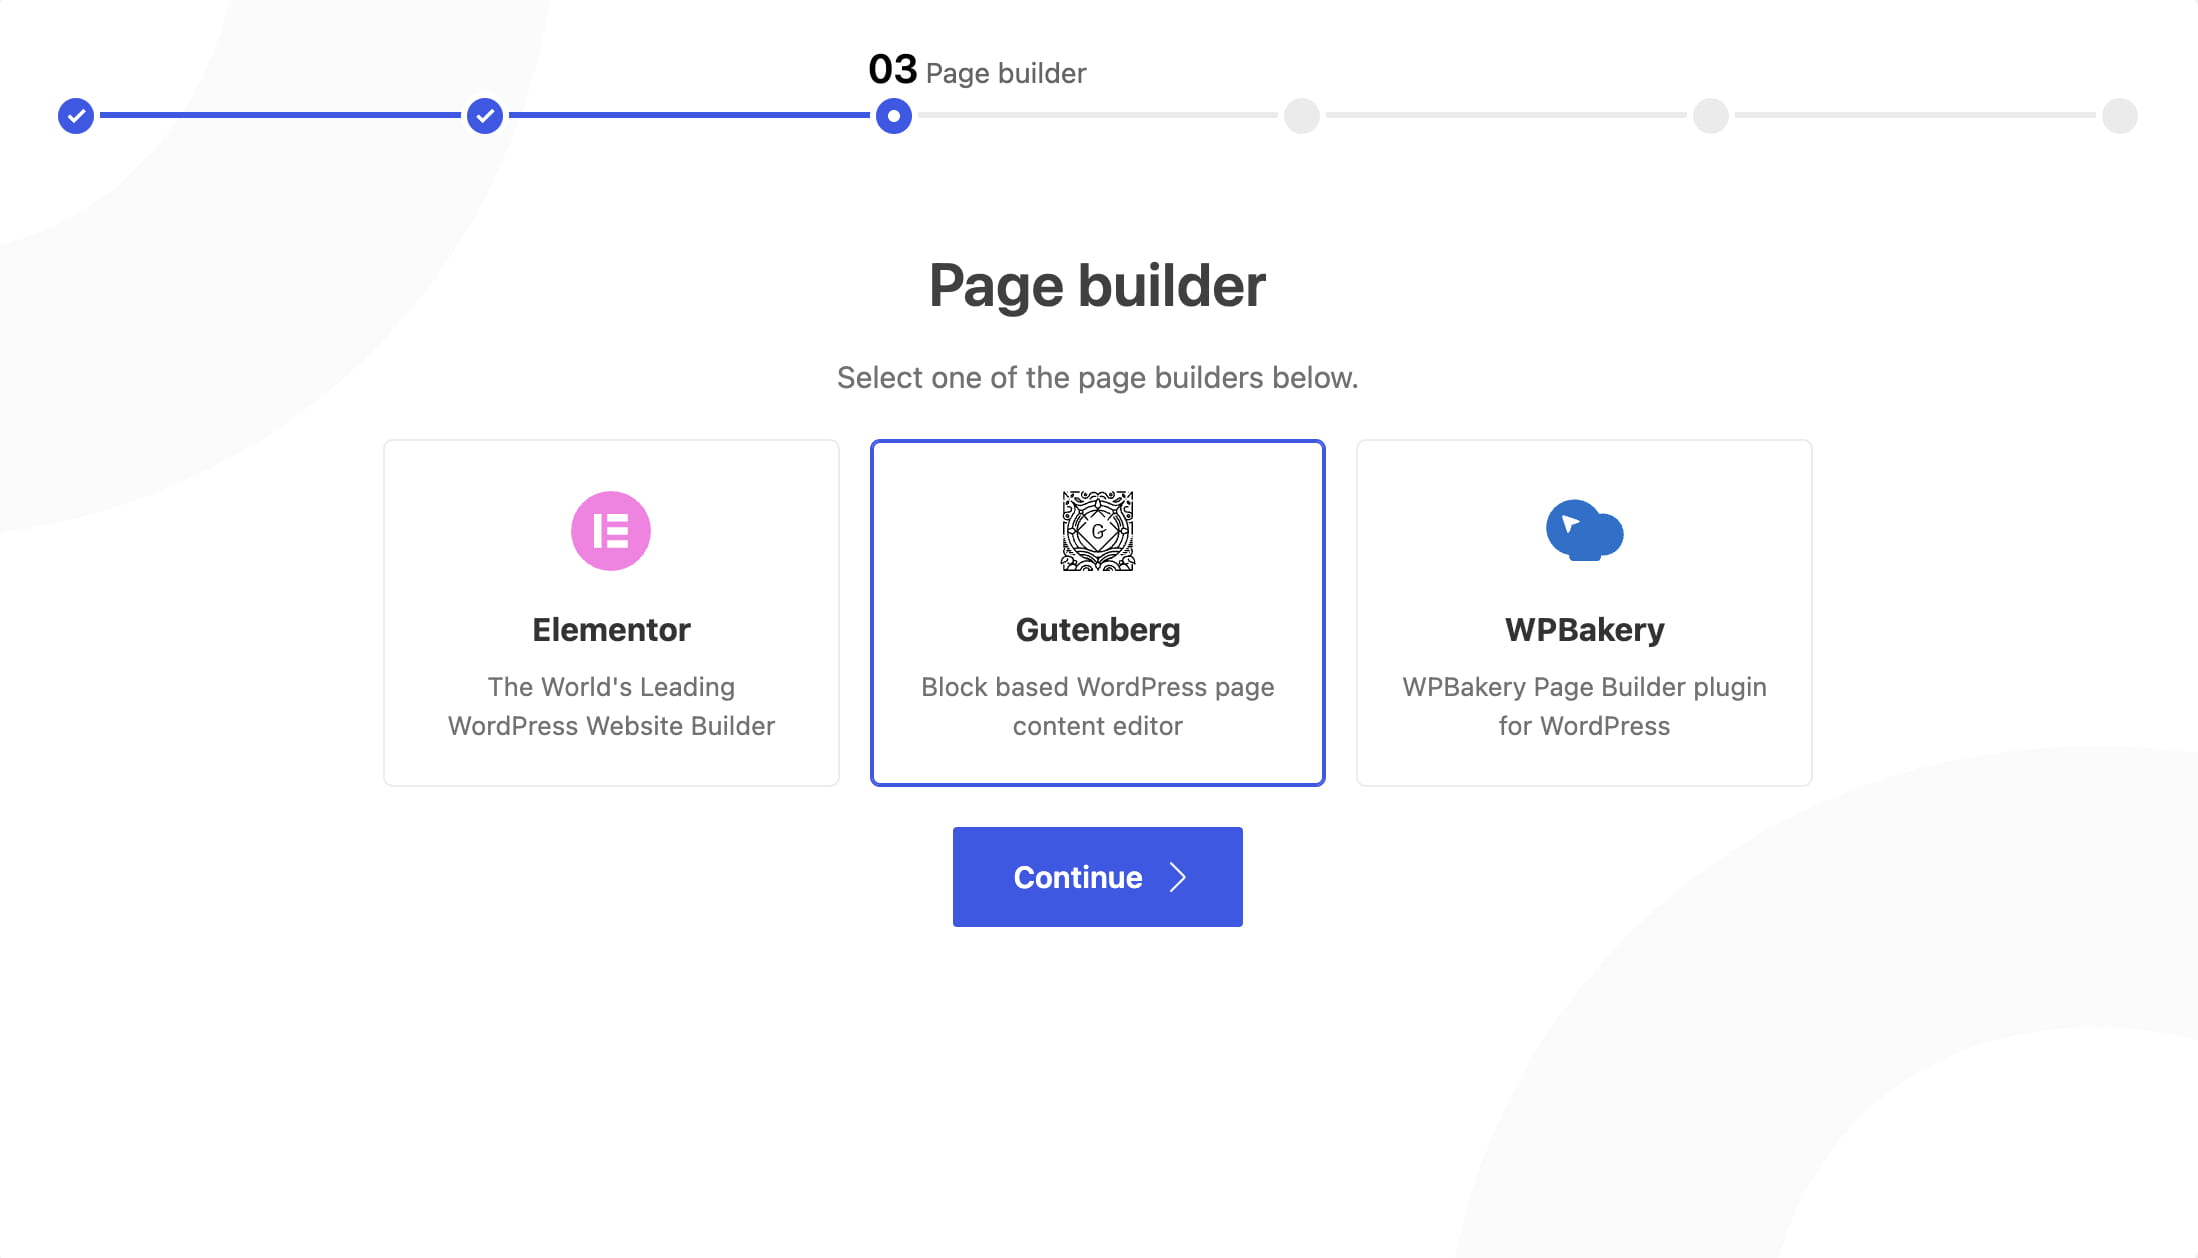
Step 3. Page builder
Select Elementor, Gutenberg, or WPBakery as your page builder and click Continue. The available prebuilt content will match the builder you select.
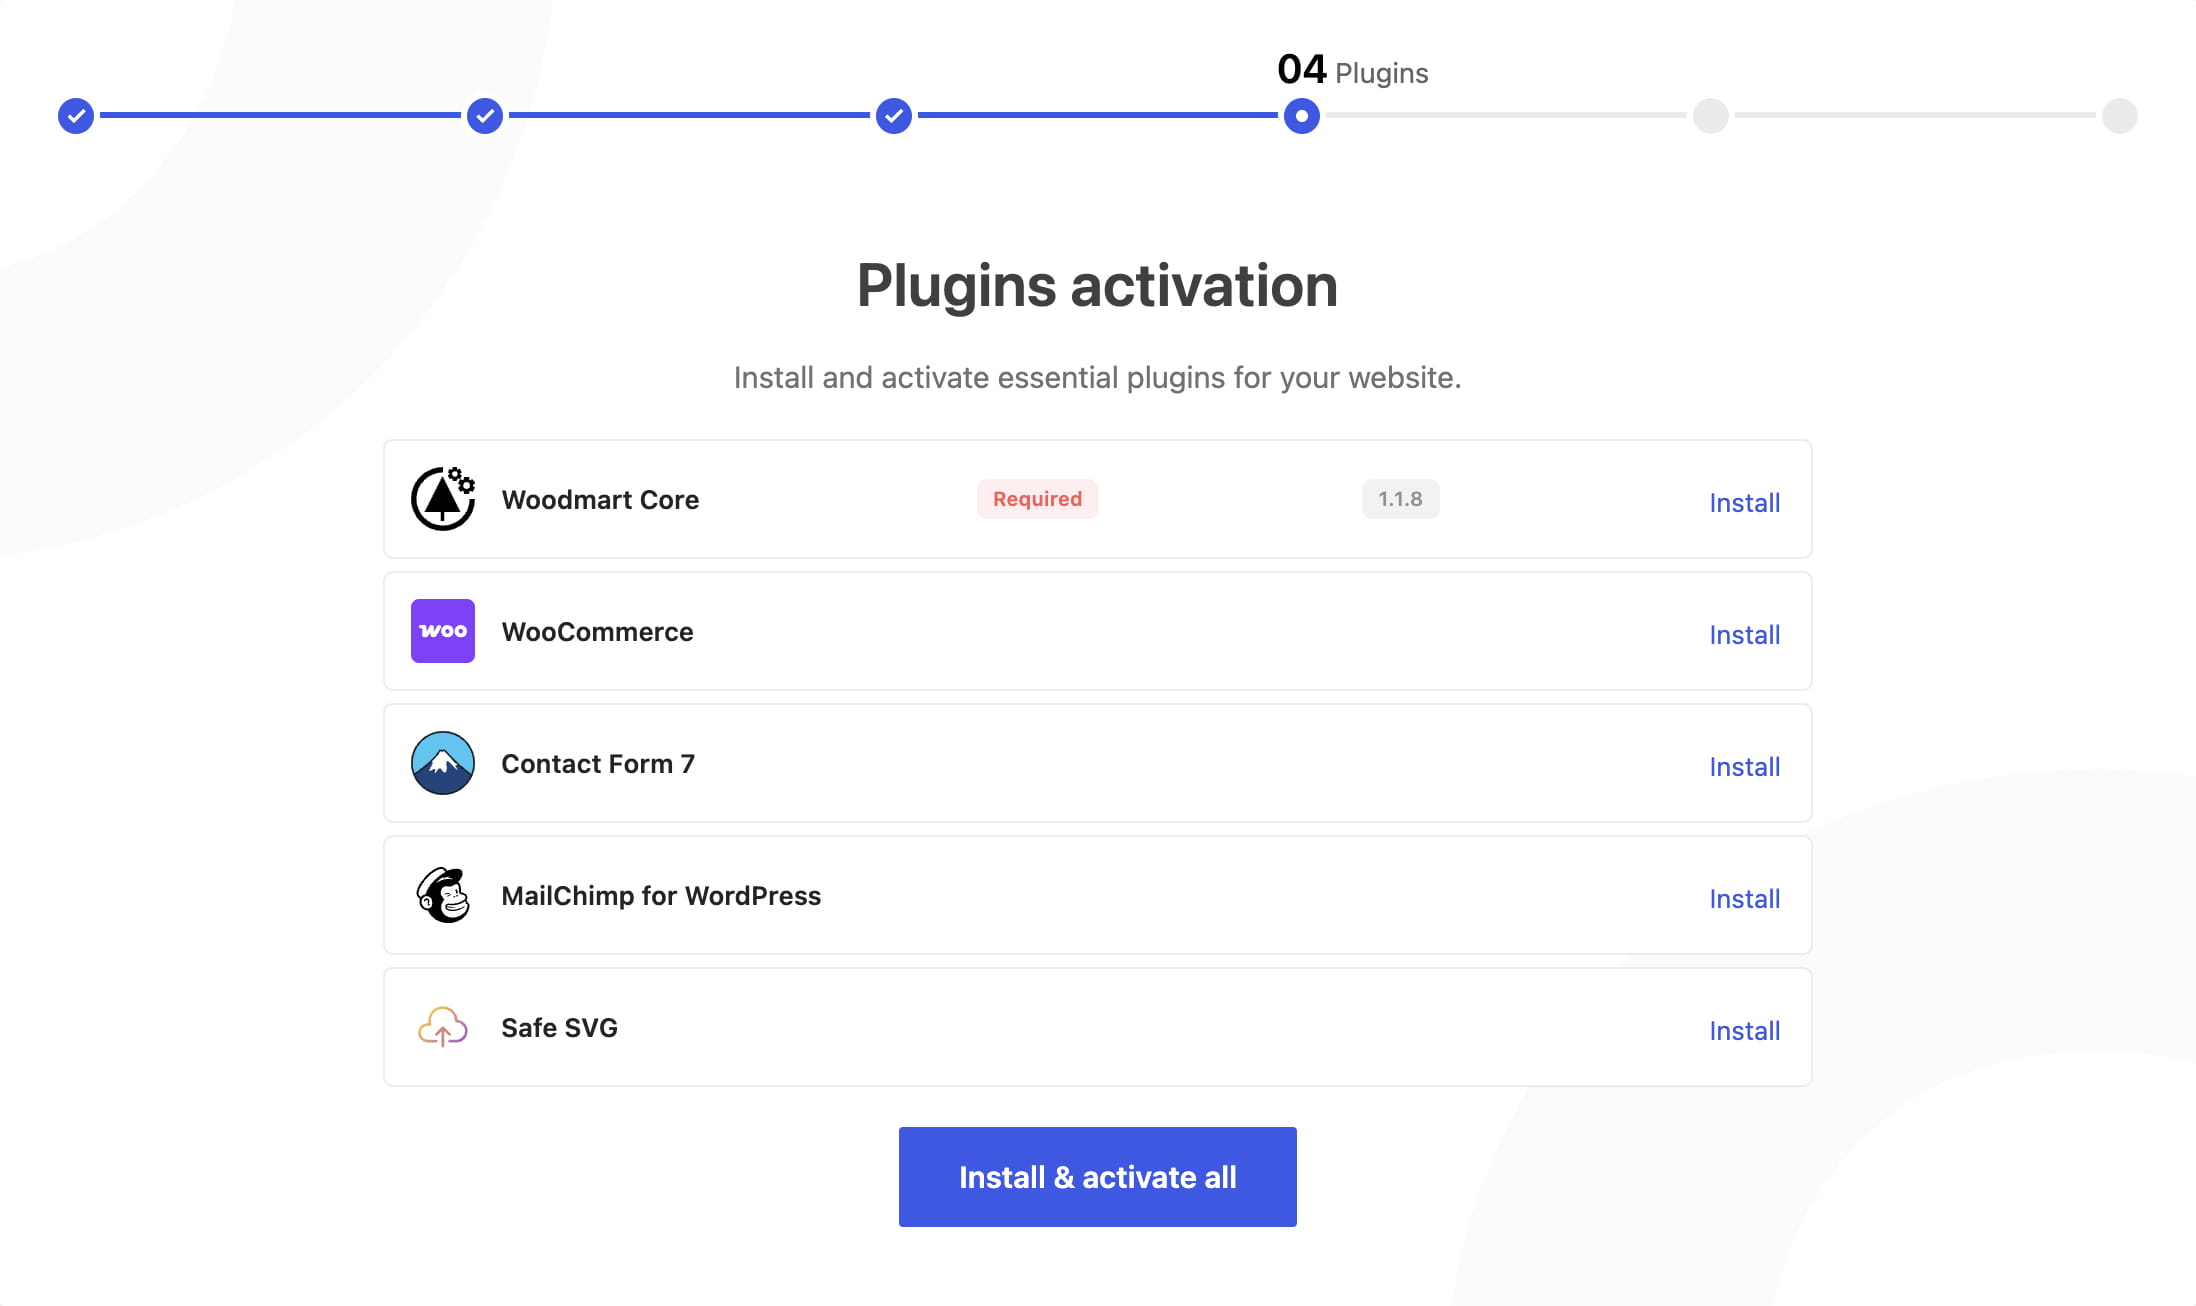
Step 4. Plugin activation
Install and activate the plugins required by the features you plan to use. You can install them individually or click Install & activate all.
Step 5. Prebuilt websites
Select a prebuilt website to import or skip this step and build your website from scratch. Prebuilt websites are available for different store types and can be filtered by category.
Important: A full prebuilt website is best imported into a new WordPress installation. Before importing it into an existing website, create a complete backup to prevent unwanted changes to your current content and settings.
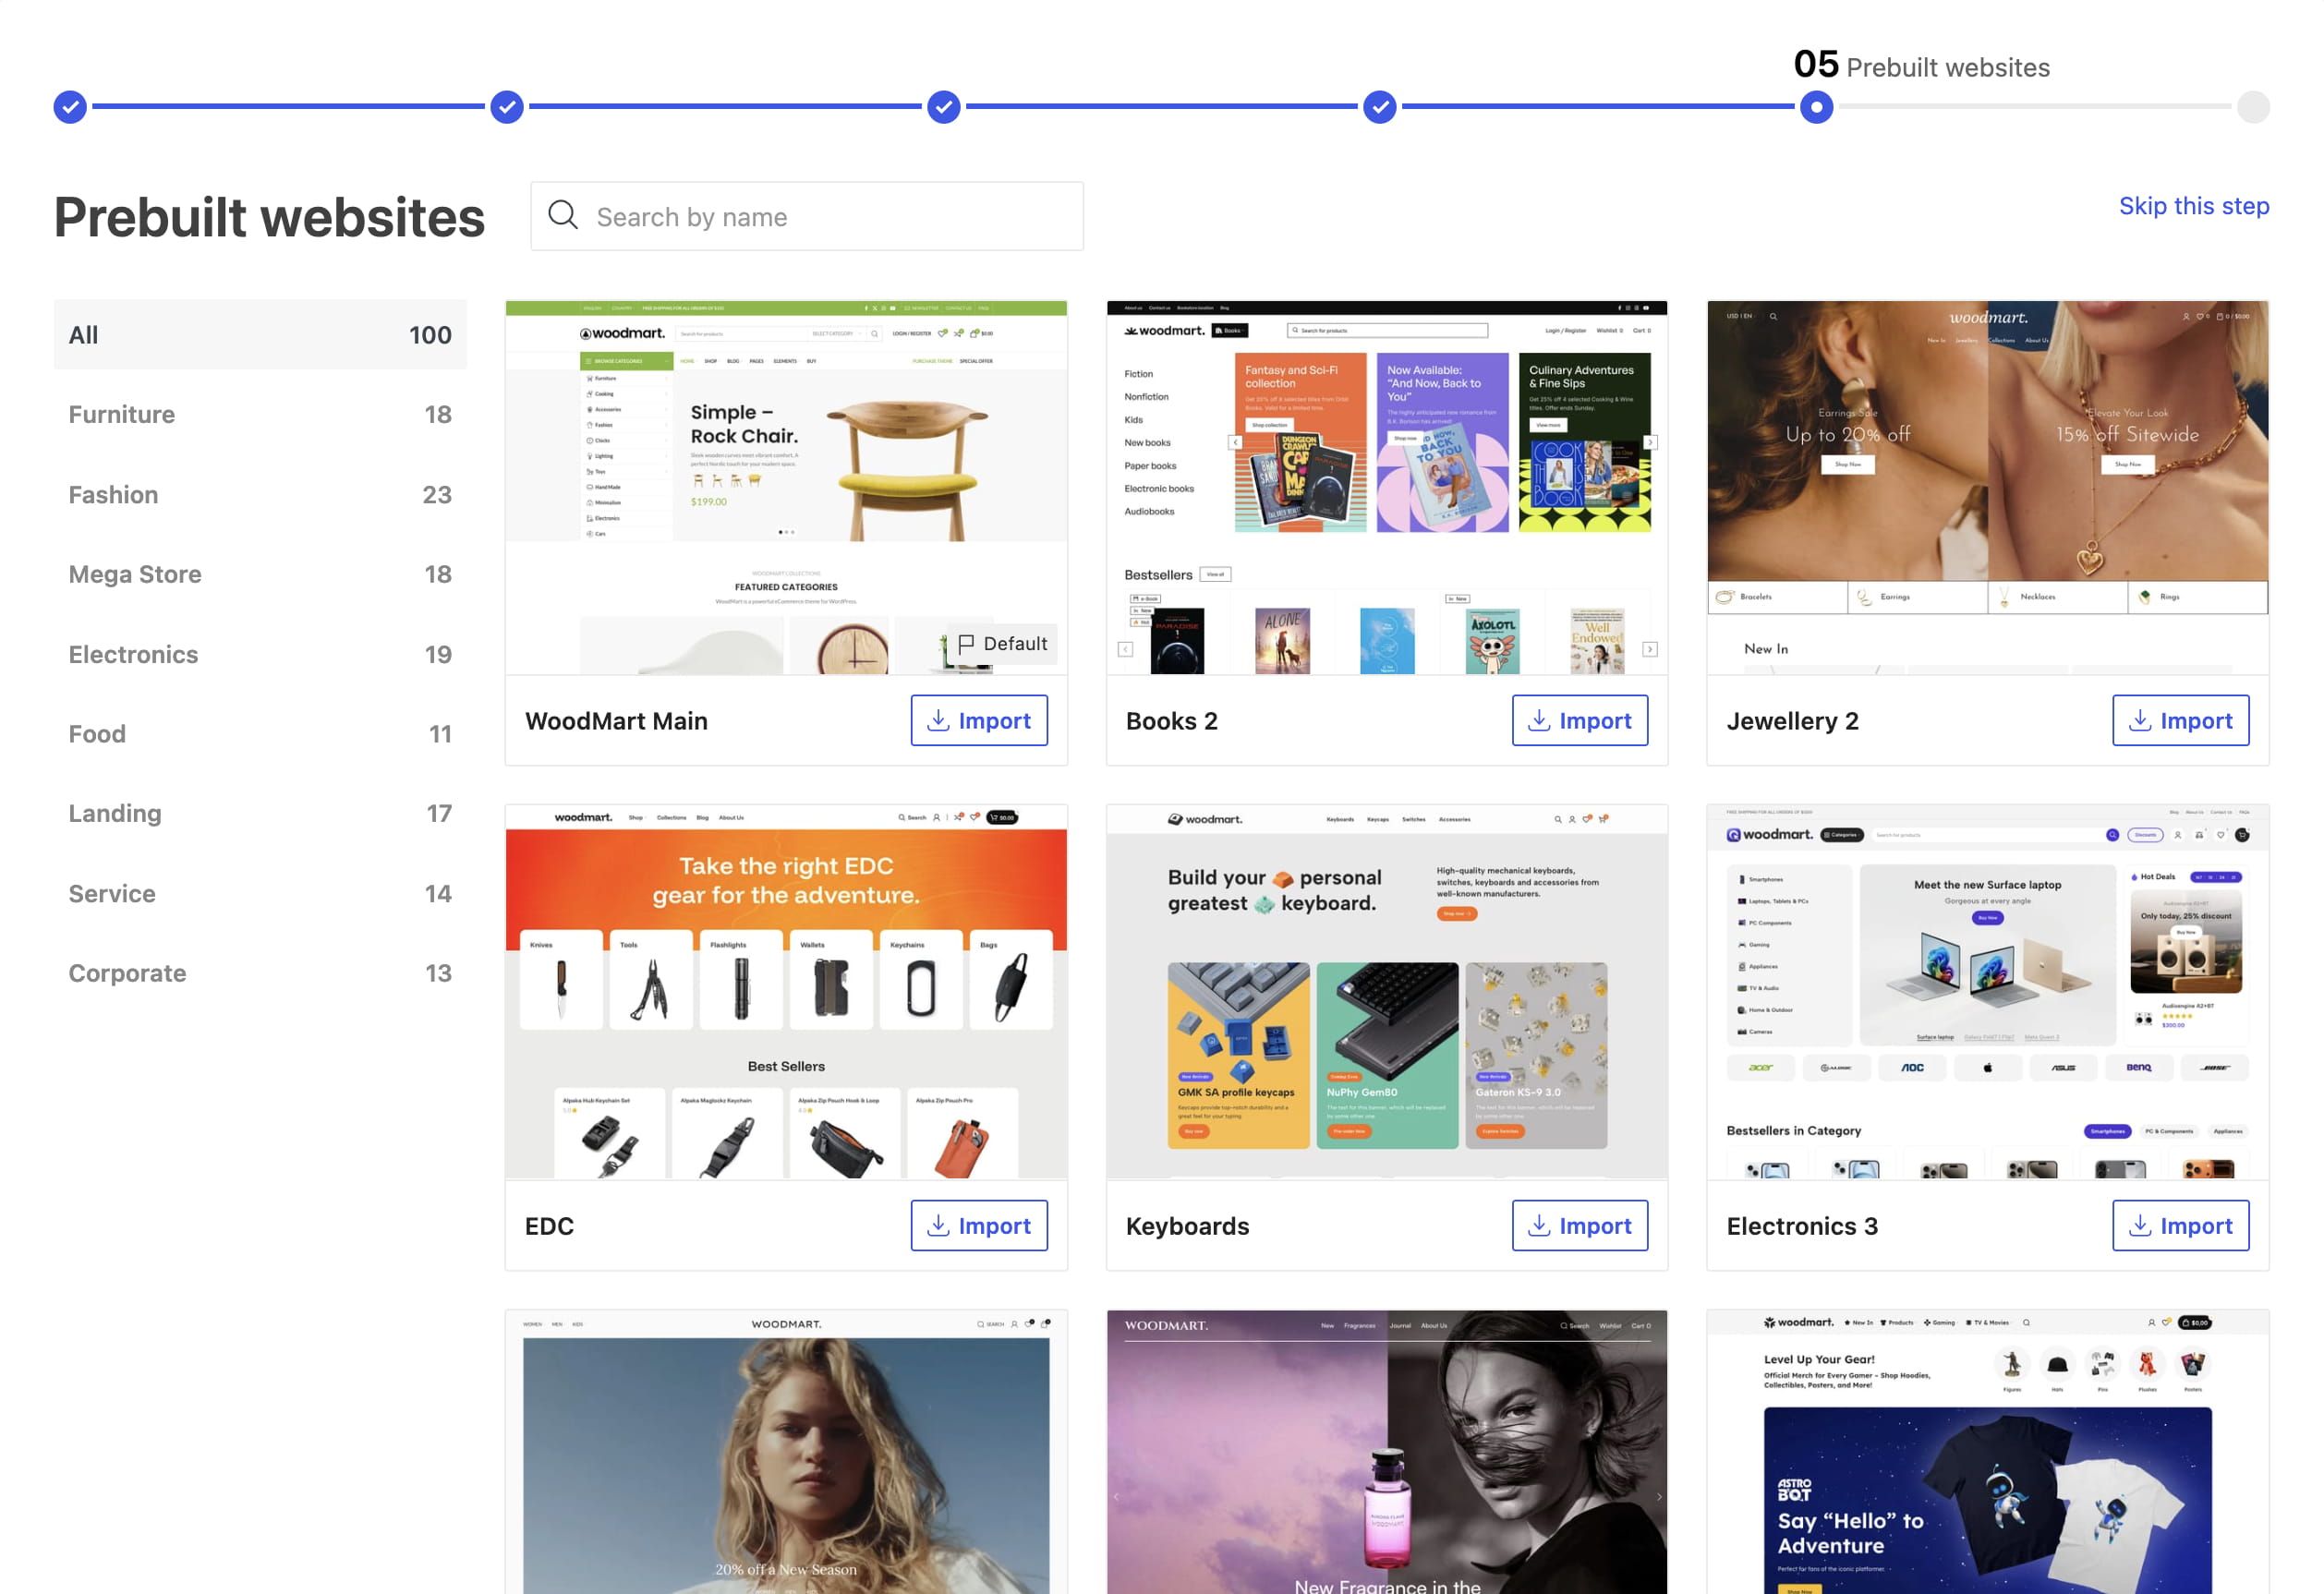
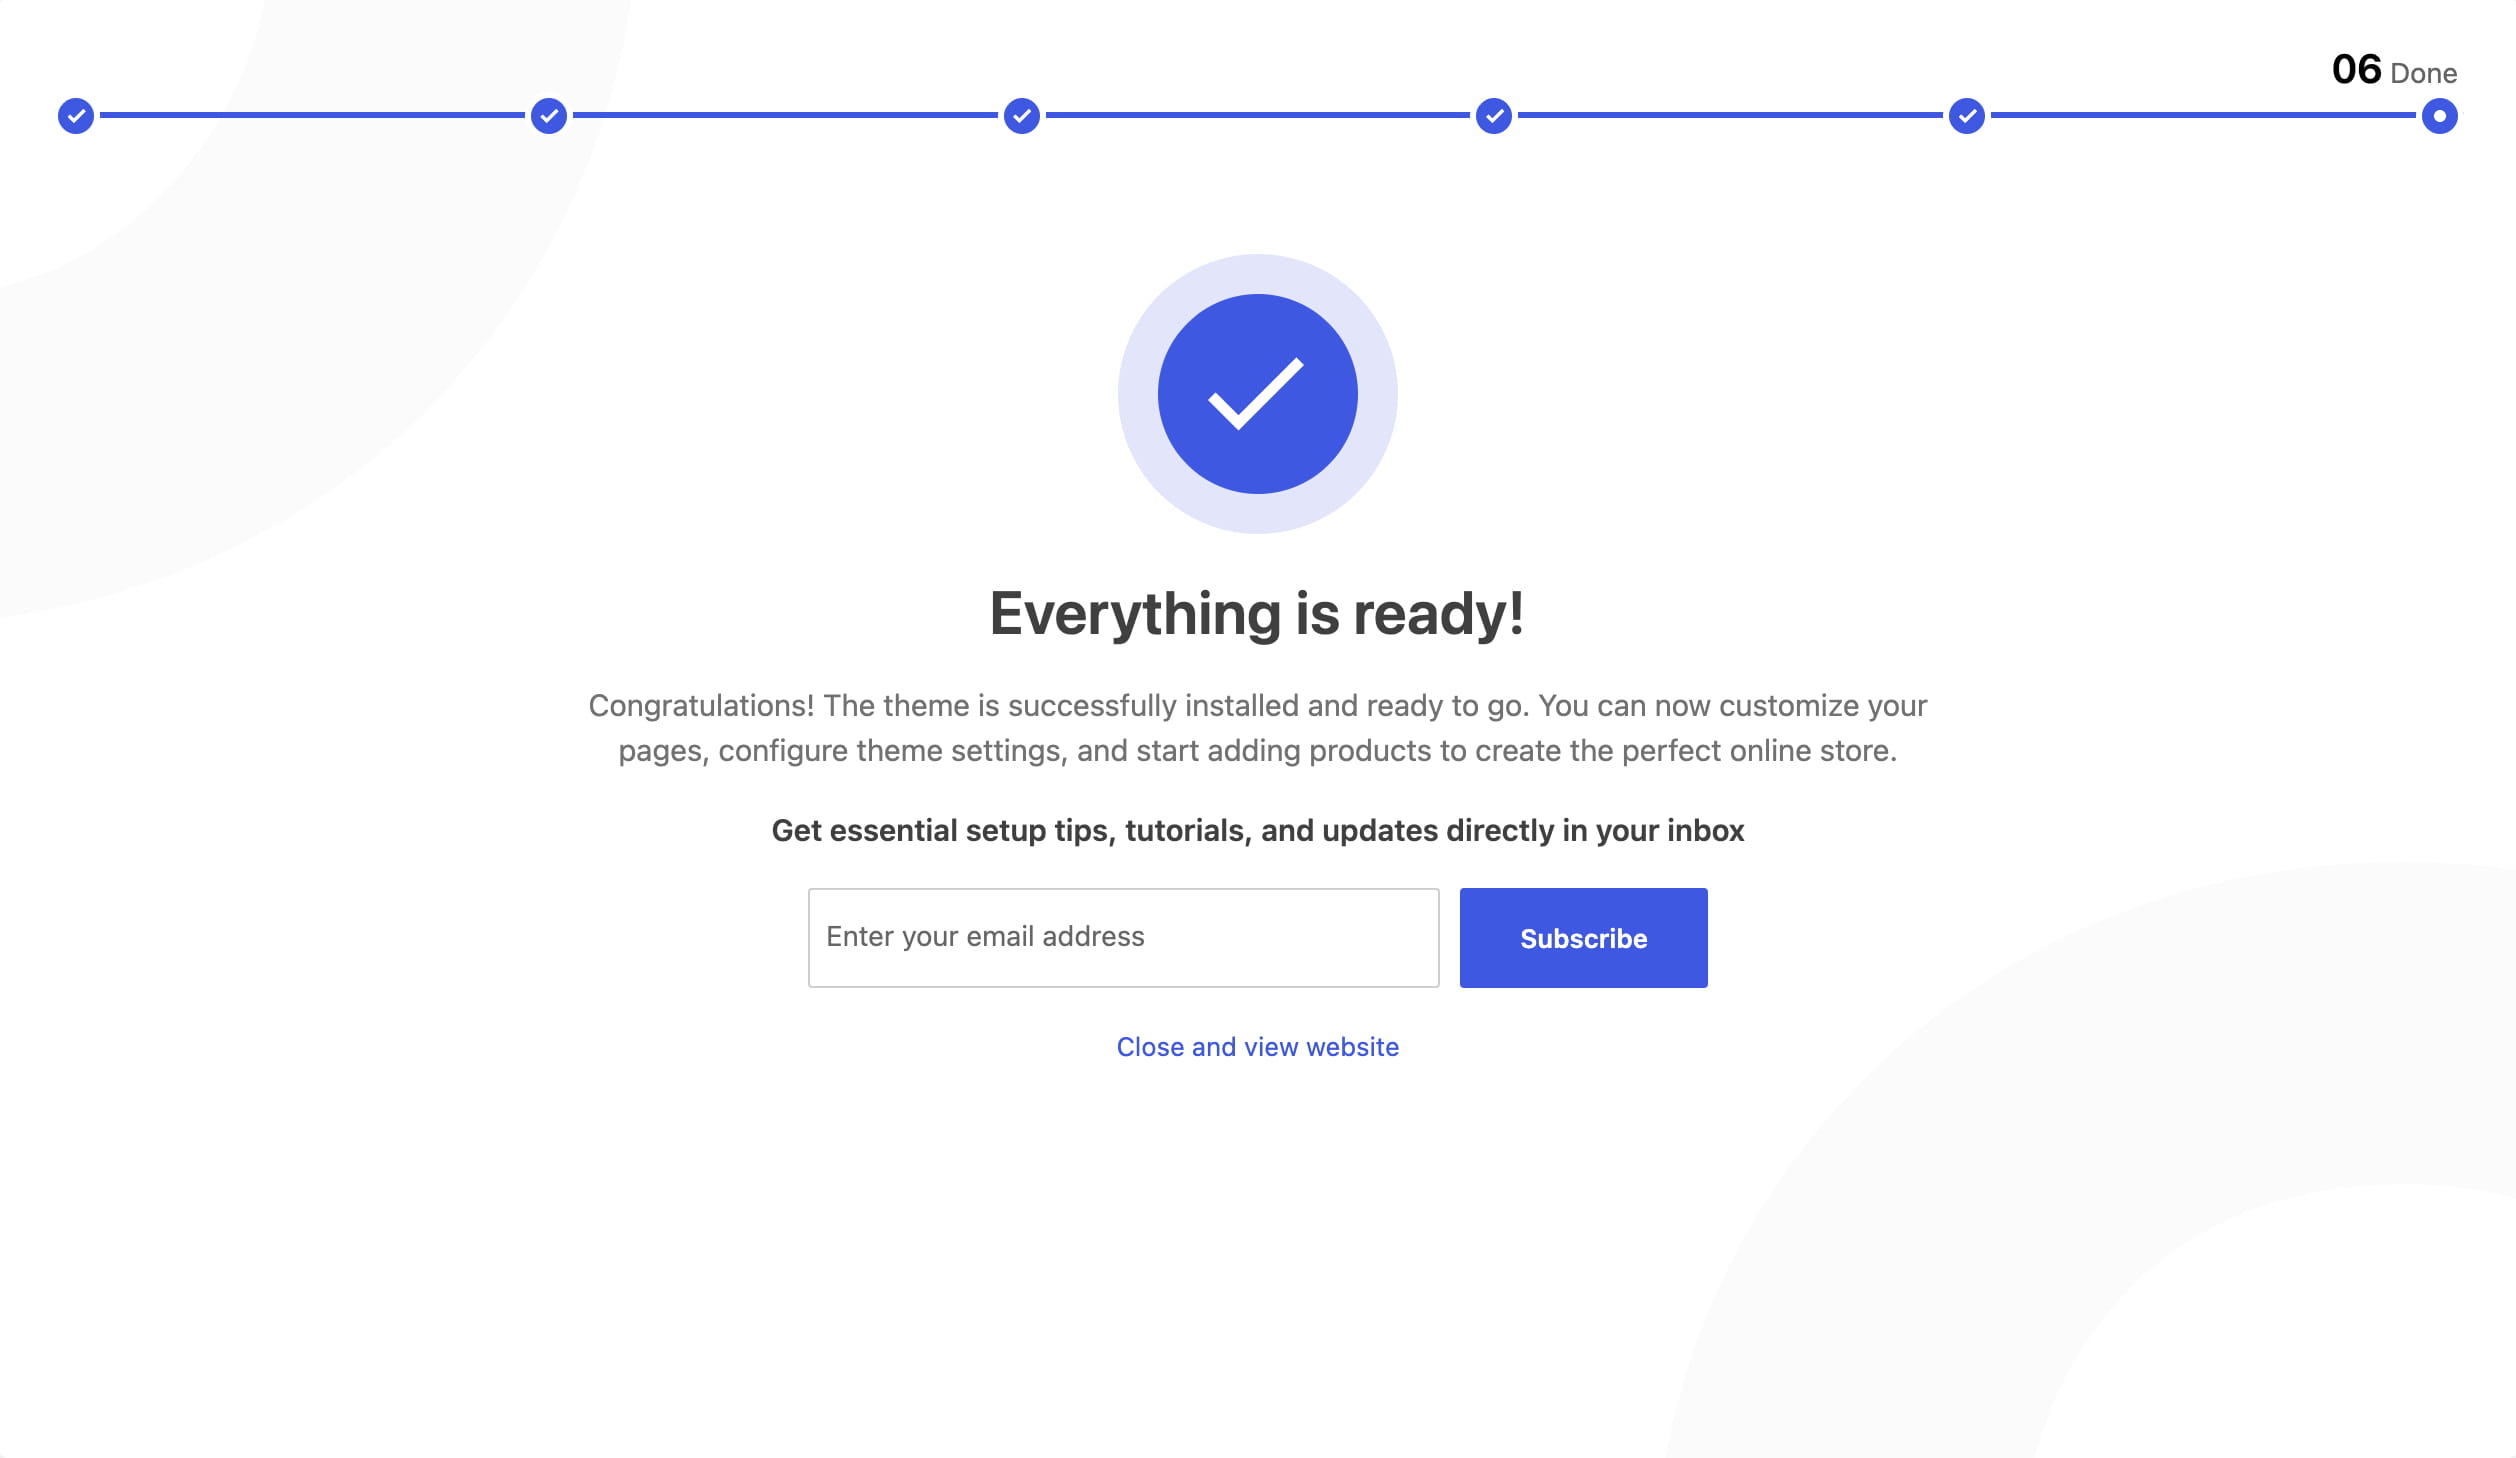
Step 6. Finish the setup
When the setup is complete, click Start customizing to begin editing your website or Close and view website to preview it.
For a more detailed walkthrough, see the complete installation guide. You can also follow the manual setup guide or learn how to upload WoodMart through a hosting file manager or SFTP.
Configure your website
After installing WoodMart, configure the main parts of your store: the header and navigation, footer, typography, products, custom layouts, and sliders.
Header and navigation
The WoodMart Header Builder lets you create and customize your website header with a drag-and-drop interface. Open it from WoodMart -> Header builder. See the Header Builder guide for a complete overview.
Add elements with the plus icon, drag them between rows and columns, and configure each element as needed. Frontend mode lets you preview changes while editing. For more information, see the guides to adding and editing Header Builder elements and using Frontend mode.
Add a logo
Add the Logo element to your header, upload your image, and adjust its dimensions. See the guides to setting up a logo image and configuring its size.
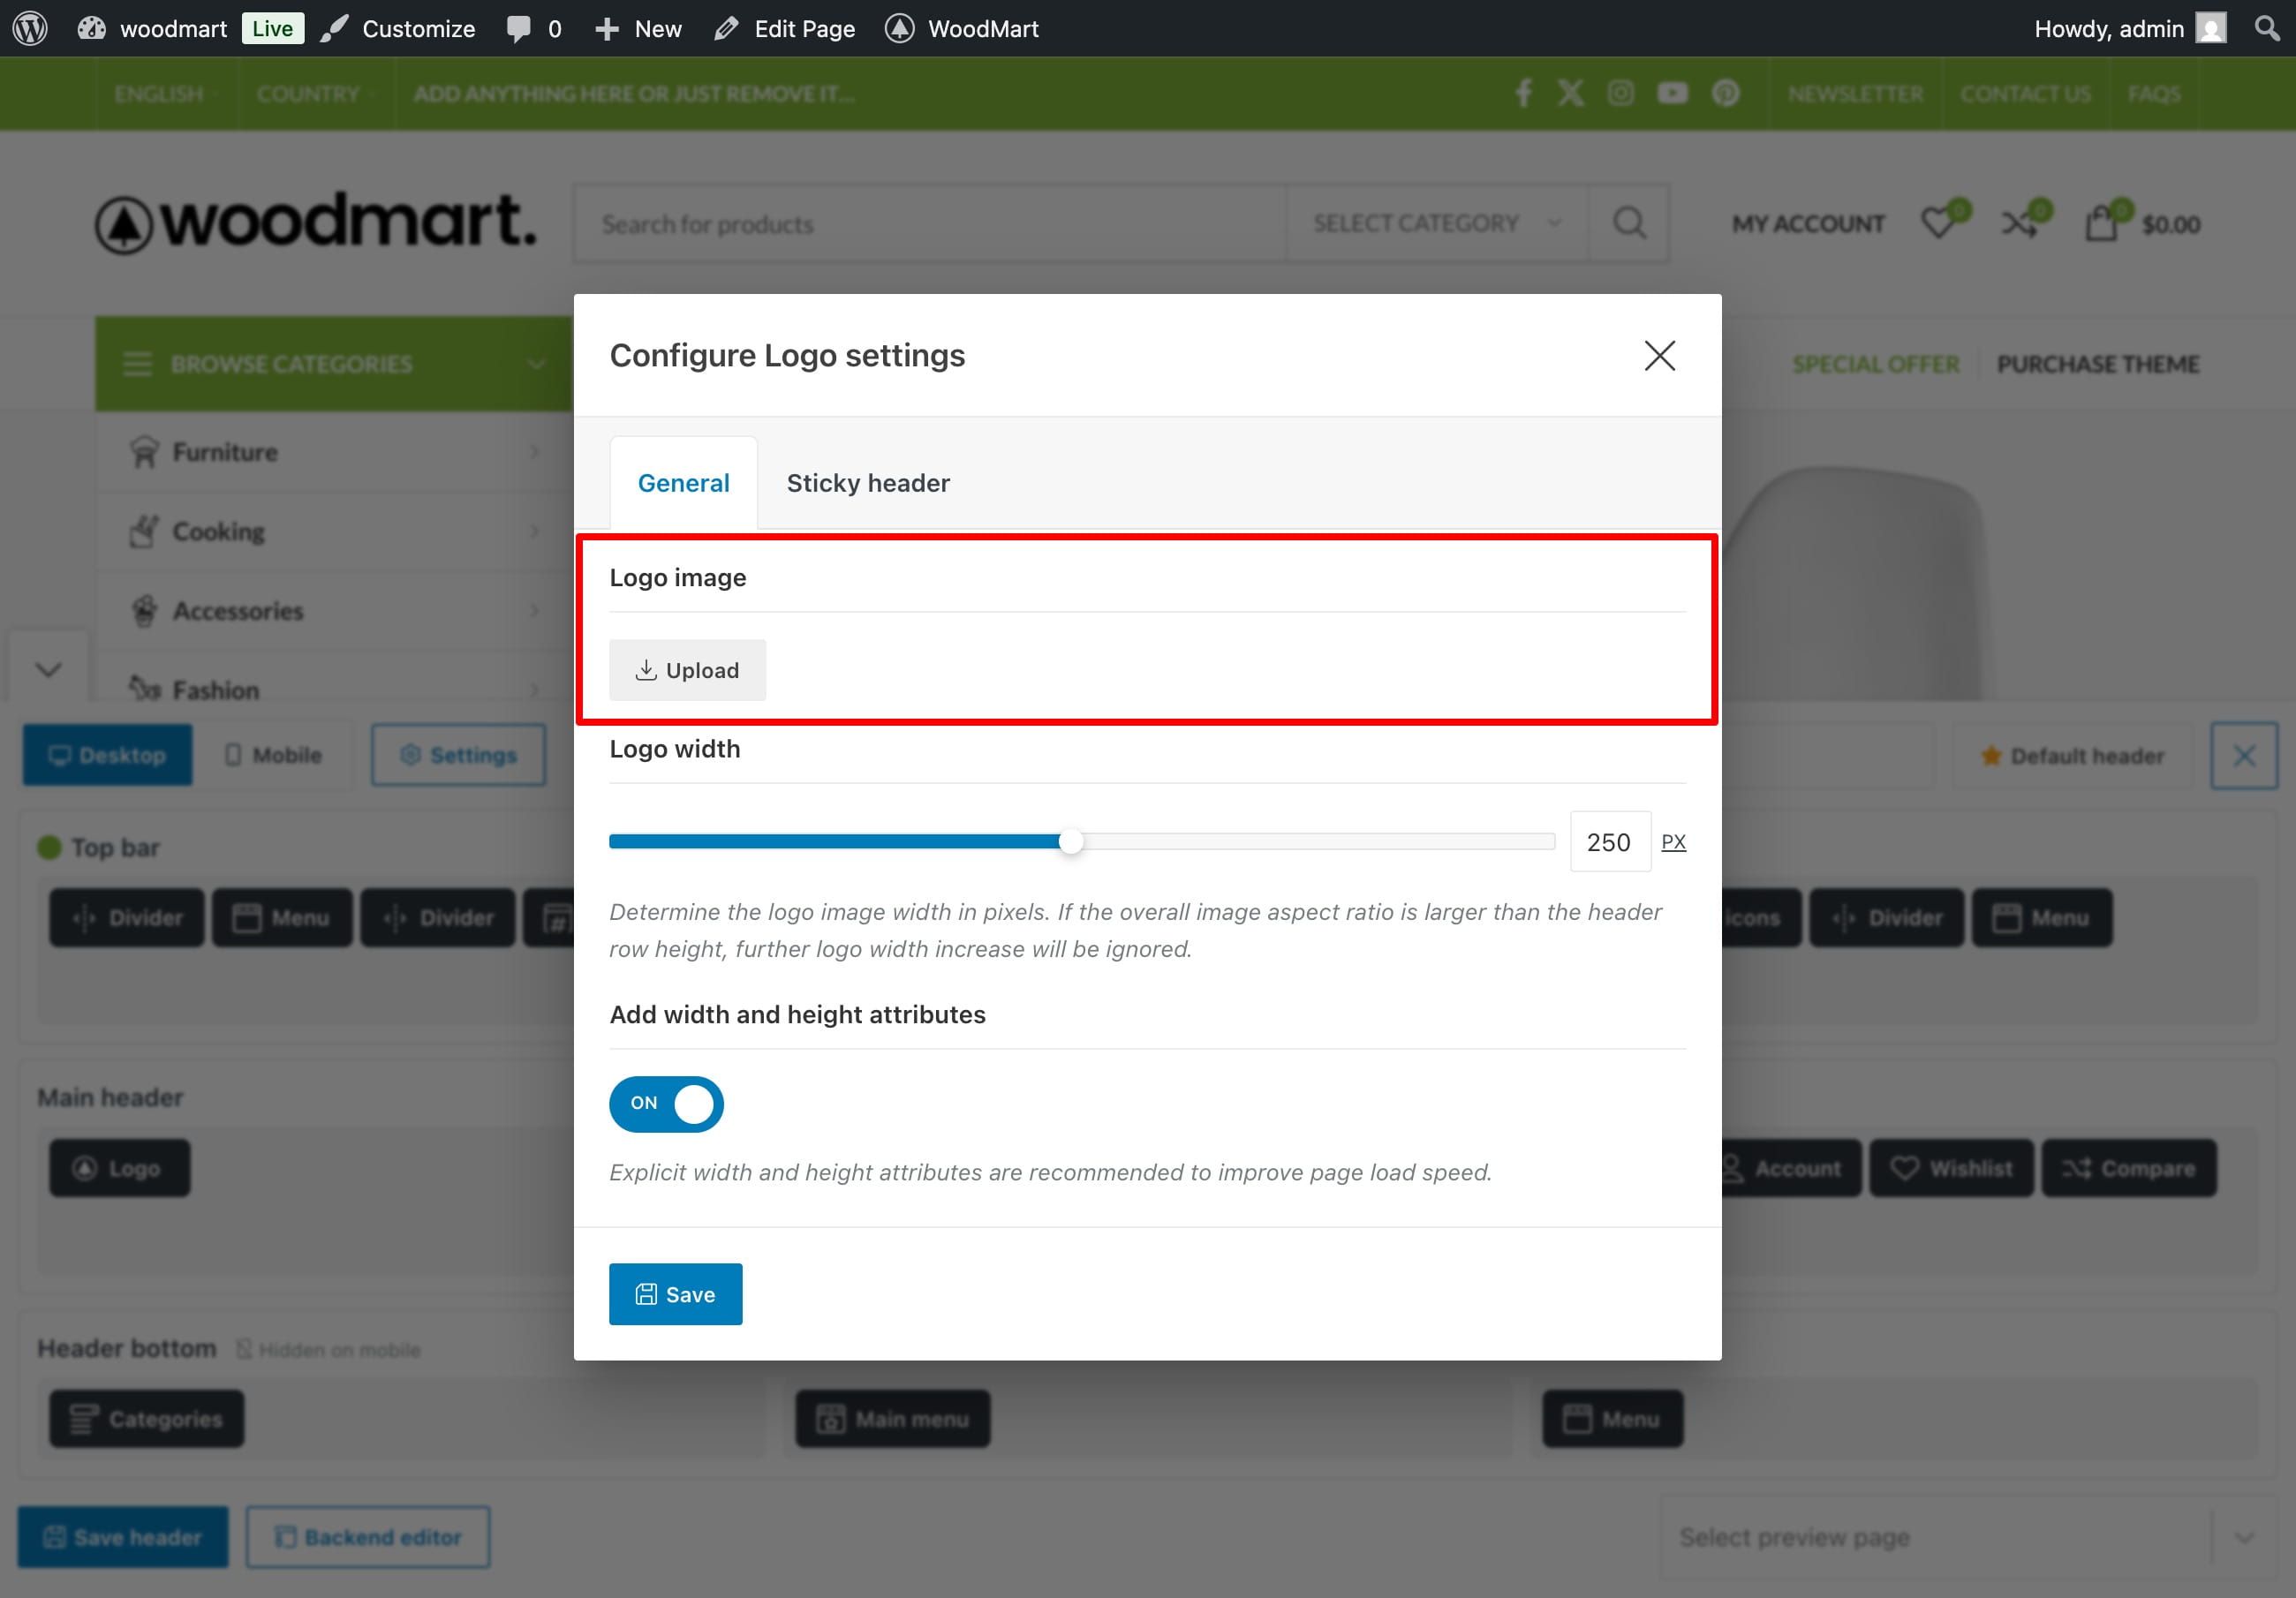
Create a menu
Navigate to Appearance -> Menus and click Create a new menu. If you imported a prebuilt website, you can edit its existing menu instead.
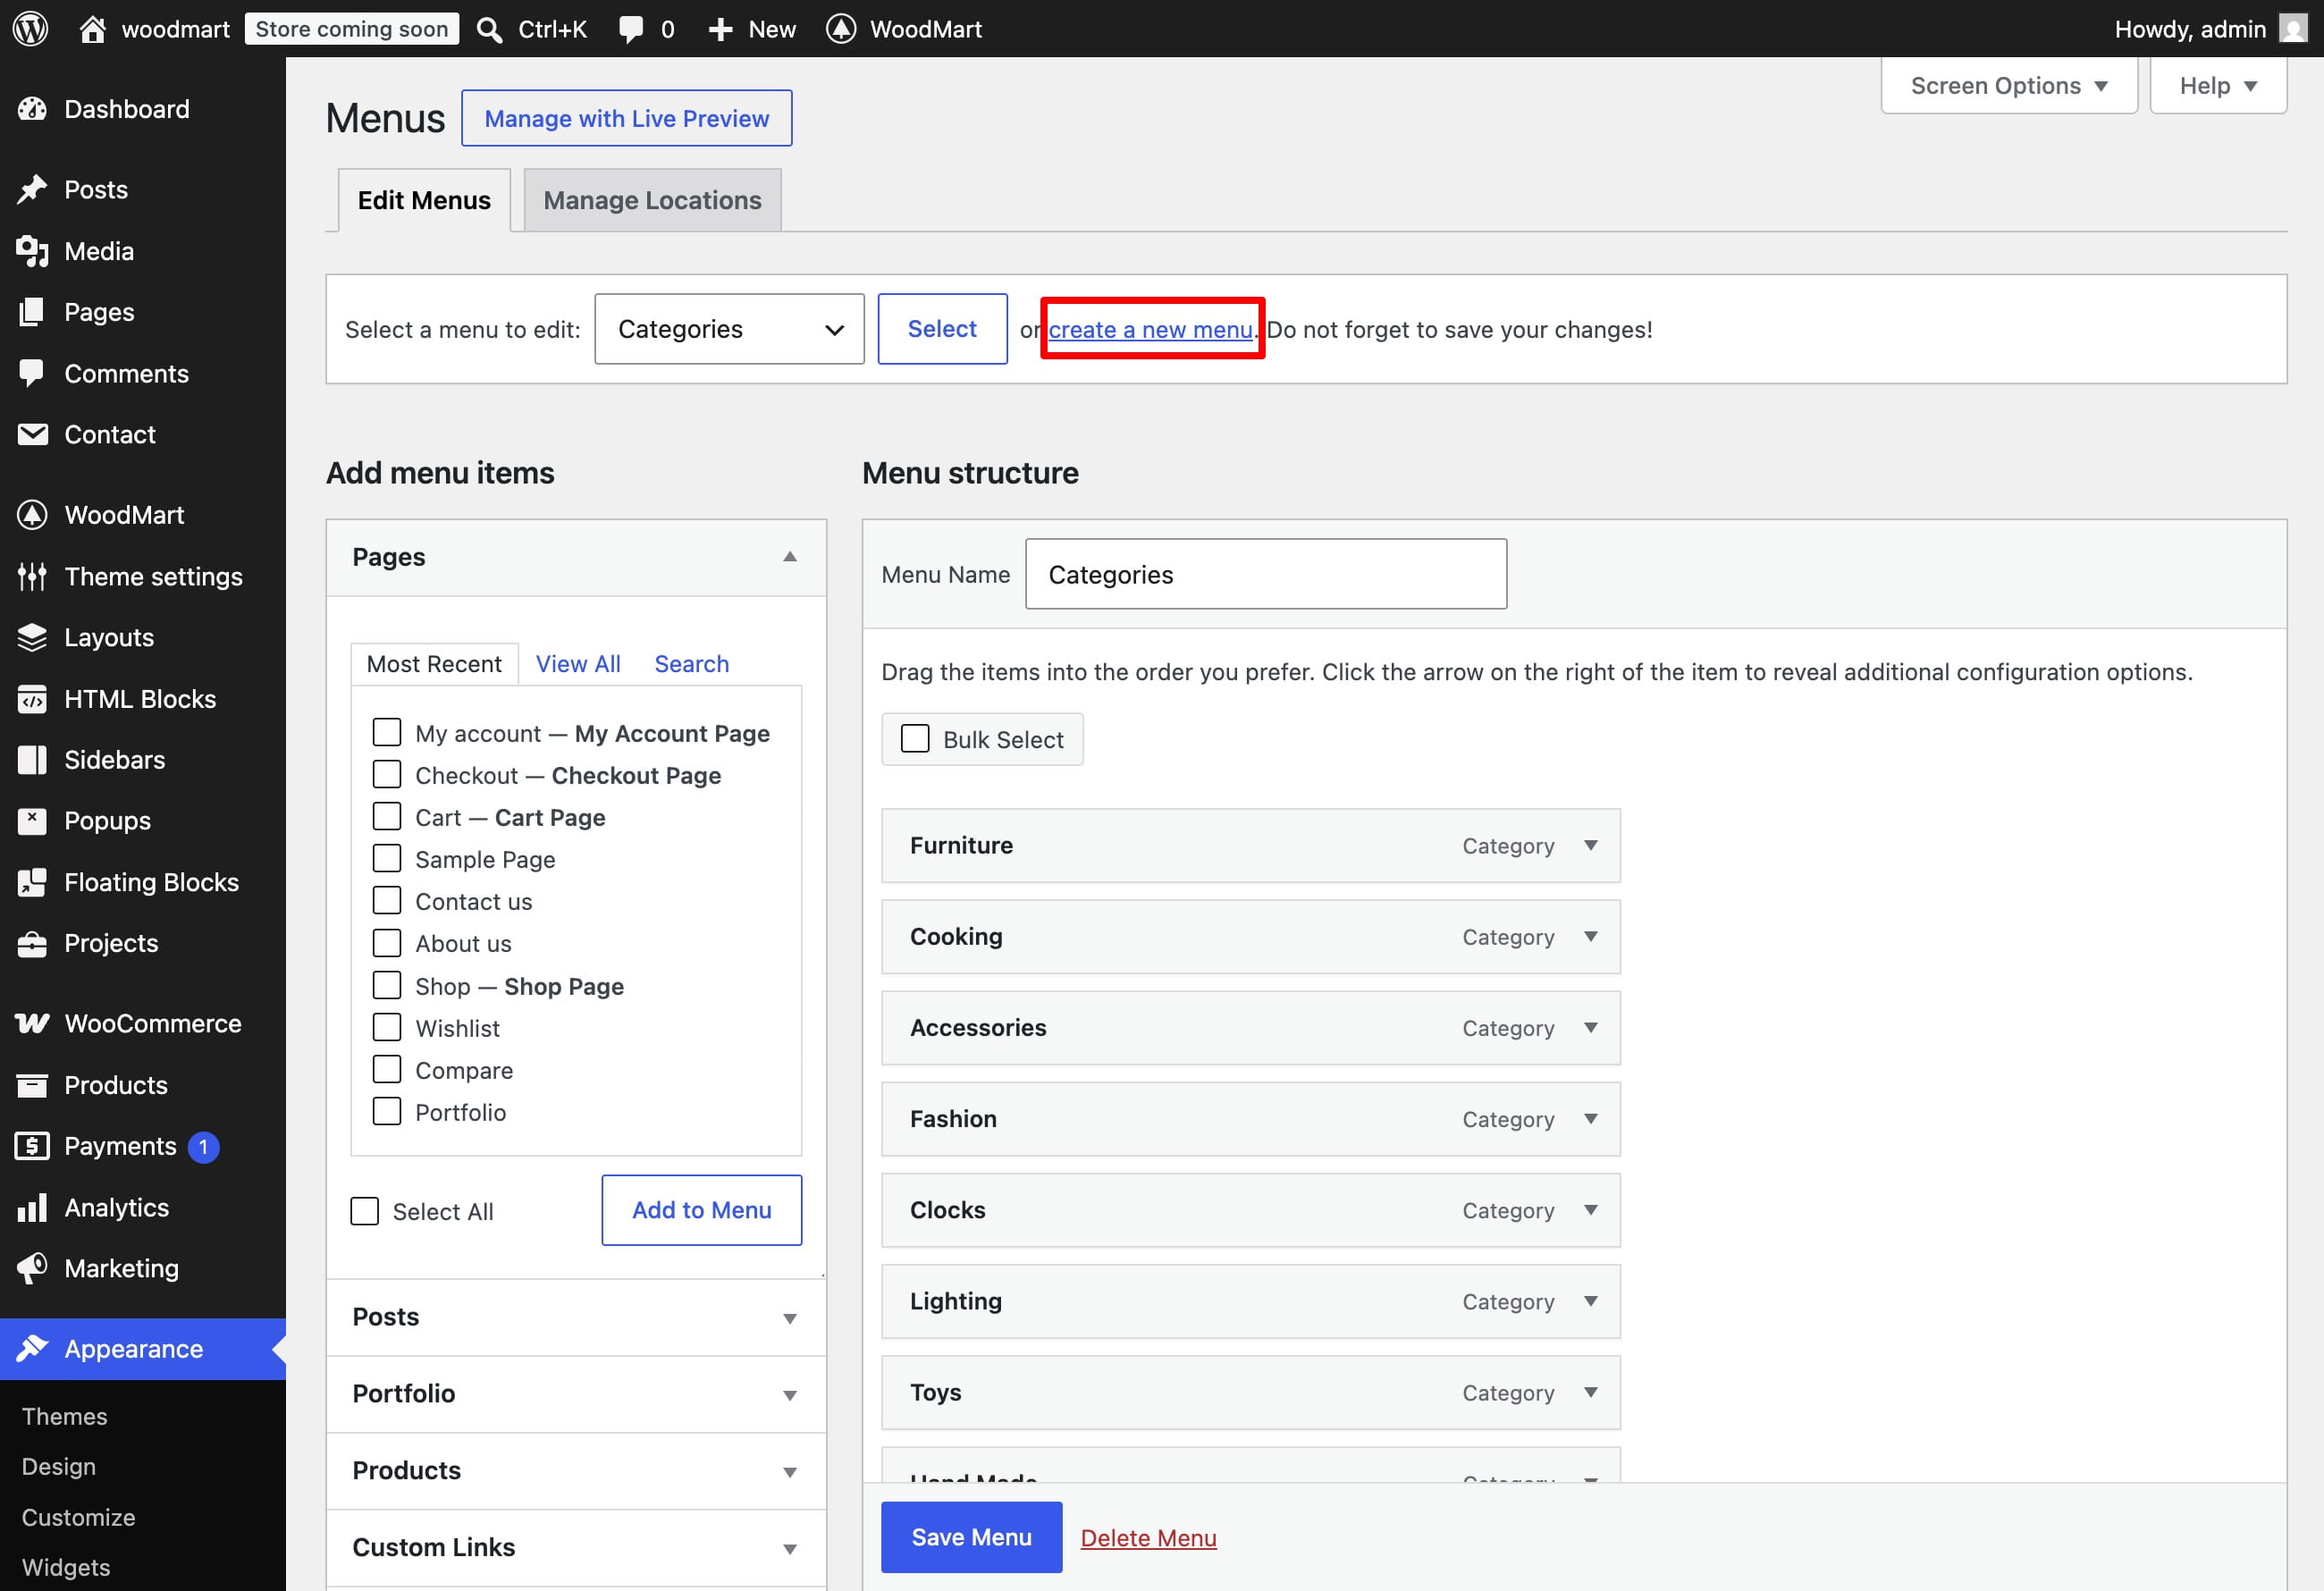
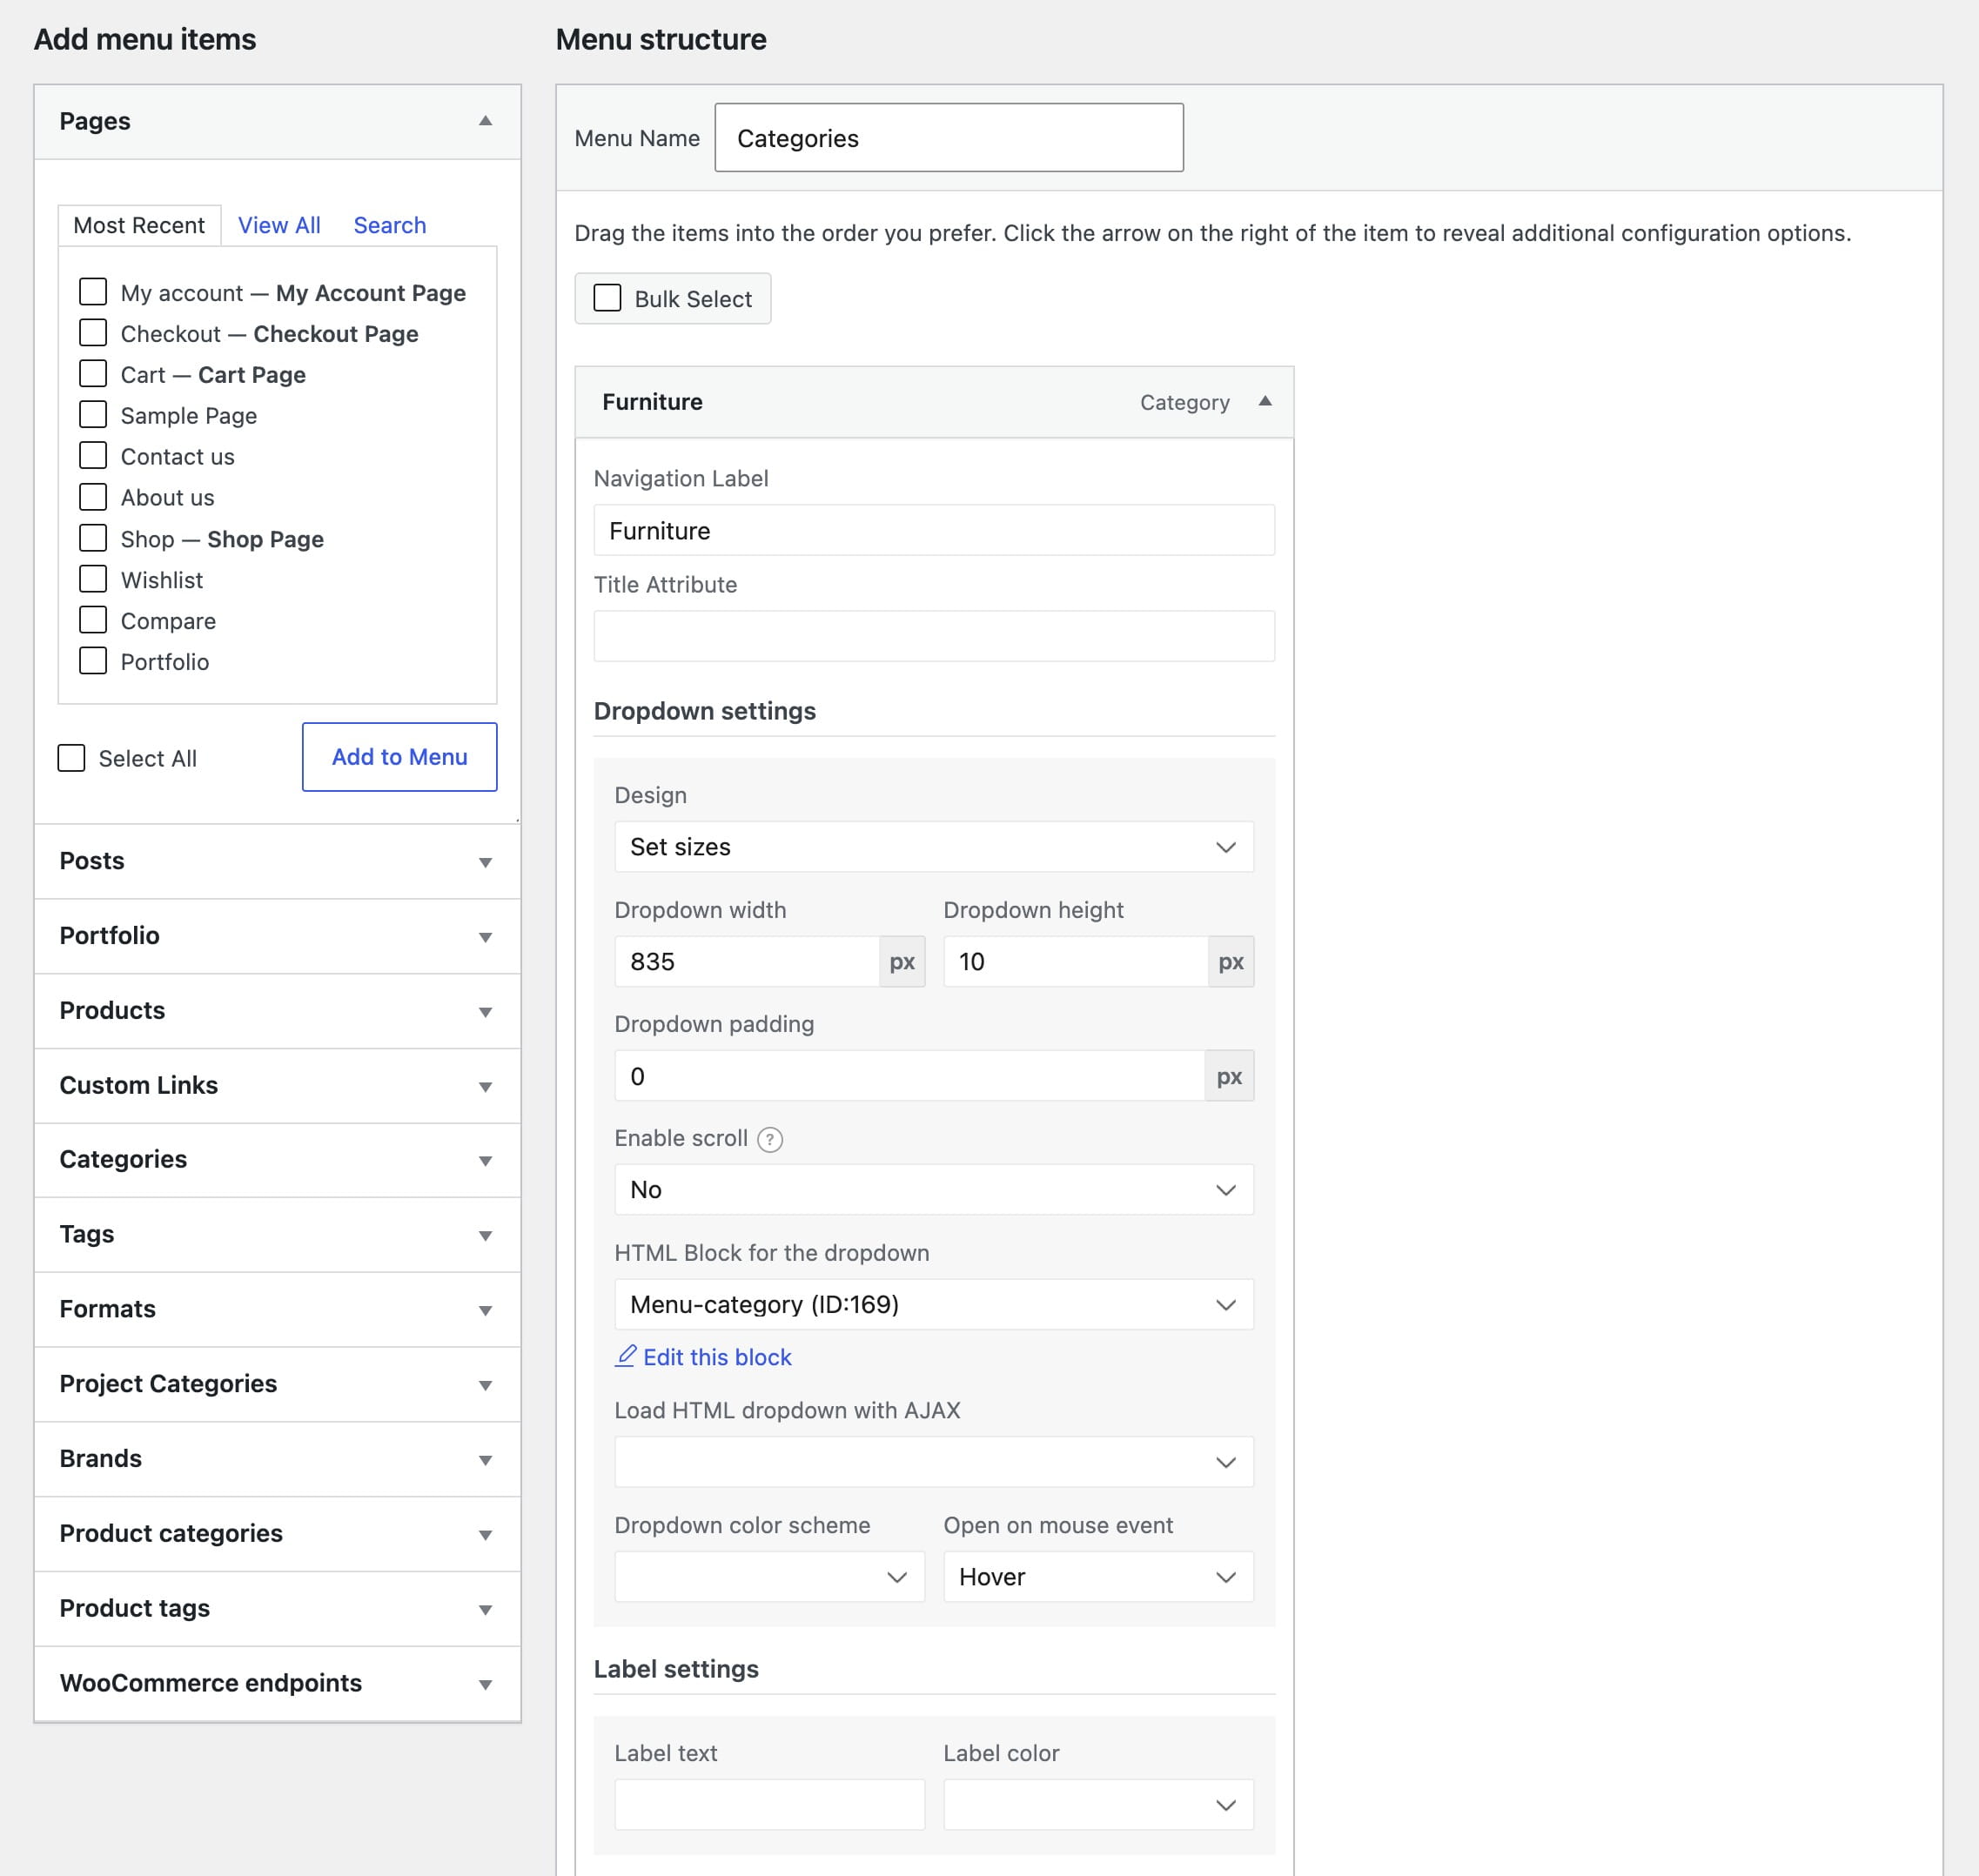
See the guides to adding a menu to your website and creating a mega menu.
Footer configuration
WoodMart provides predefined footer column layouts that create matching widget areas in WordPress. Configure the layout in Theme Settings and add content to the corresponding footer widgets.
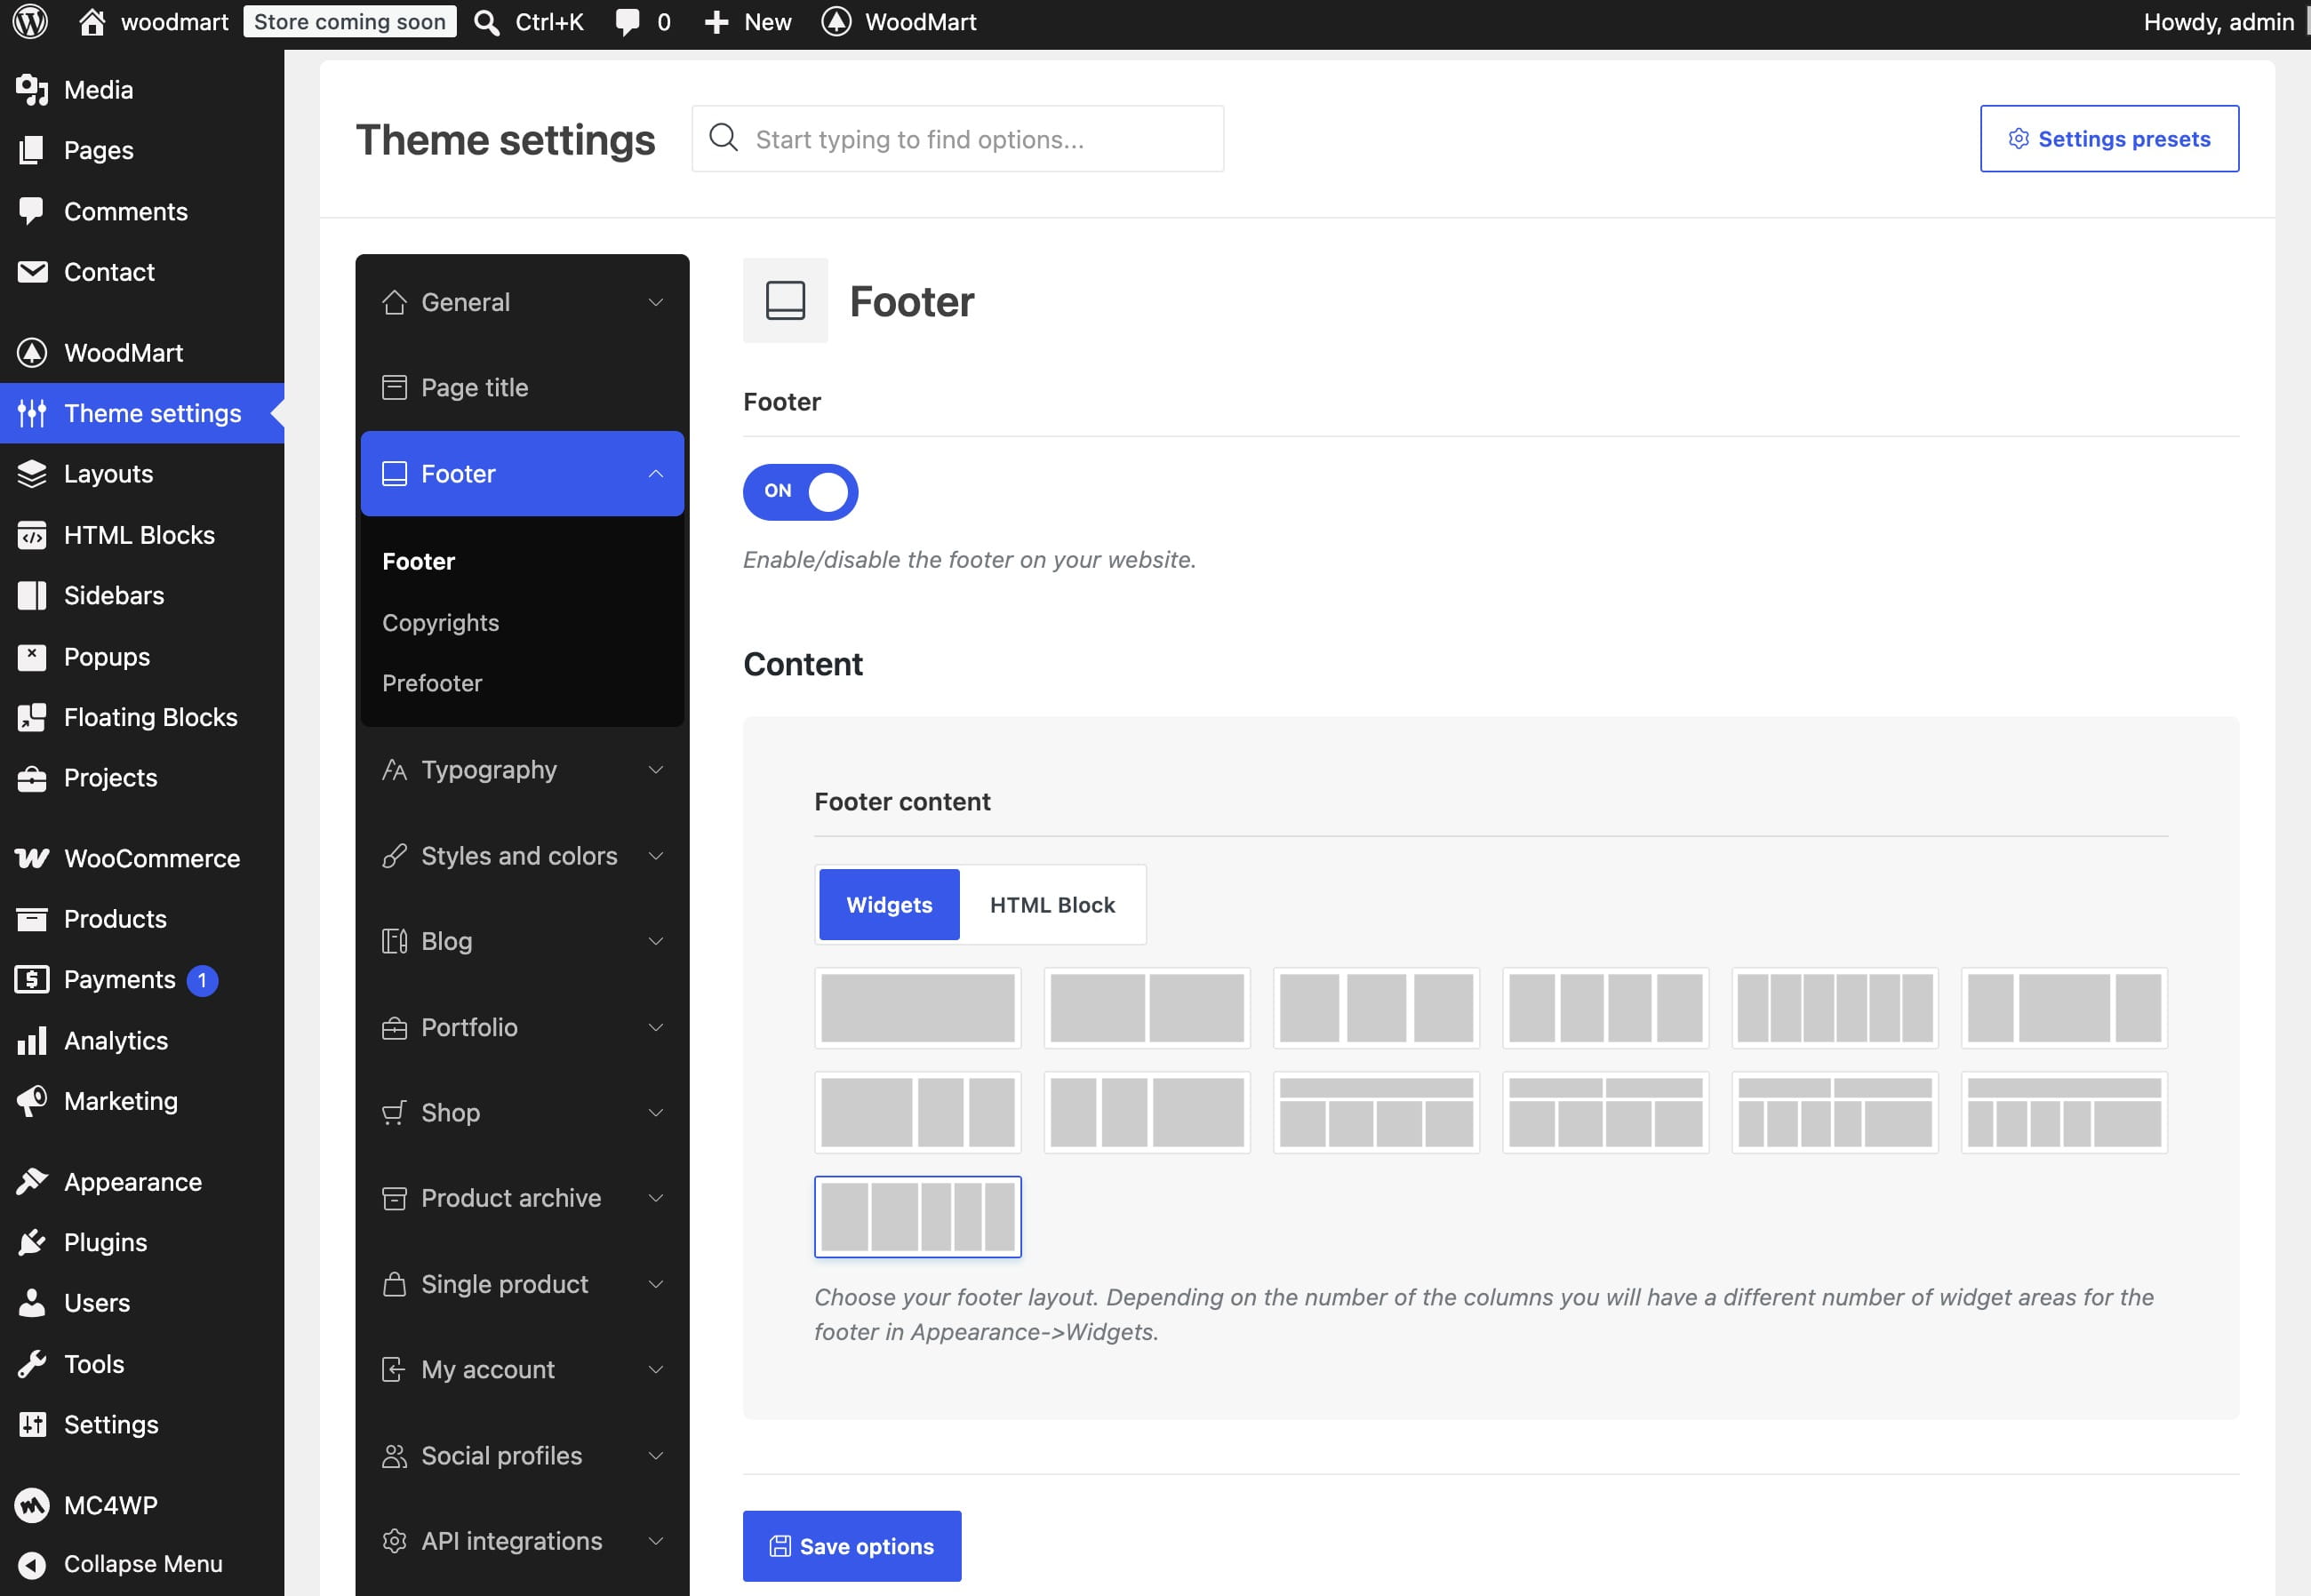
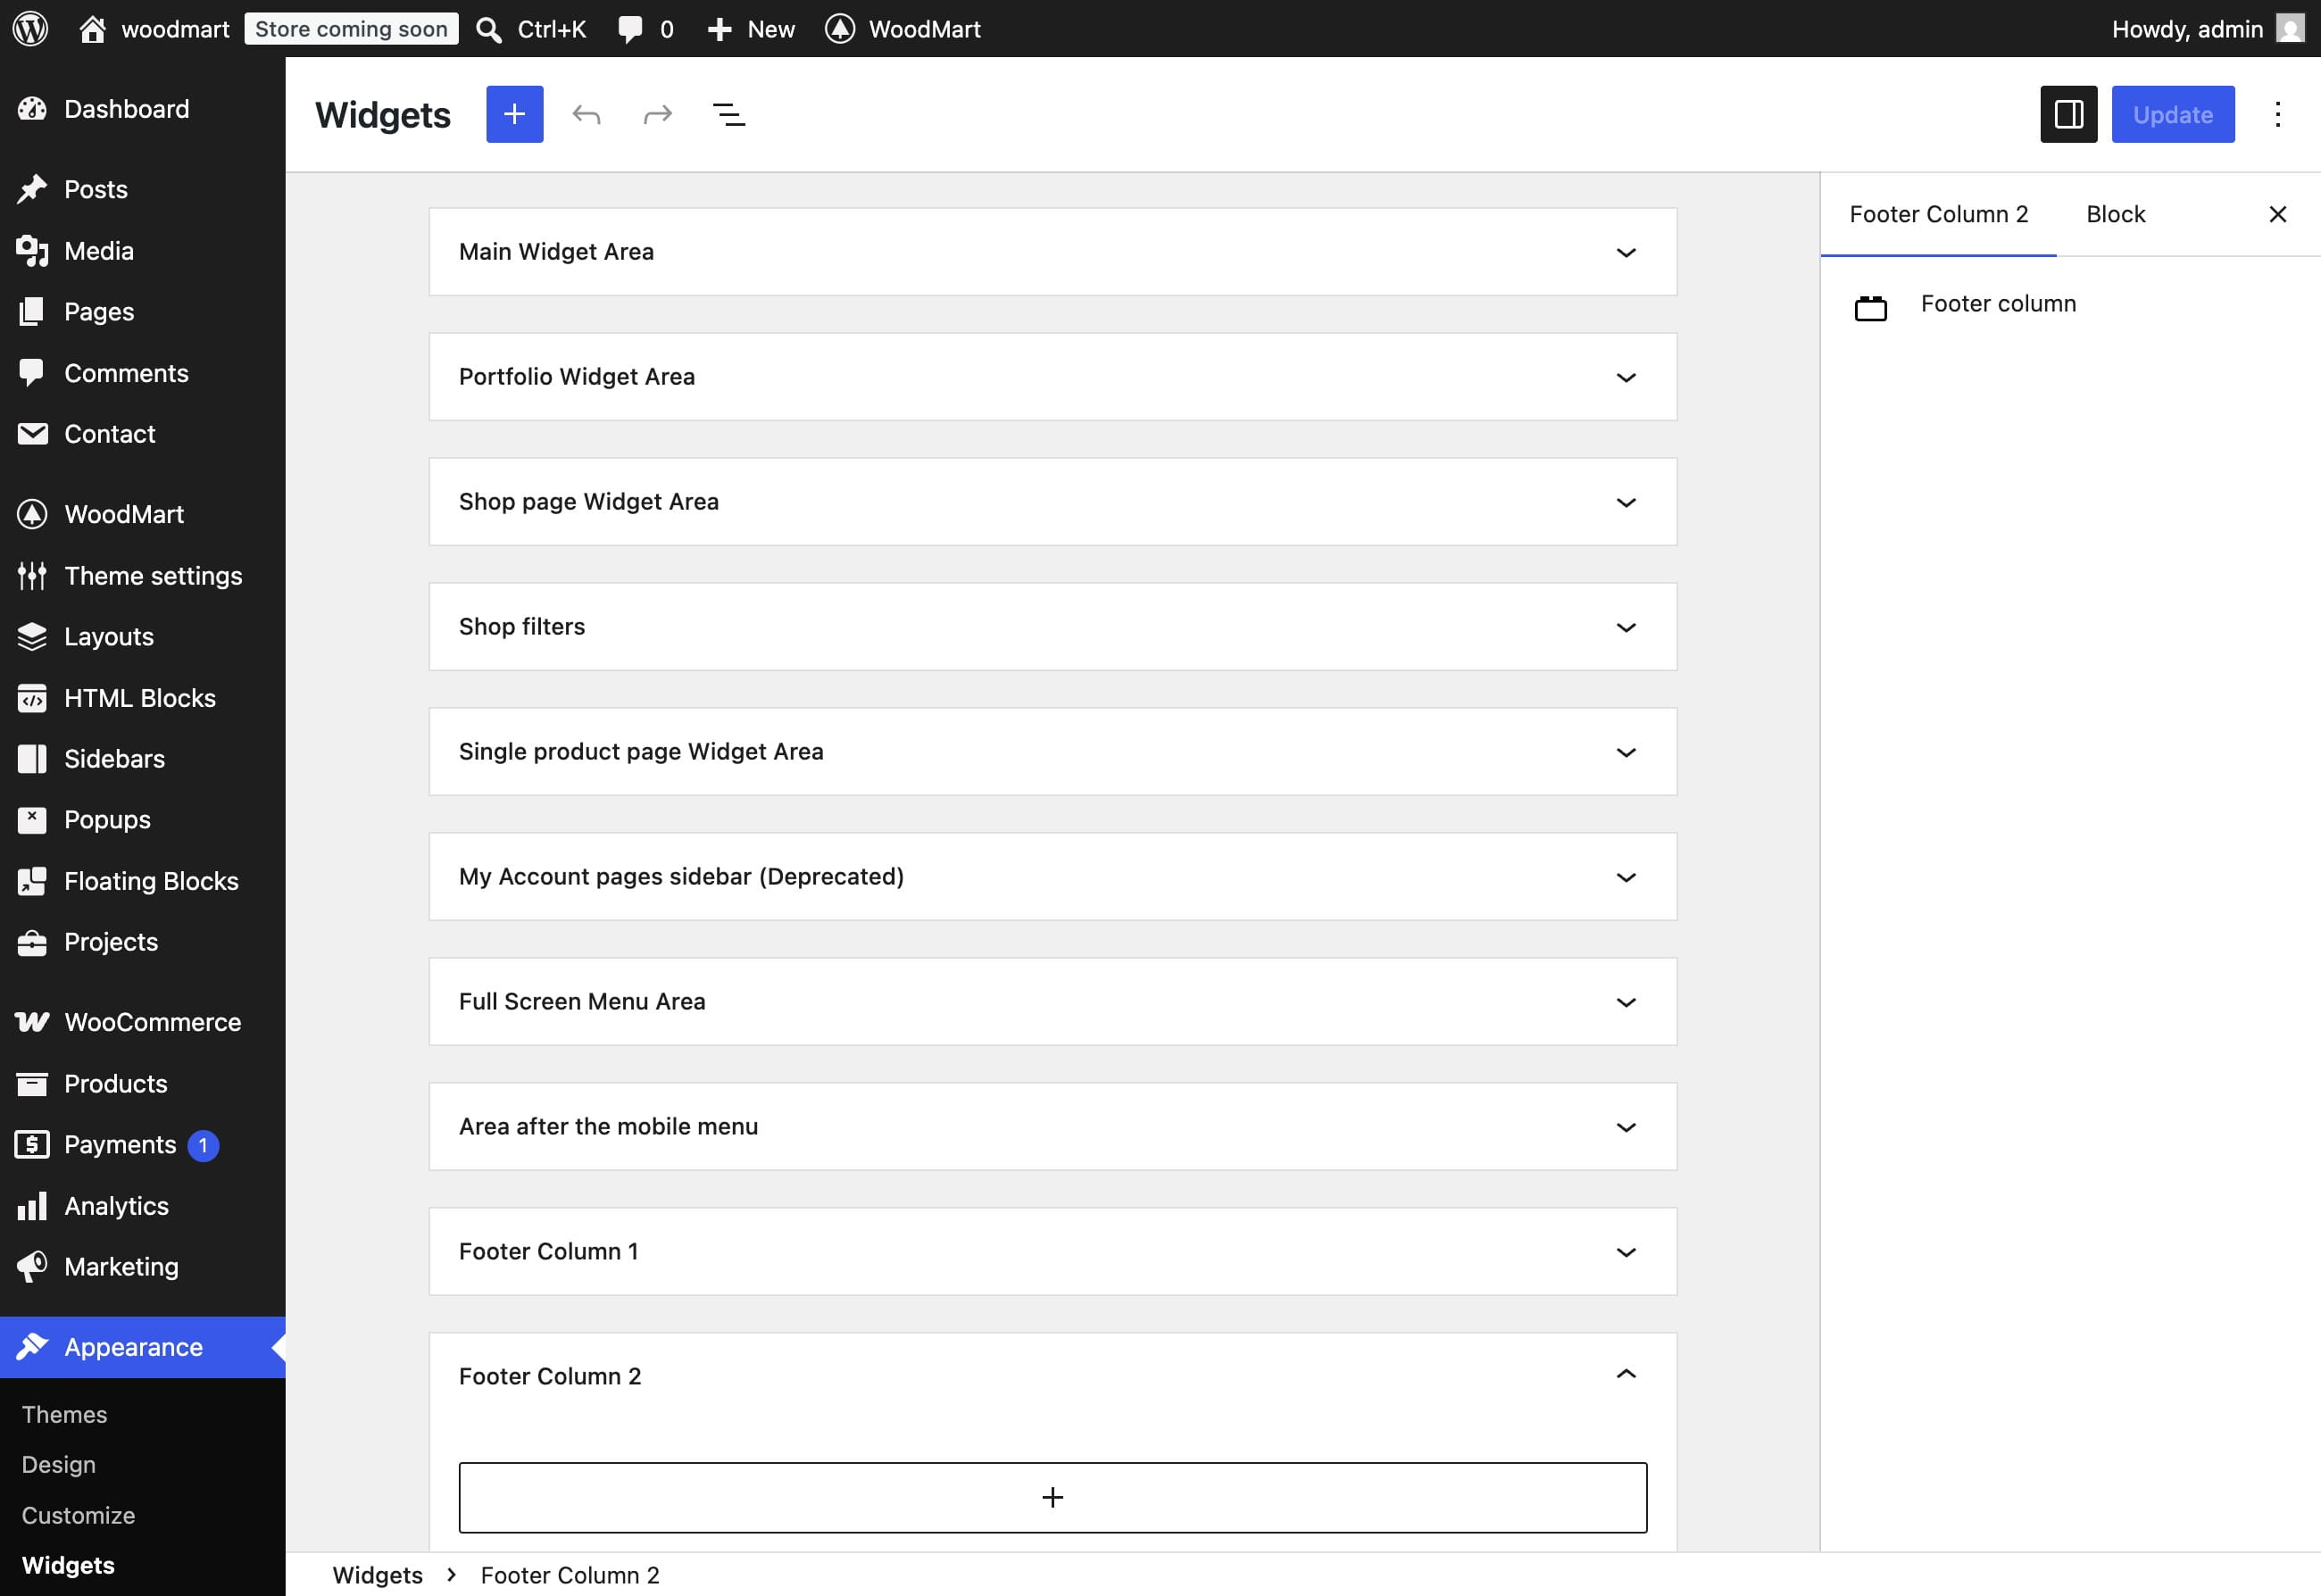
For a custom design, create the footer as an HTML Block with your selected page builder and assign it in Theme Settings.
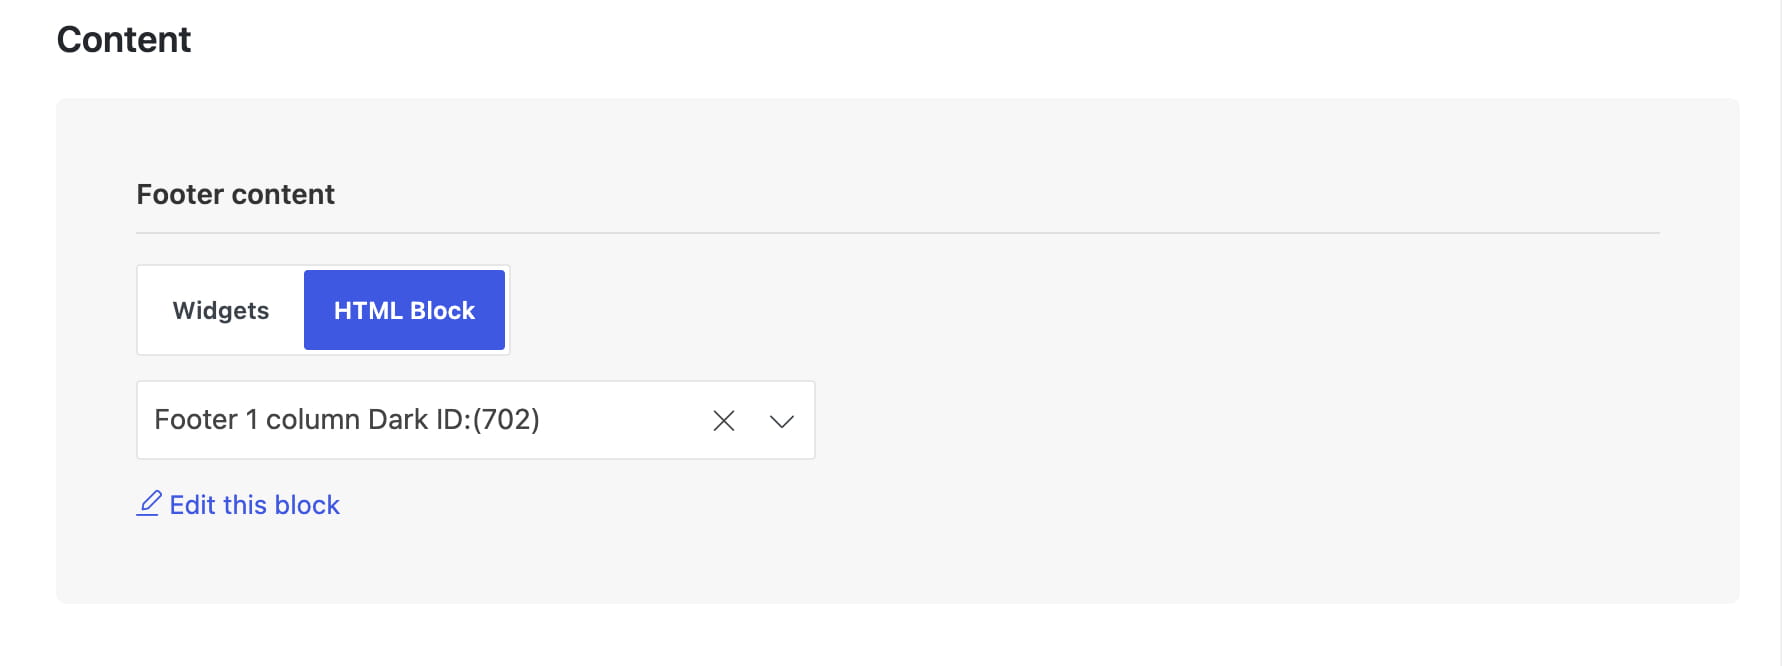
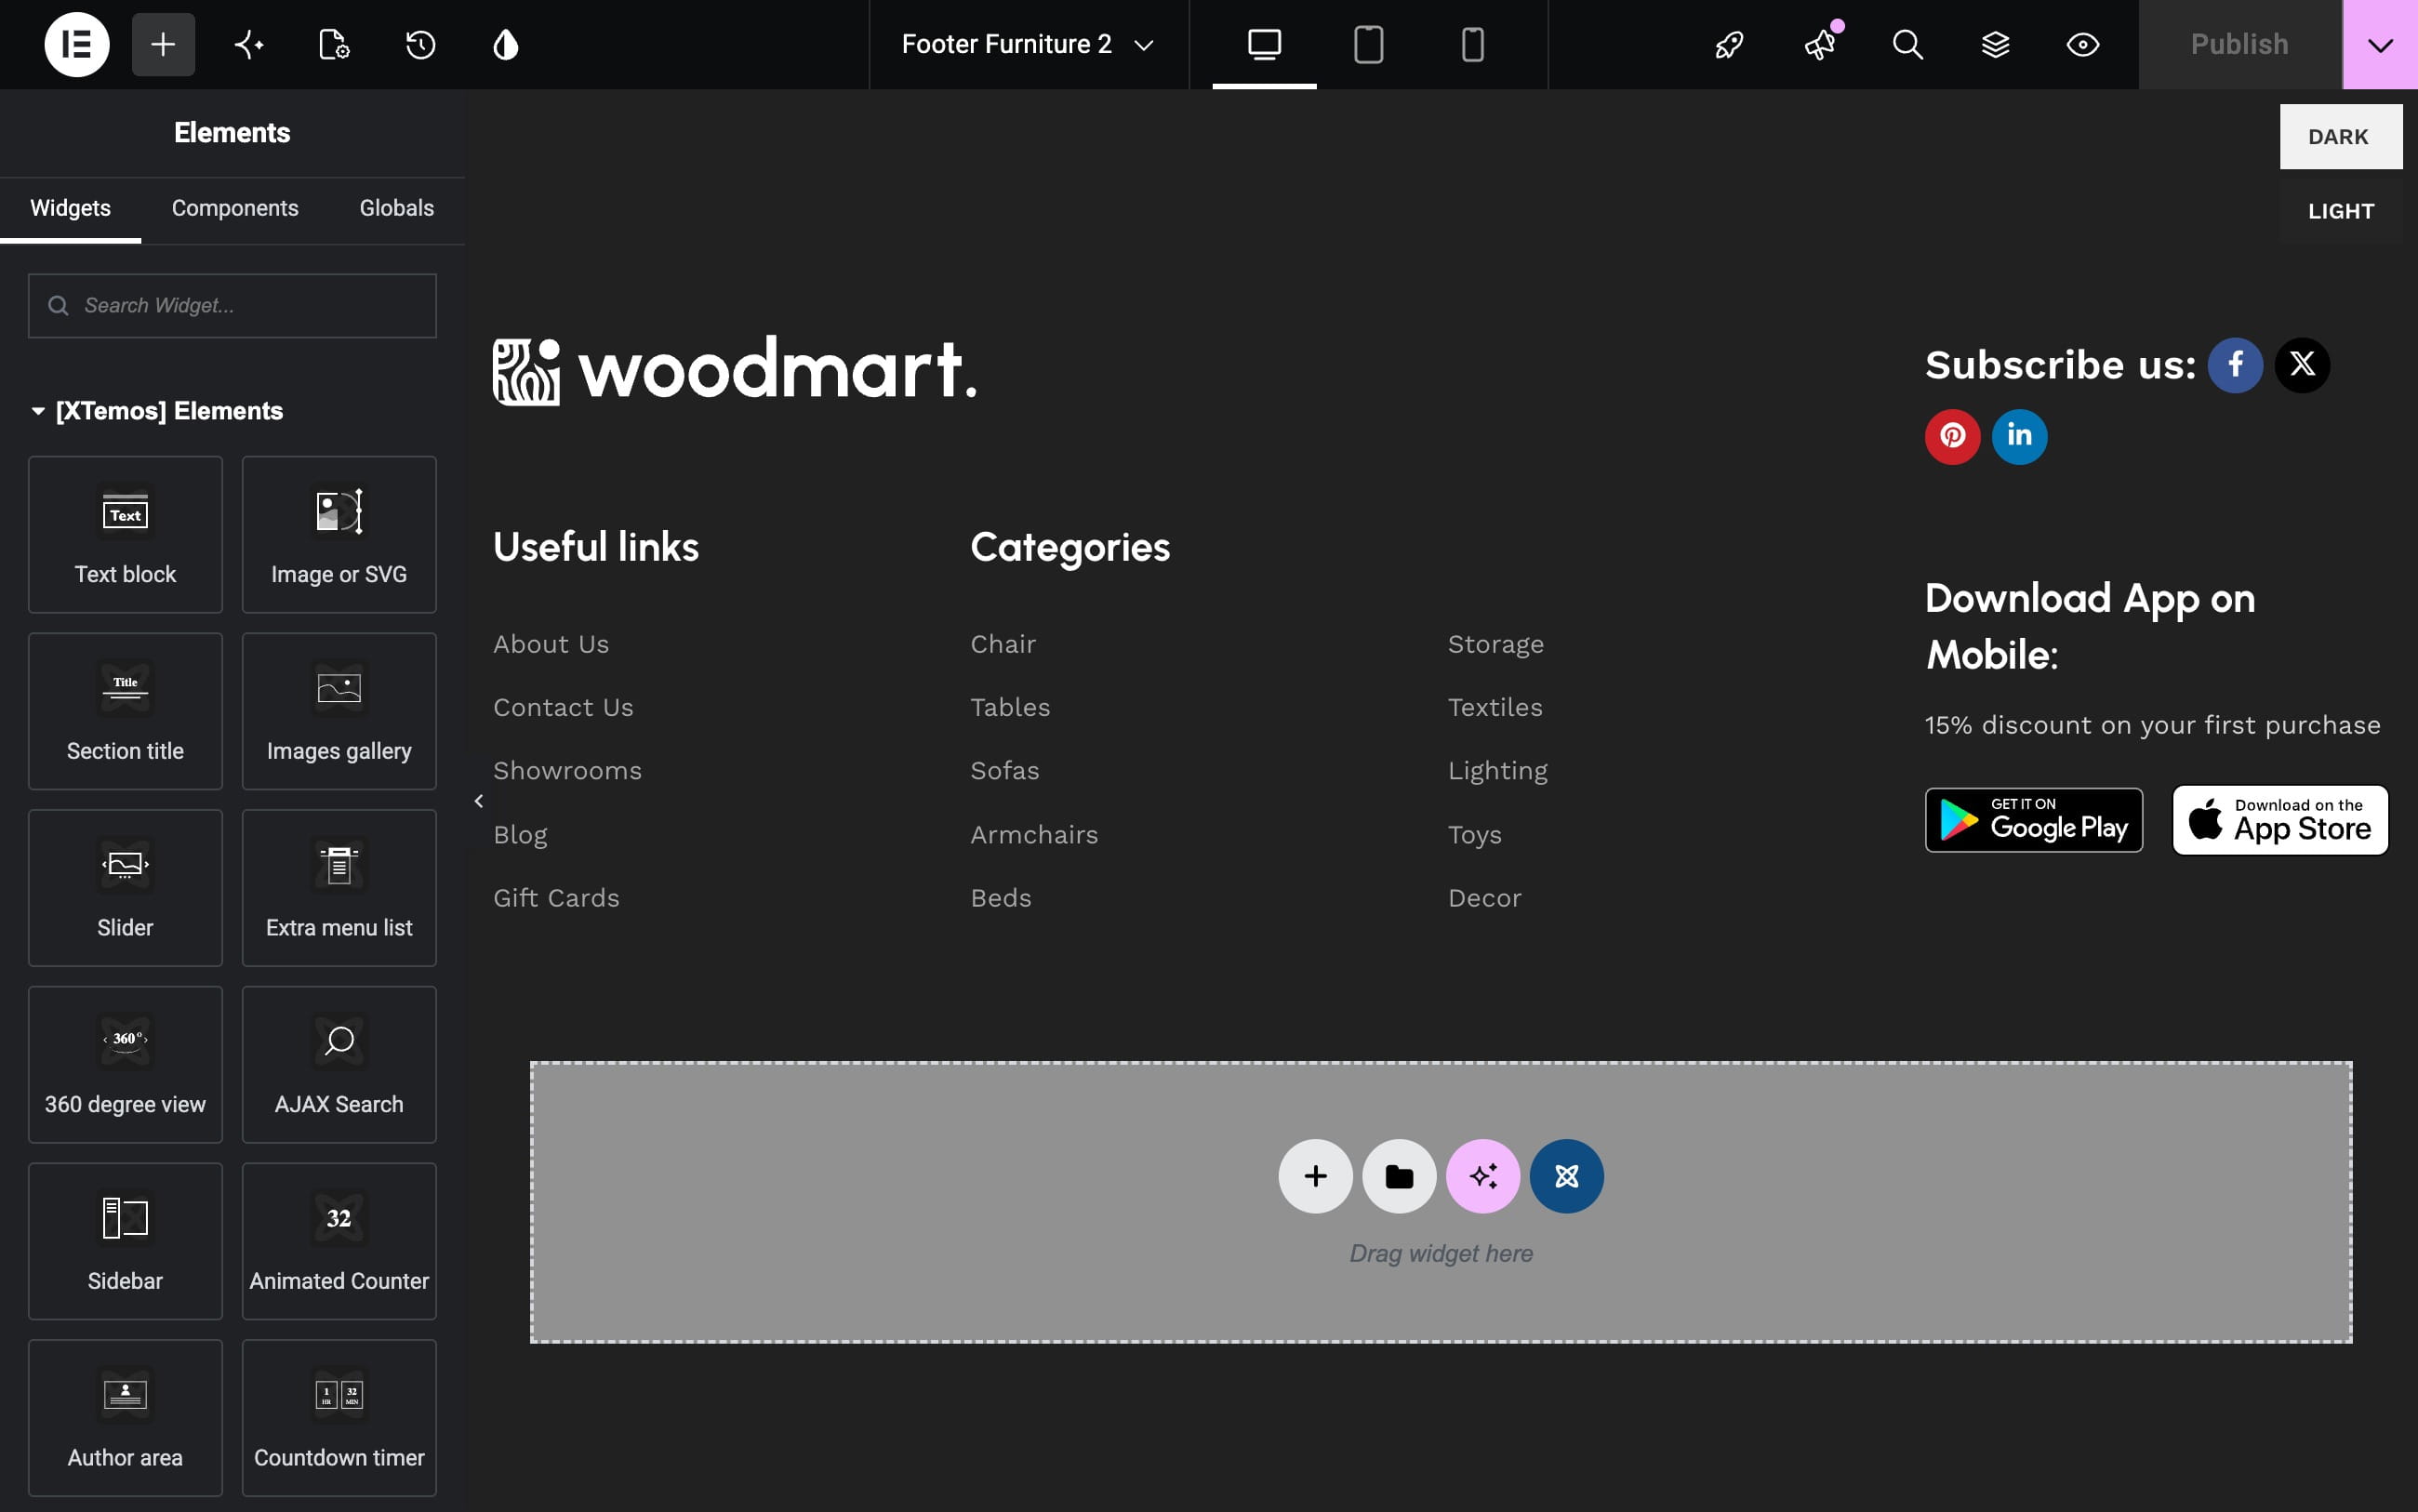
See the footer setup guide for detailed instructions.
Typography settings
Navigate to Theme Settings -> Typography to configure fonts for body text, headings, navigation, and other interface elements.
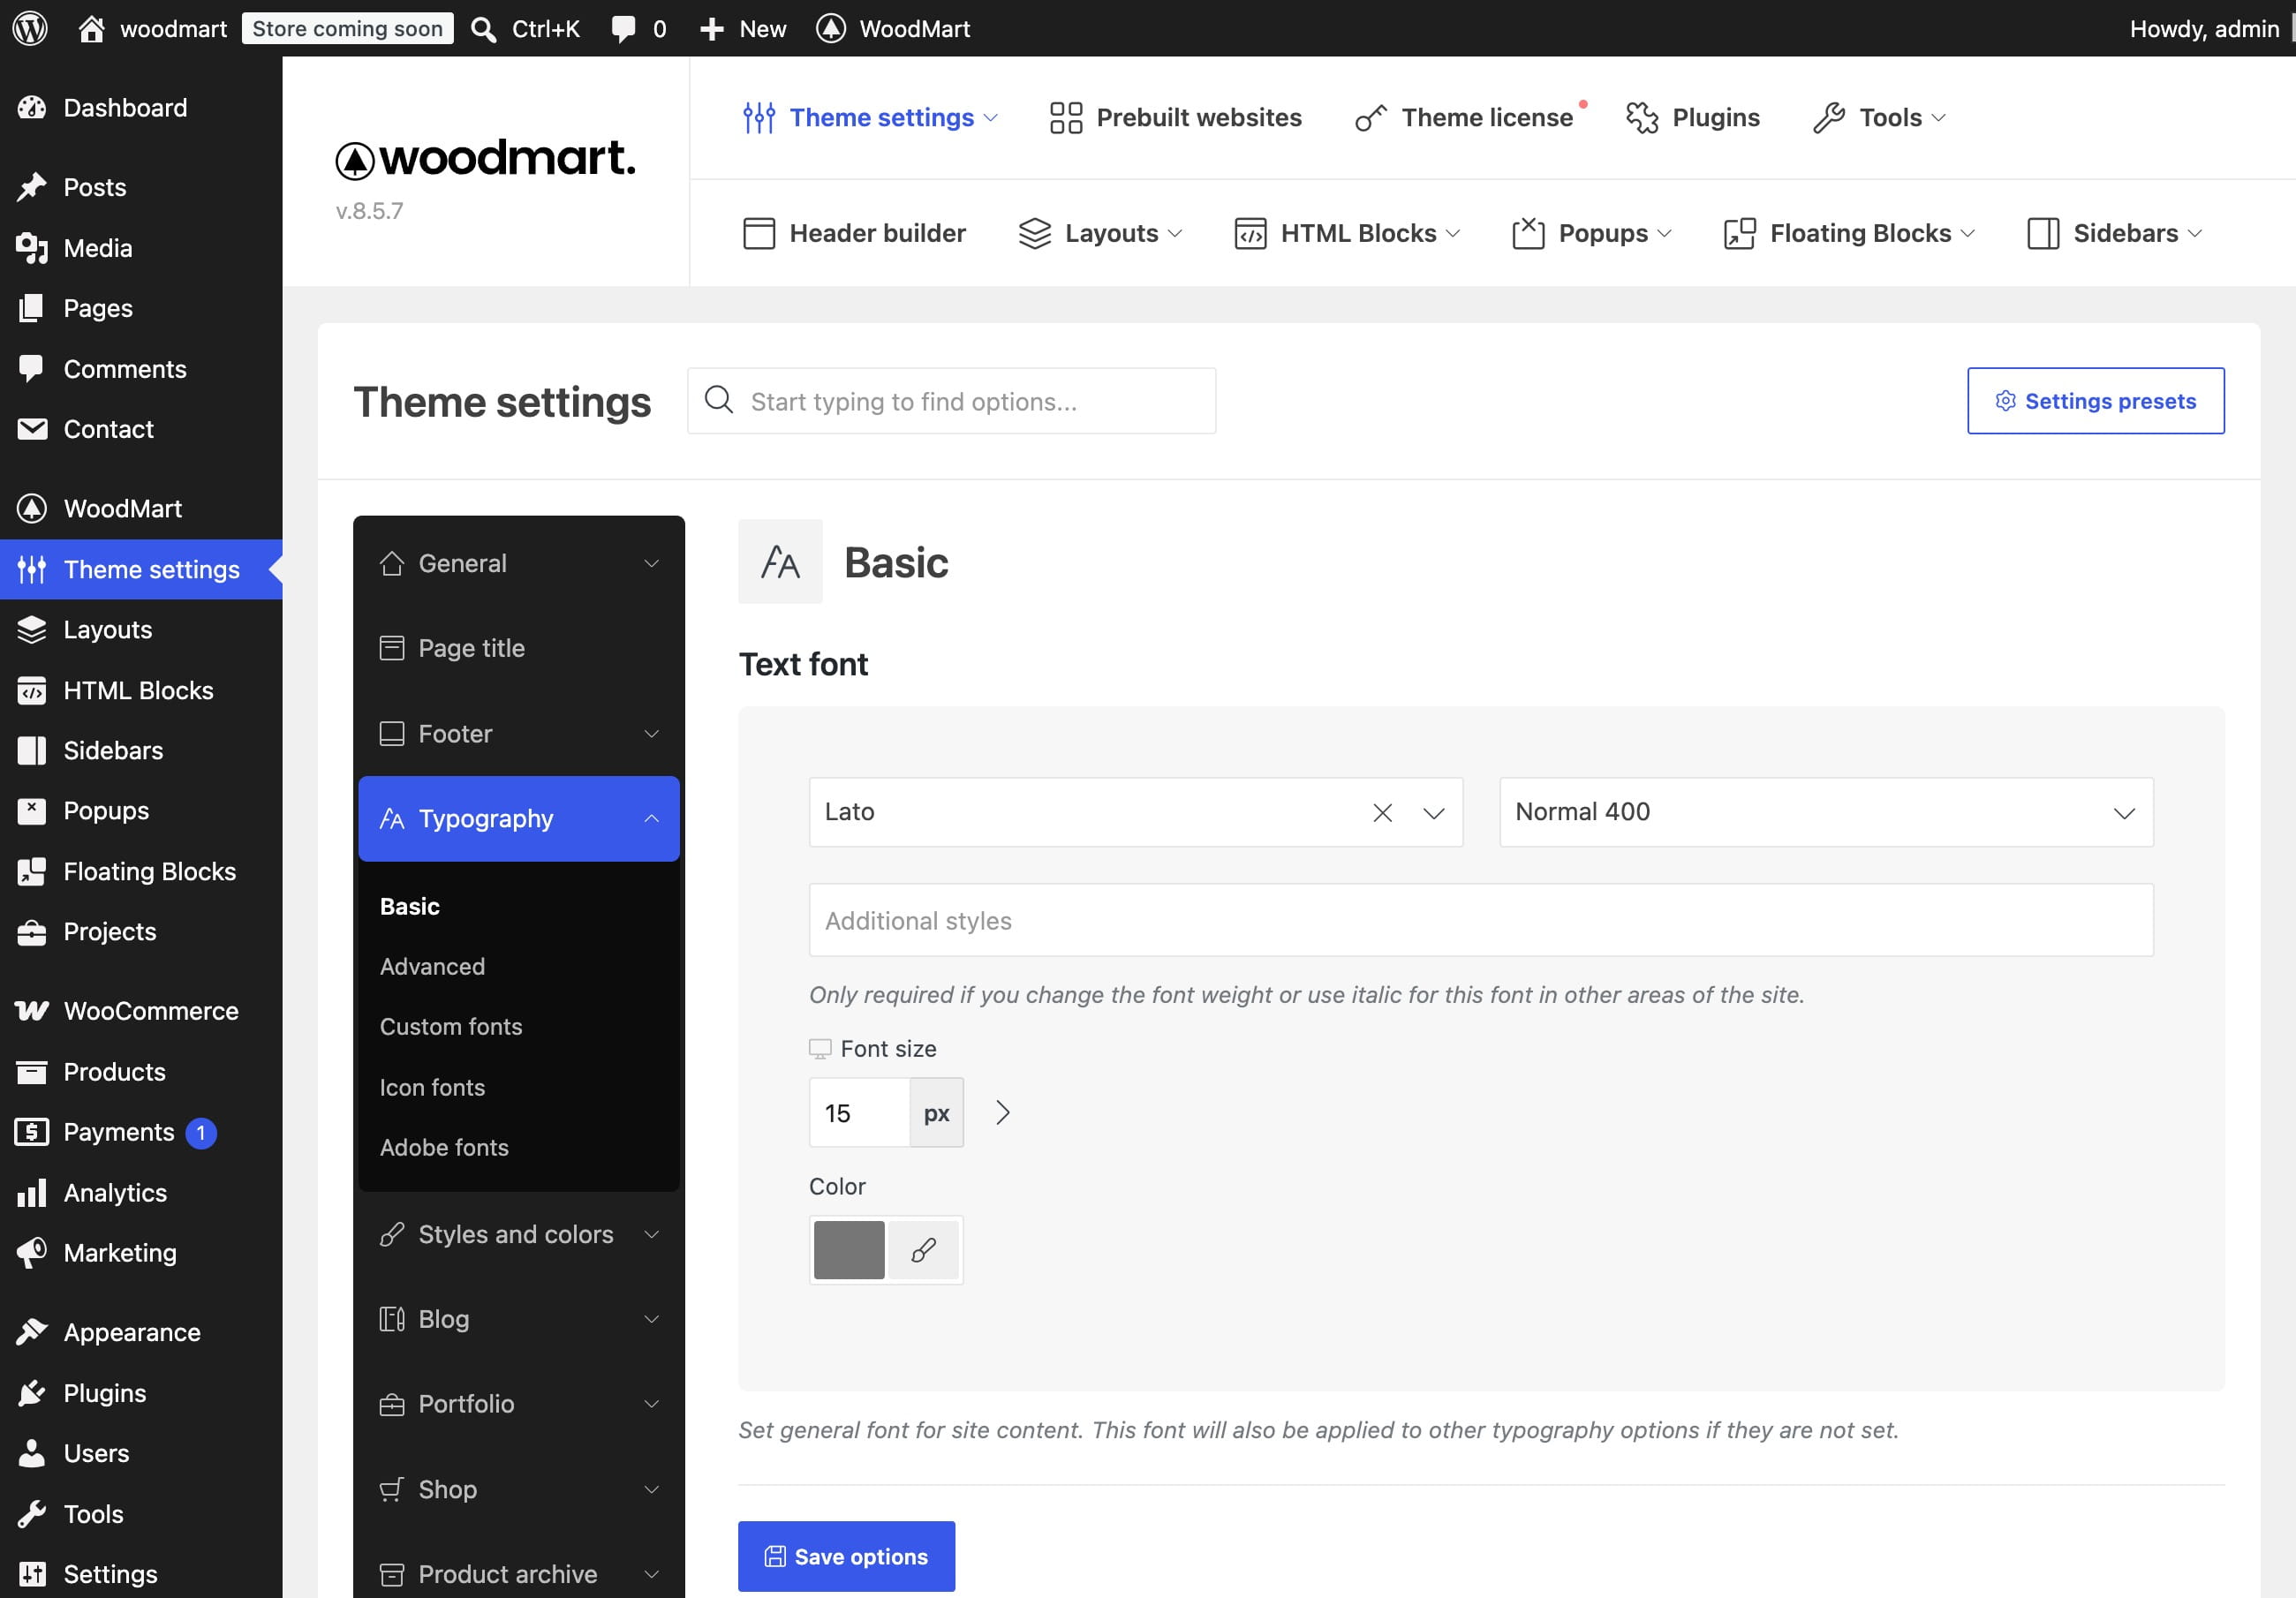
For additional font controls, see the advanced typography settings guide.
Product management
WooCommerce supports simple, variable, grouped, and external products. Follow the official WooCommerce guide to adding and managing products.
For variable products, WoodMart can replace standard dropdowns with color, image, or text swatches. Learn how to configure variable products and swatches.
Layout Builder
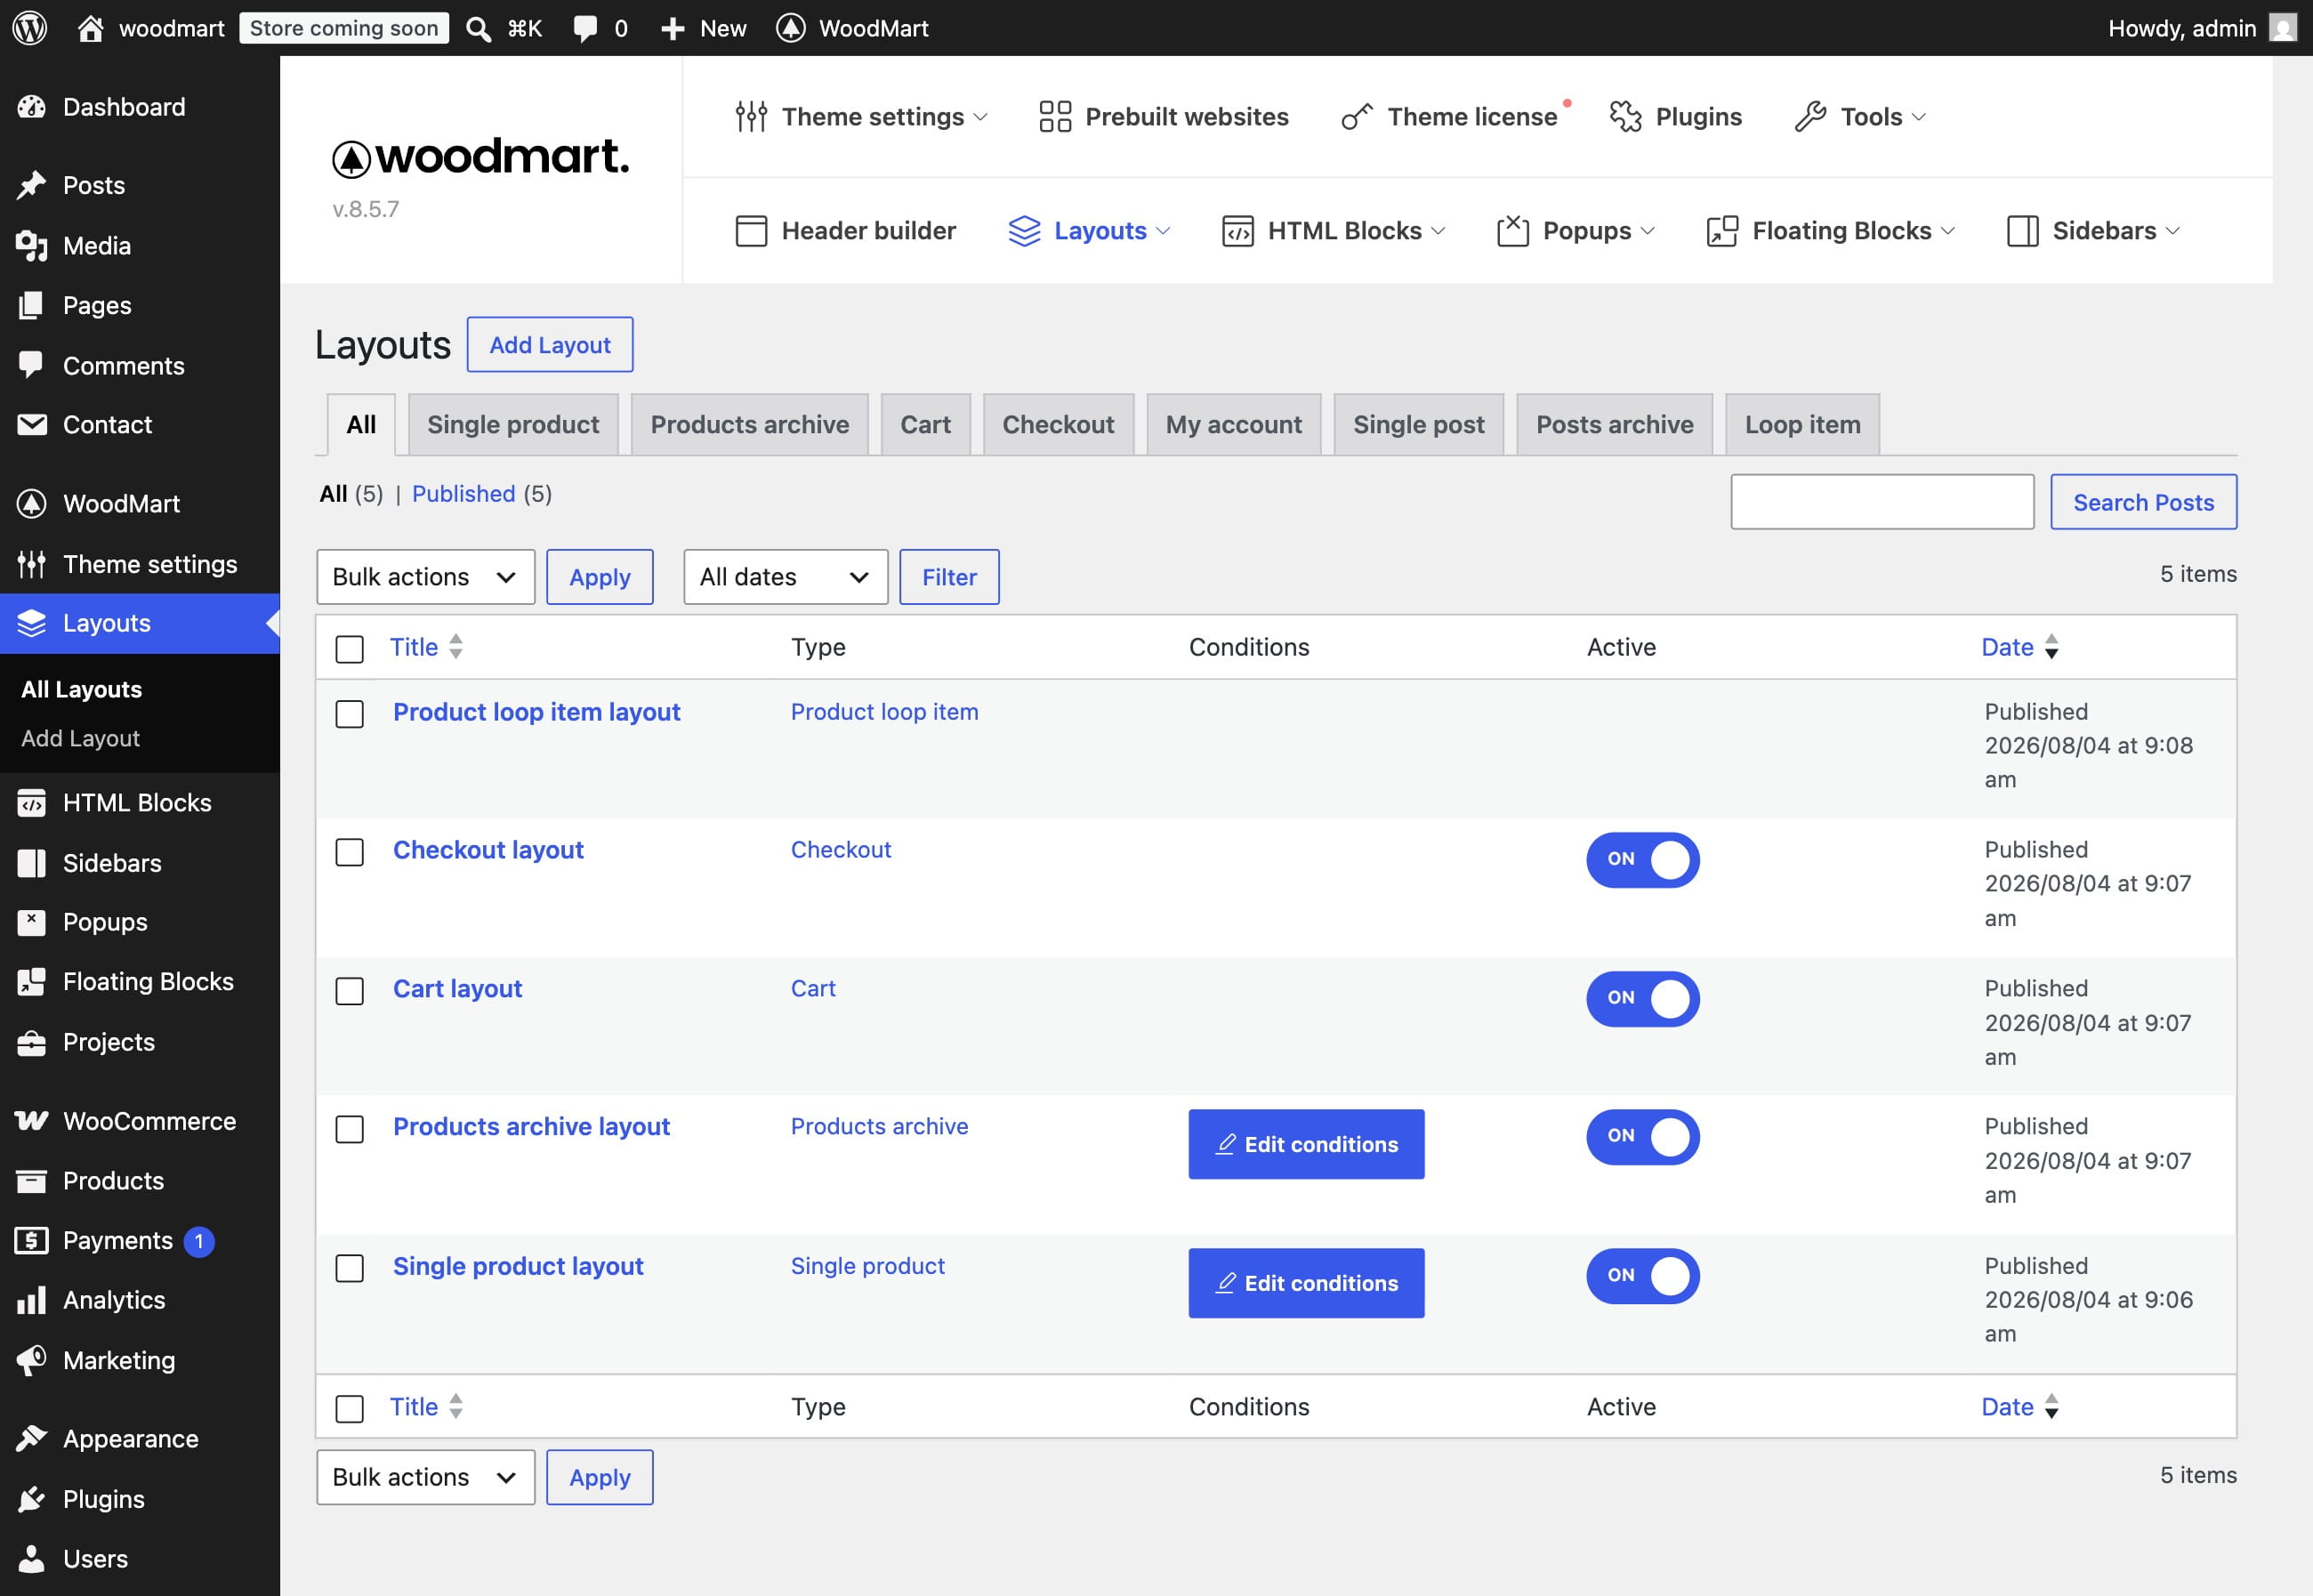
The WoodMart Layout Builder lets you create custom templates for shop archives, products, blog posts, projects, cart, checkout, My Account, and thank-you pages. Navigate to Dashboard -> Layouts, click Add New, and either start from scratch or import a prebuilt layout. You can edit layouts with WPBakery, Elementor, or Gutenberg.
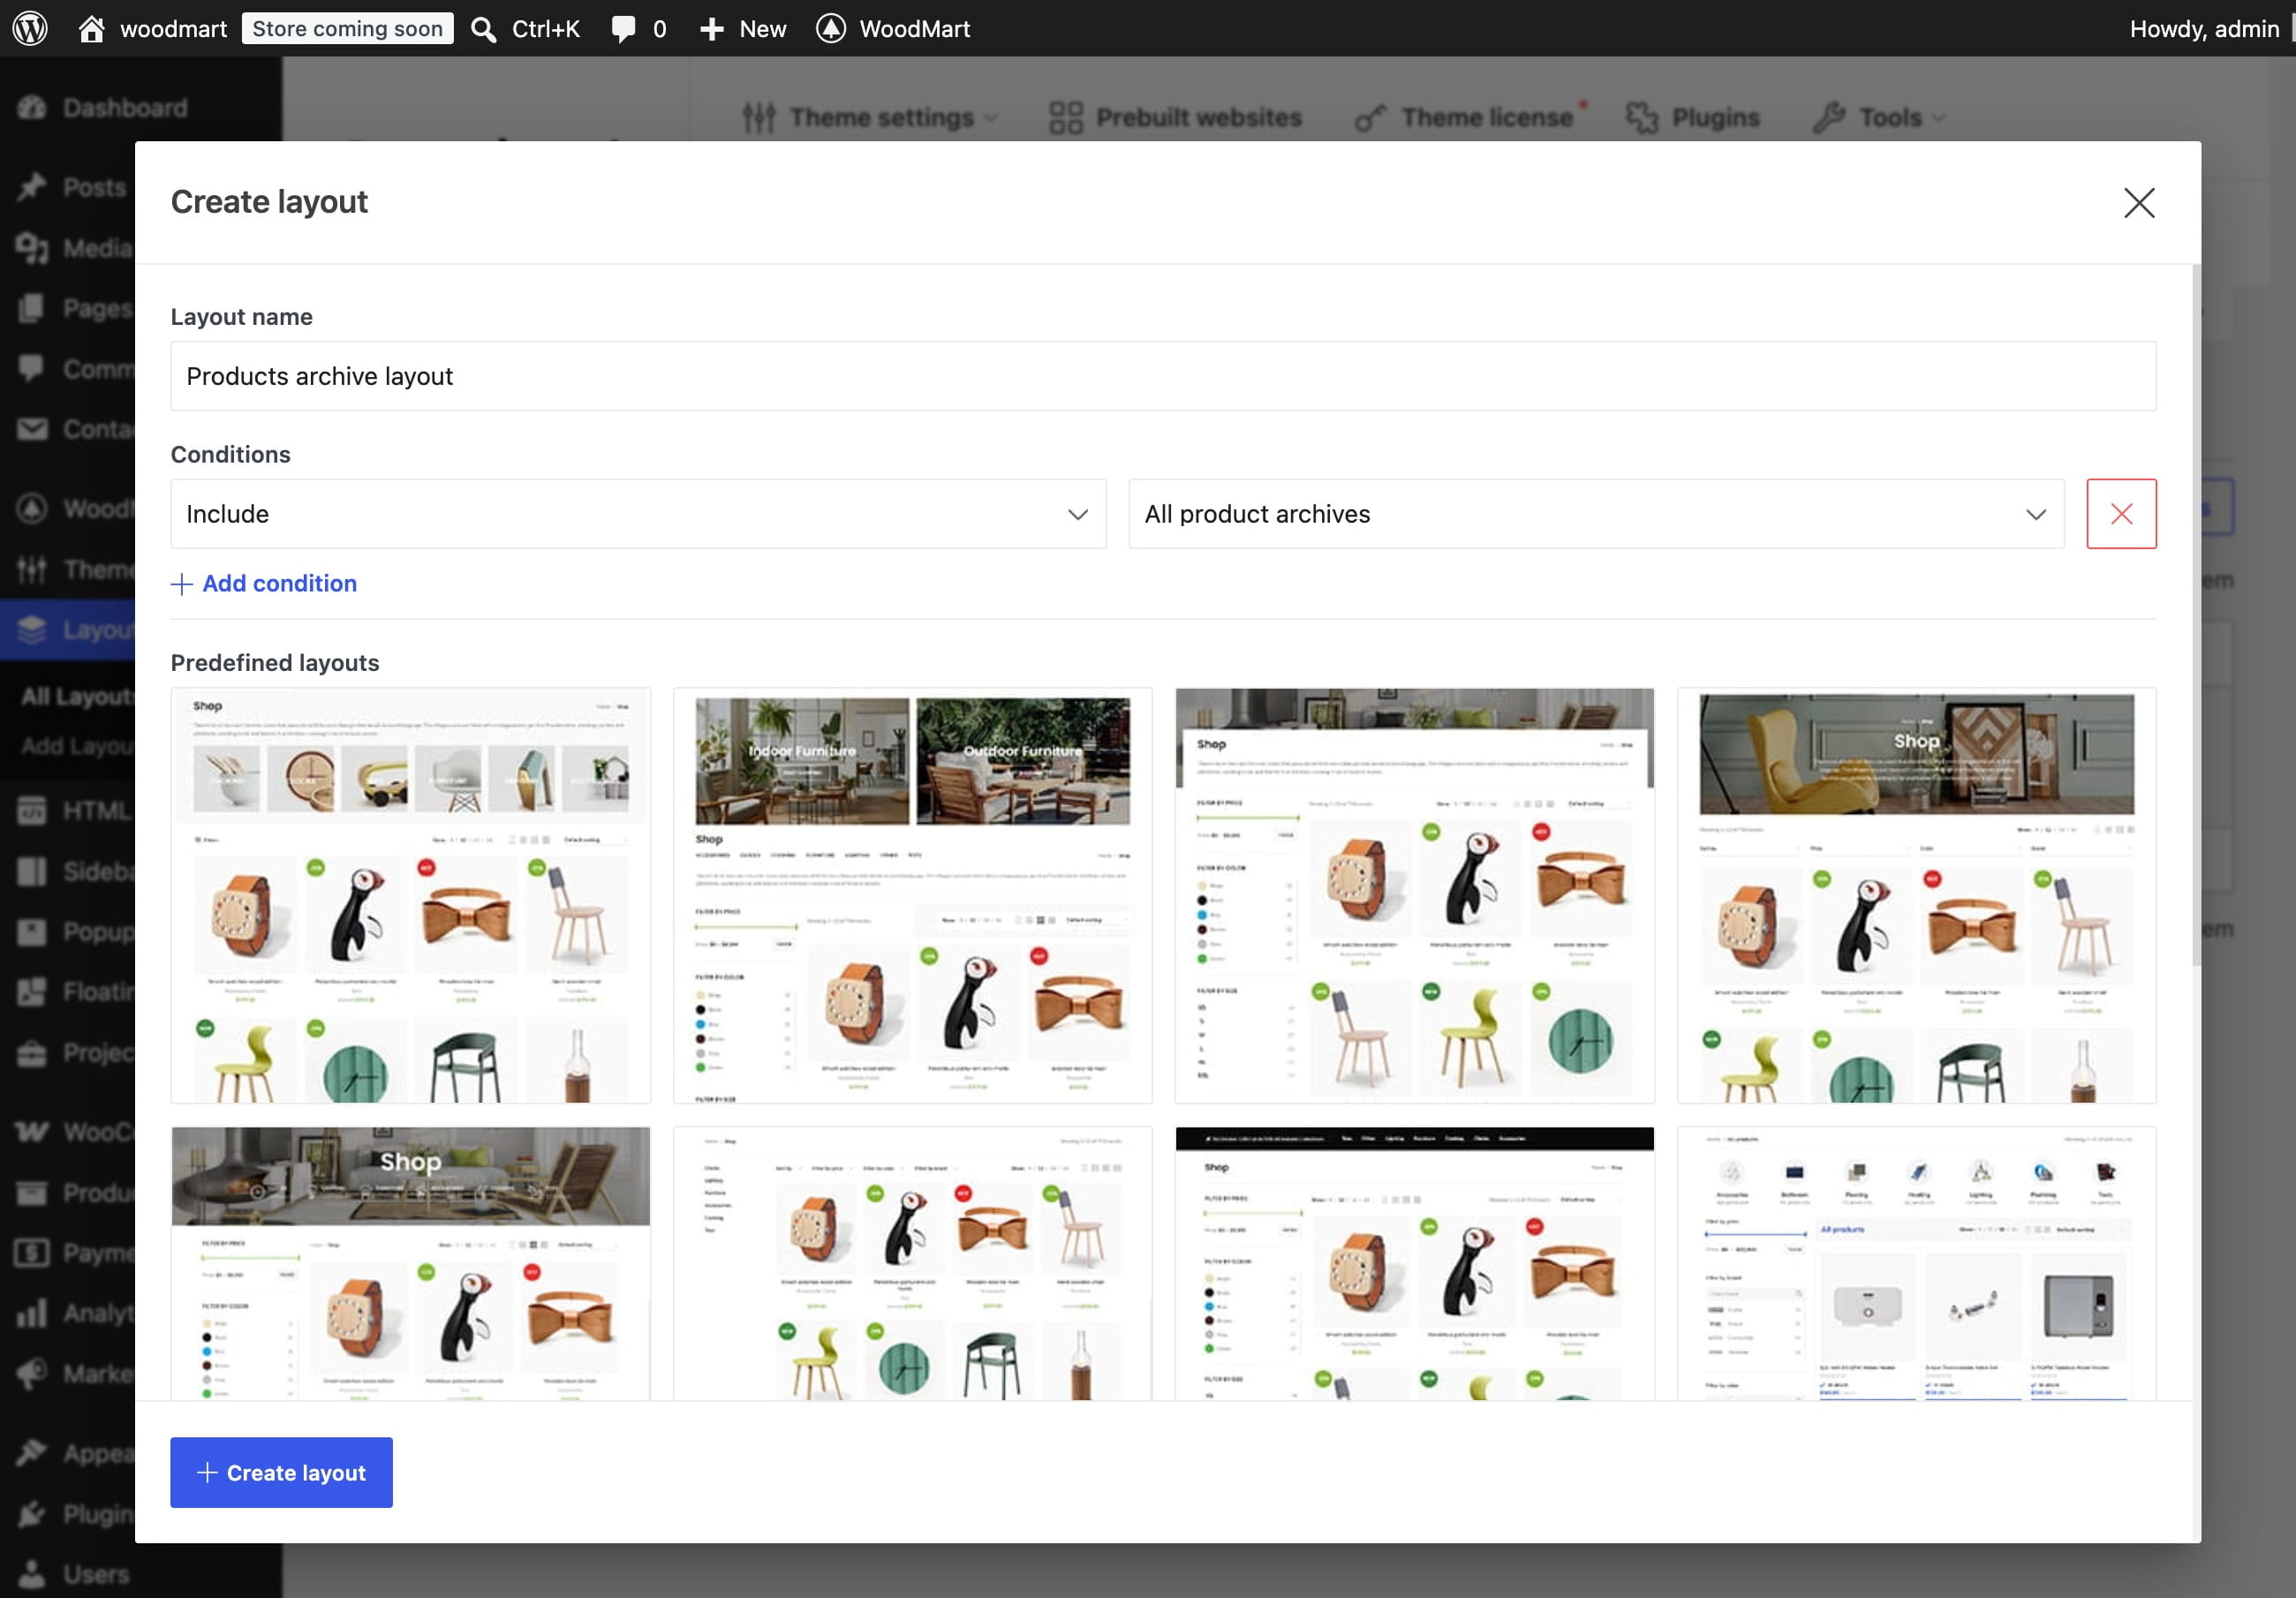
See the WoodMart Layout Builder guide for layout conditions and detailed configuration instructions.
WoodMart Slider
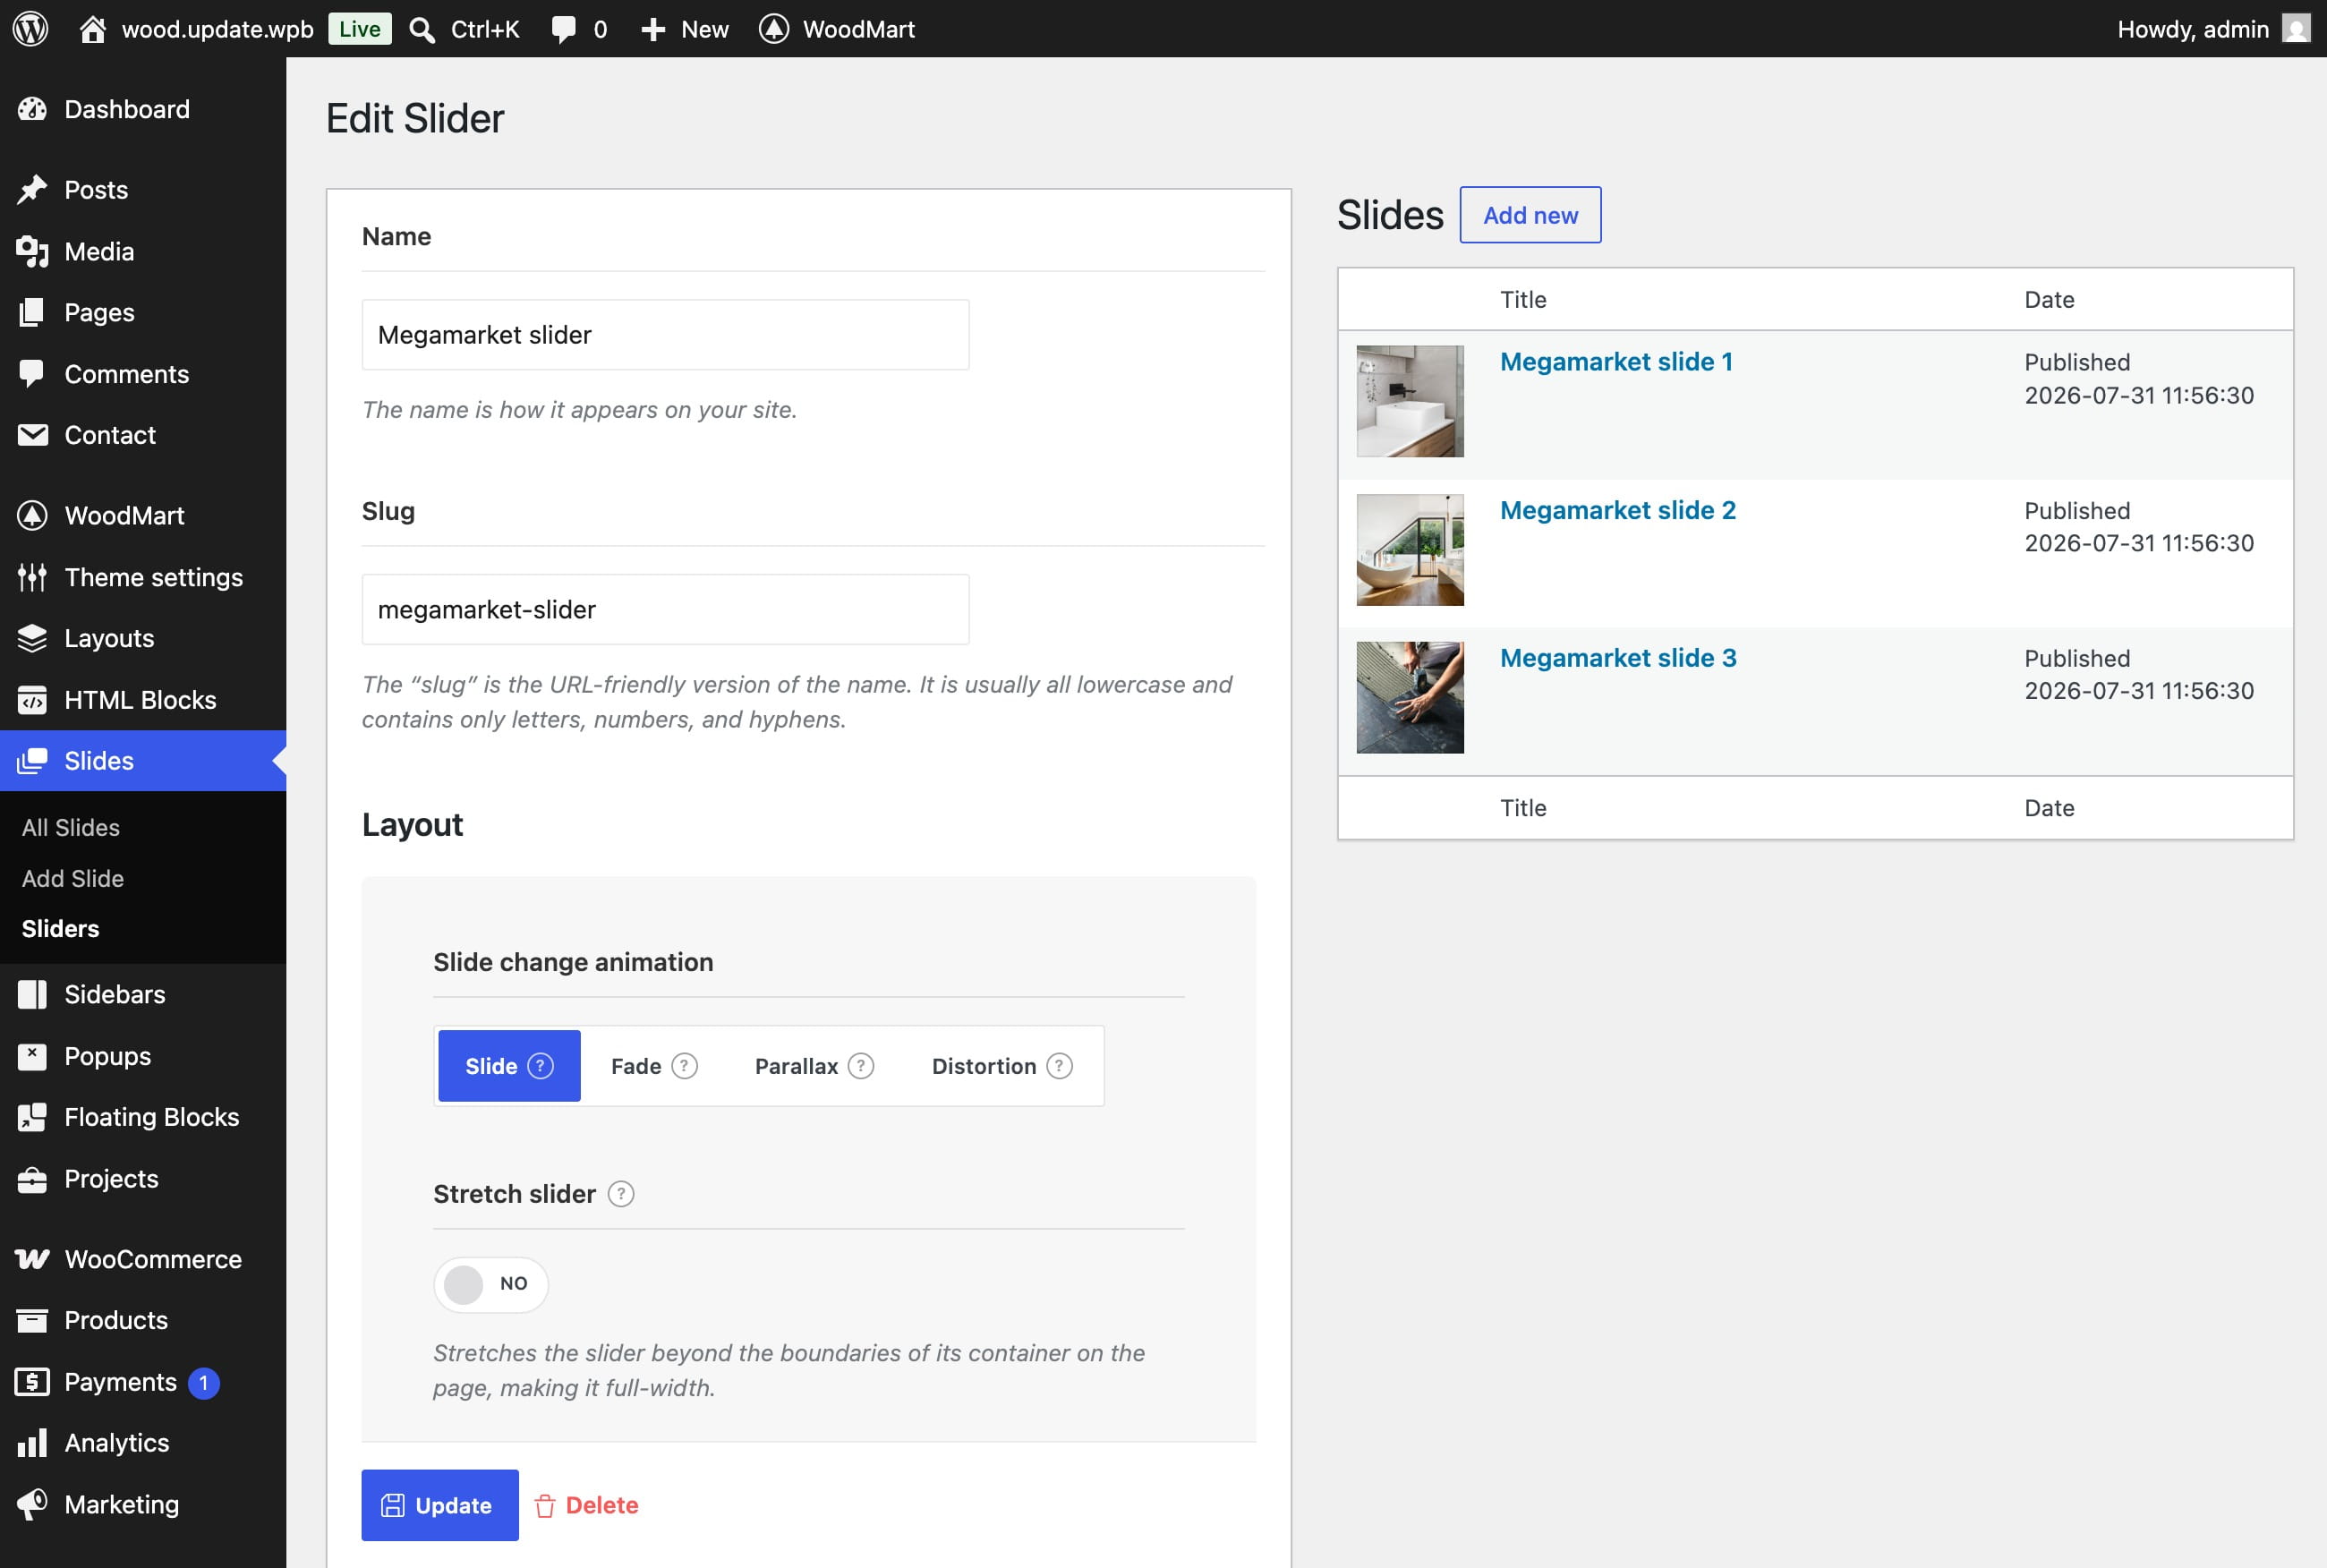
WoodMart includes a built-in slider for creating responsive promotional banners and hero sections. Manage sliders from Dashboard -> Slides -> Sliders, then create and assign slides to them.
See the Slider settings documentation and the guide to adding slides to a slider.
Recommended next steps
- Configure the Header Builder and create your website navigation.
- Set up the footer and its widget areas.
- Create custom layouts for WooCommerce and other website sections.
- Configure variable products and swatches.
- Translate WoodMart or configure a multilingual website.
- Optimize your WoodMart website after replacing the demo content with your own.
Don’t miss WoodMart updates
Receive feature updates, tutorials, and WoodMart news via email.
 Last updated: September 21, 2026