
Installation process
This guide explains how to install WoodMart through the WordPress Dashboard and complete the initial configuration with the setup wizard.
If the theme file exceeds your server upload limit, use a hosting file manager or SFTP. If you have already installed WoodMart and skipped the setup wizard, follow the manual setup guide.
Upload WoodMart through the WordPress Dashboard
- Log in to your WordPress Dashboard.
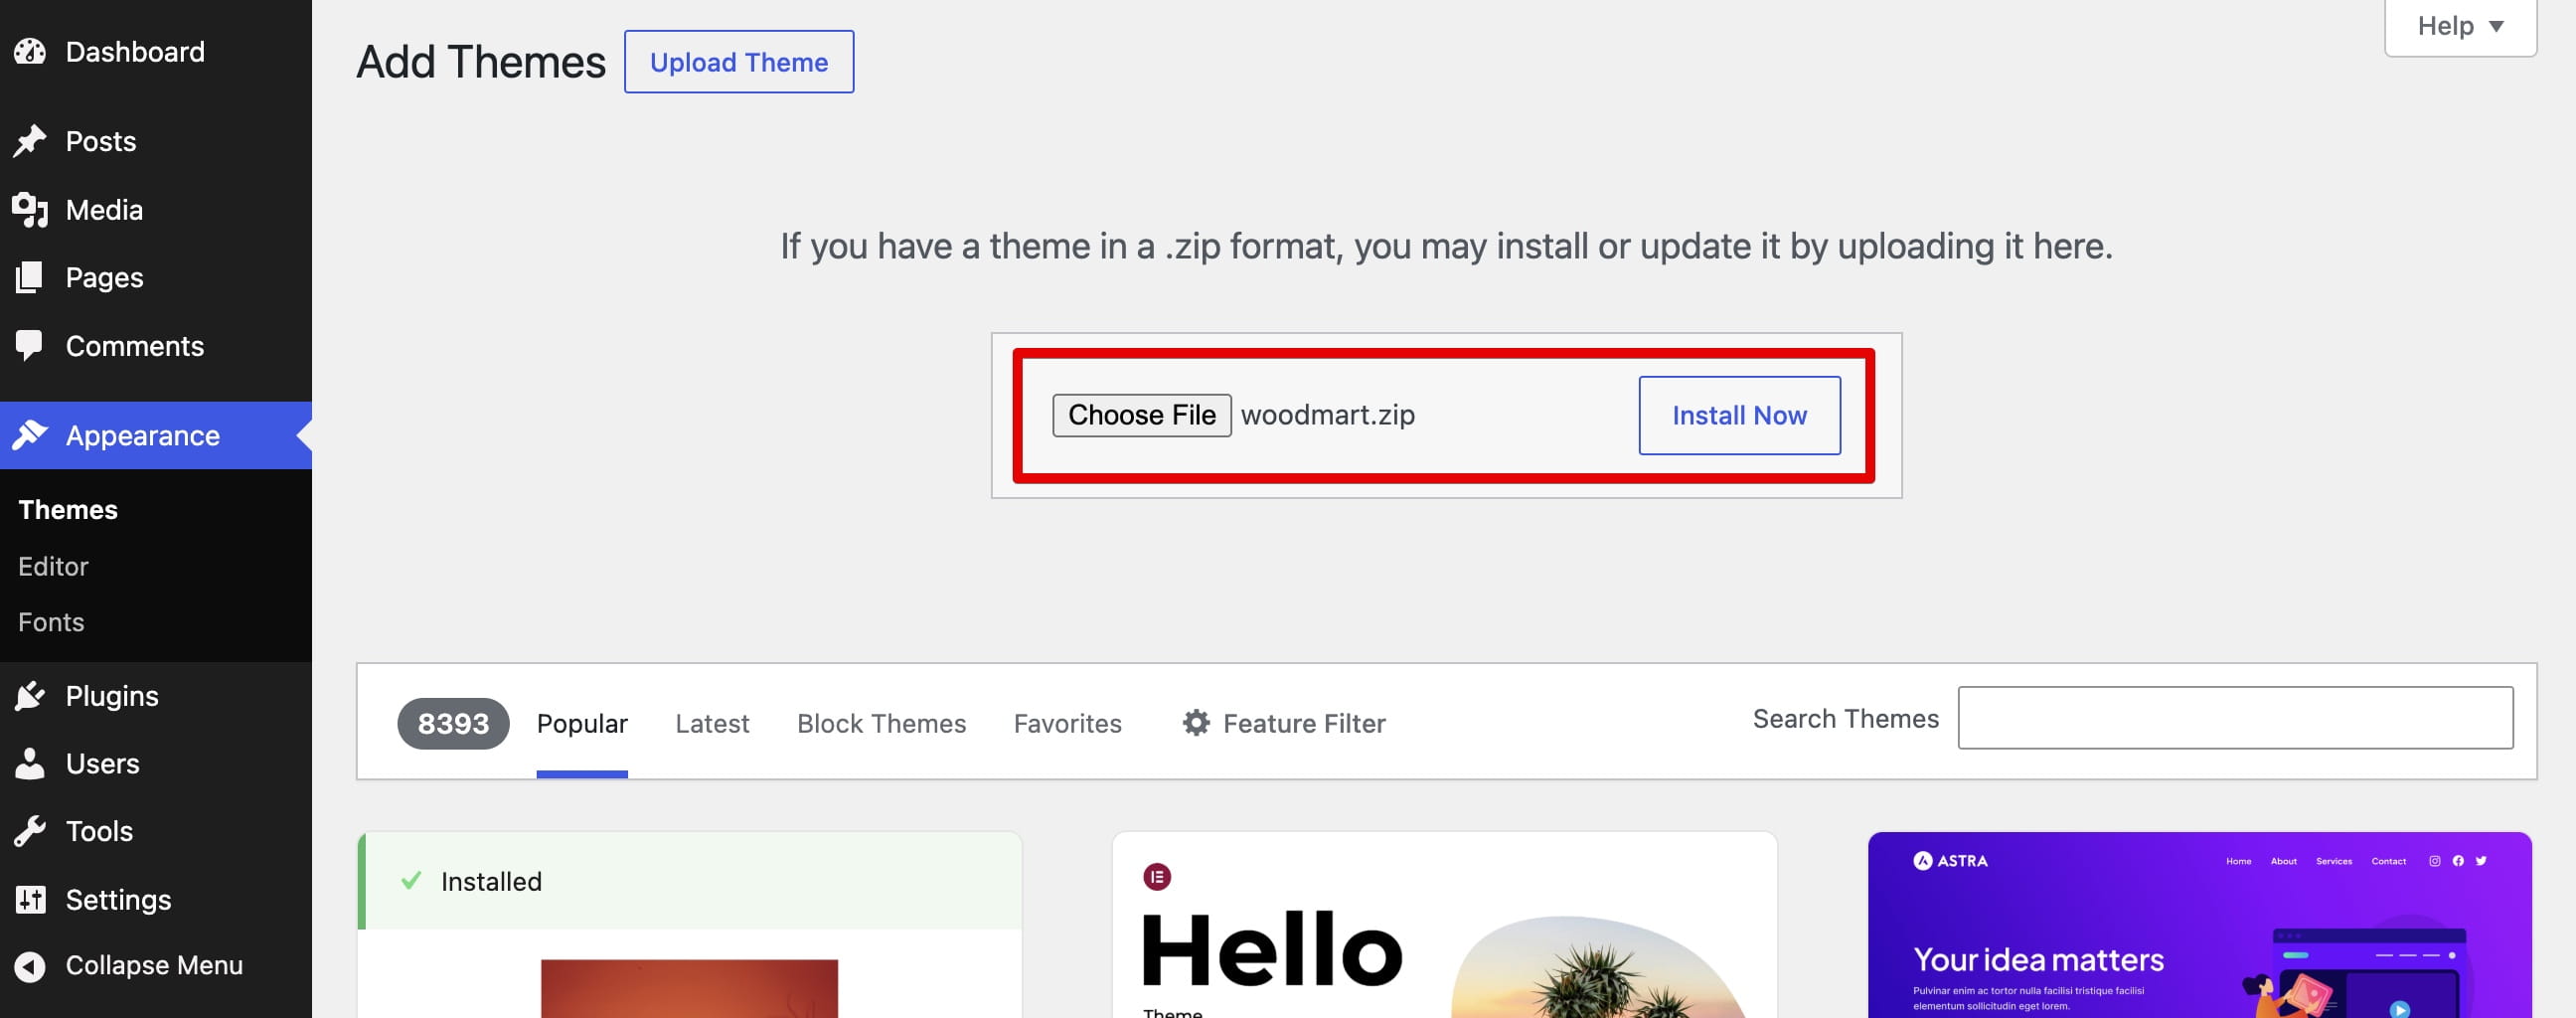
- Navigate to Appearance -> Themes -> Add New -> Upload Theme.
- Click Choose File and select woodmart.zip from your computer.
- Click Install Now and wait for the upload to finish.
- Click Activate to make WoodMart the active theme.
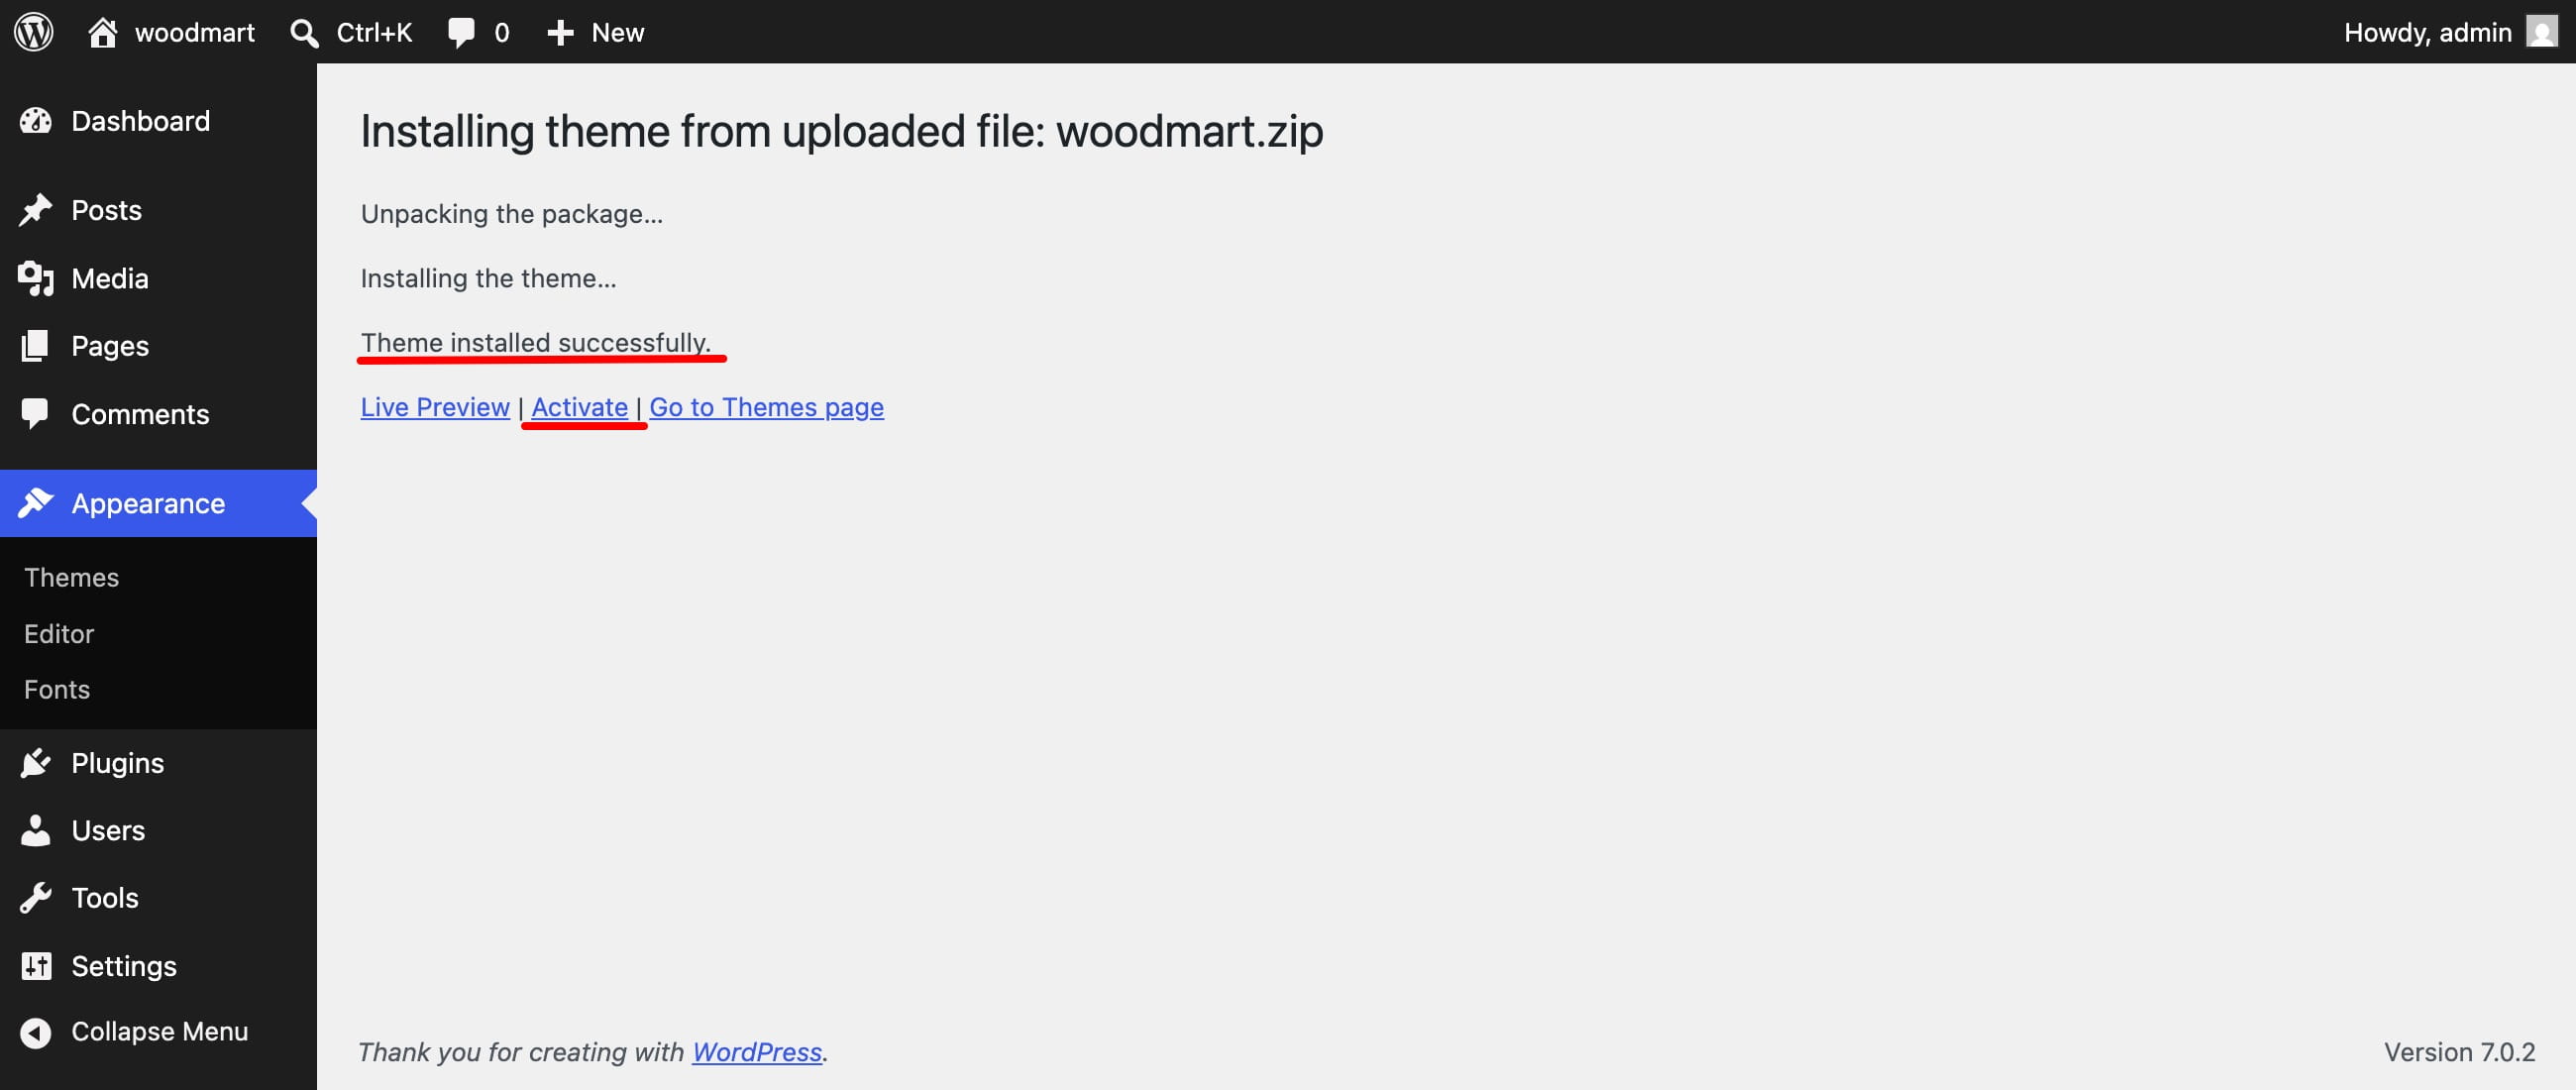
After activation, WoodMart opens the welcome screen. Click Let’s start to launch the setup wizard.

Setup wizard
The wizard guides you through license activation, child theme installation, page builder selection, plugin installation, prebuilt website import, and final setup.
Step 1. License activation
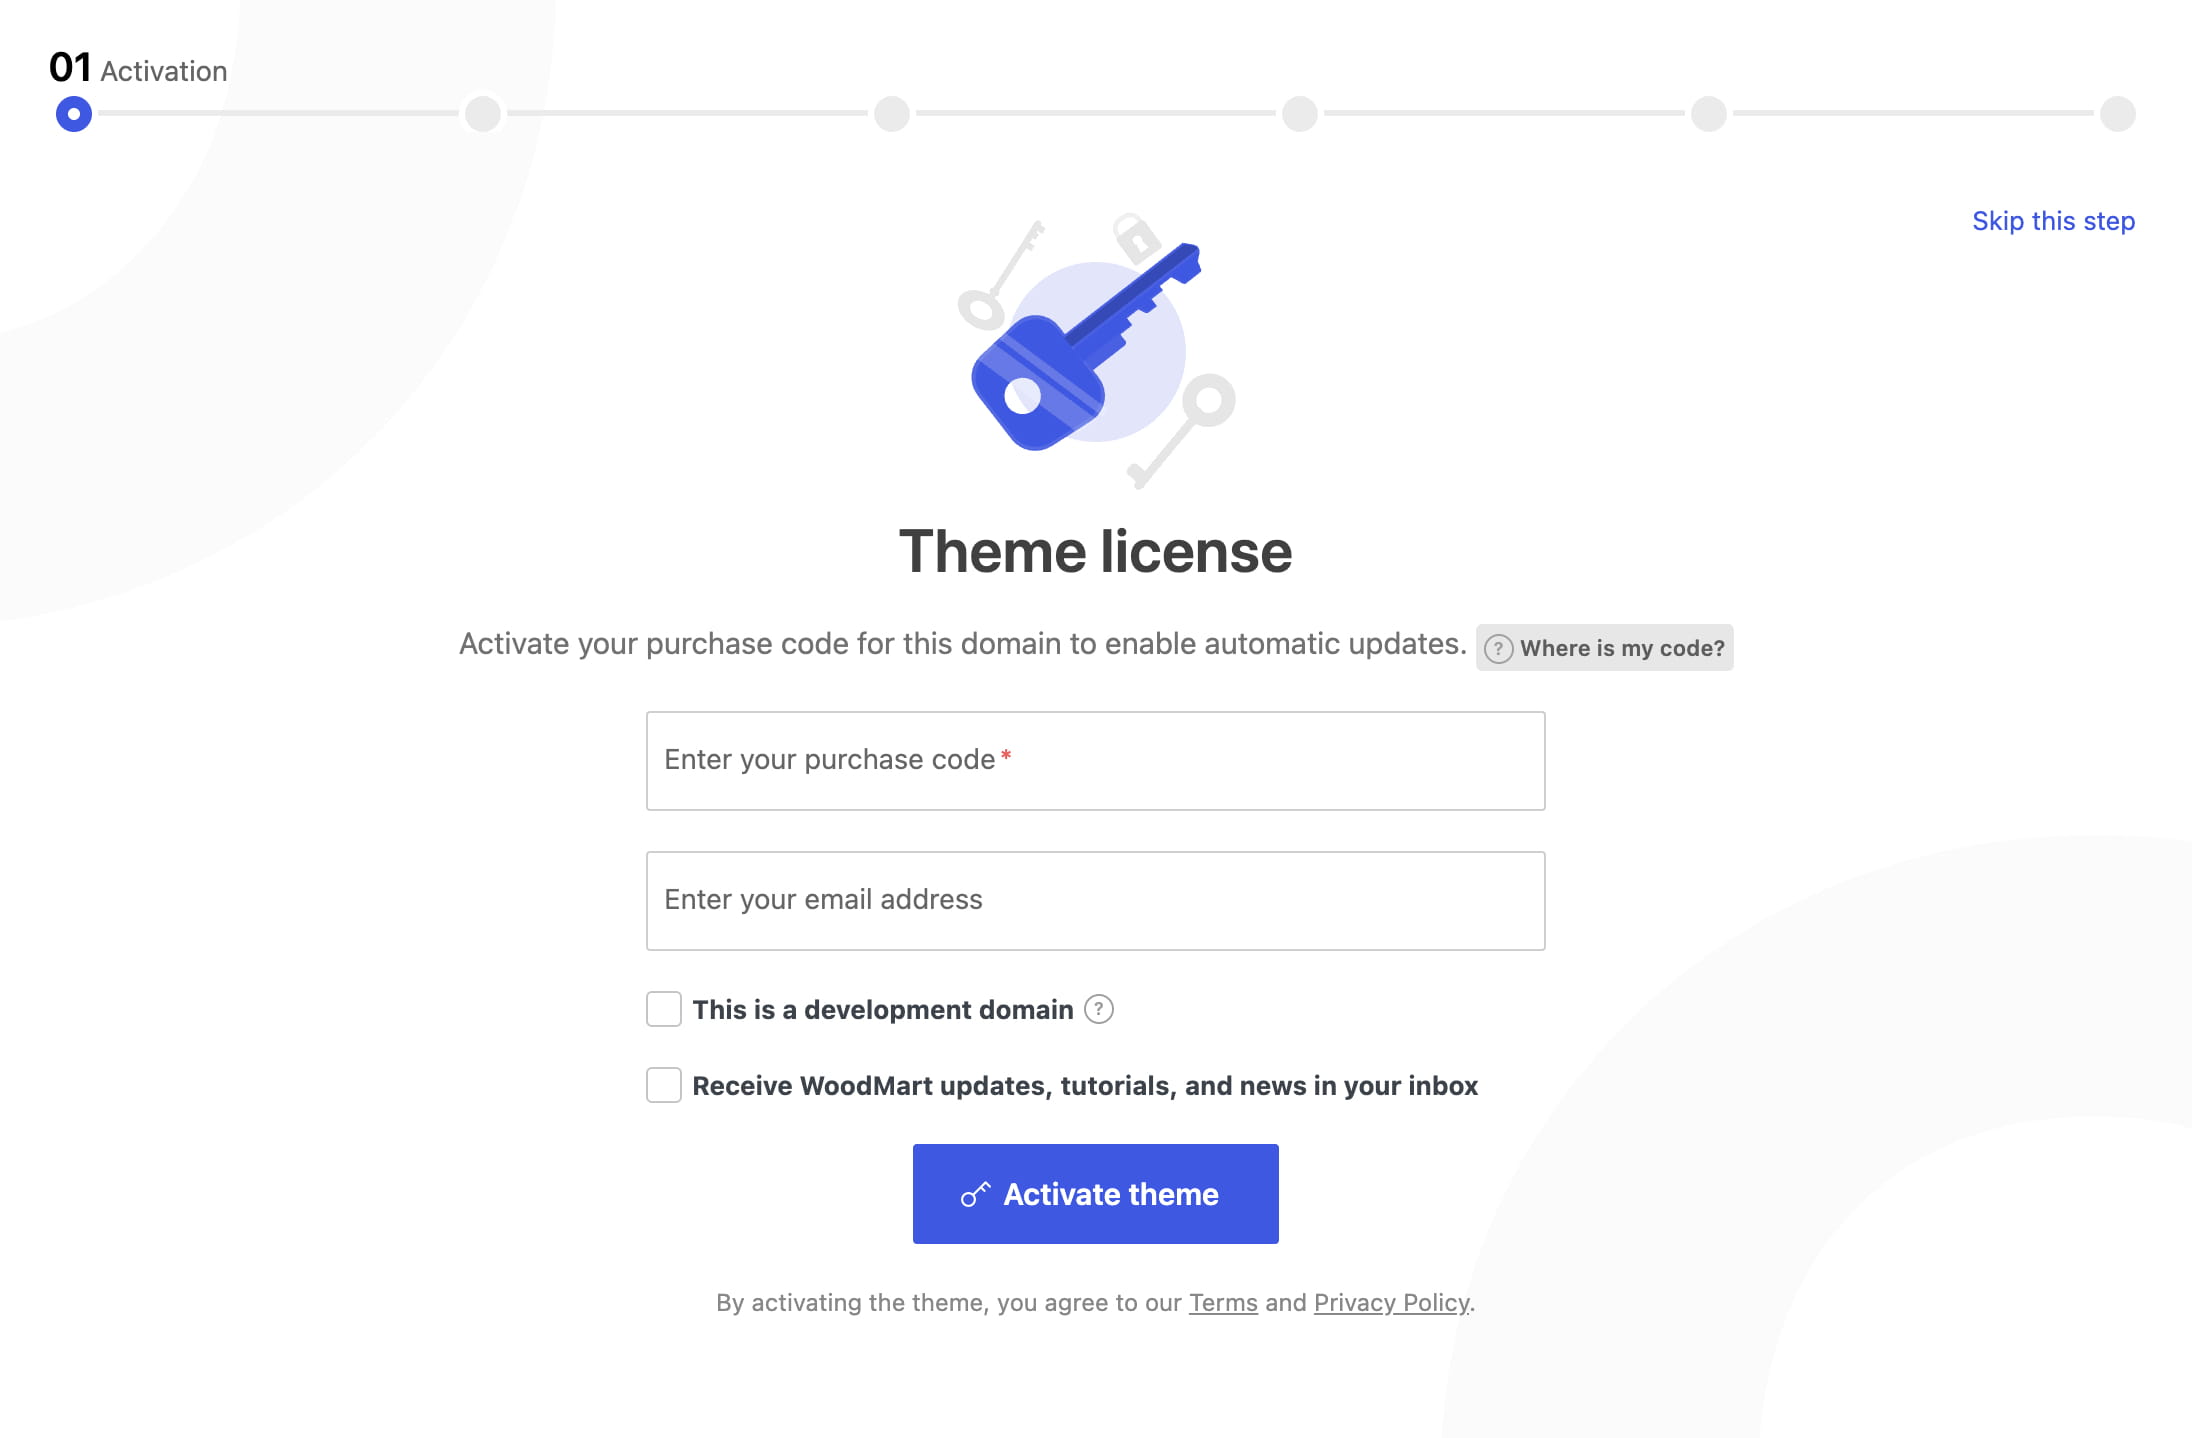
Enter your WoodMart purchase code, accept the terms, and click Activate theme to enable automatic theme updates. You can also skip this step and activate the license later.
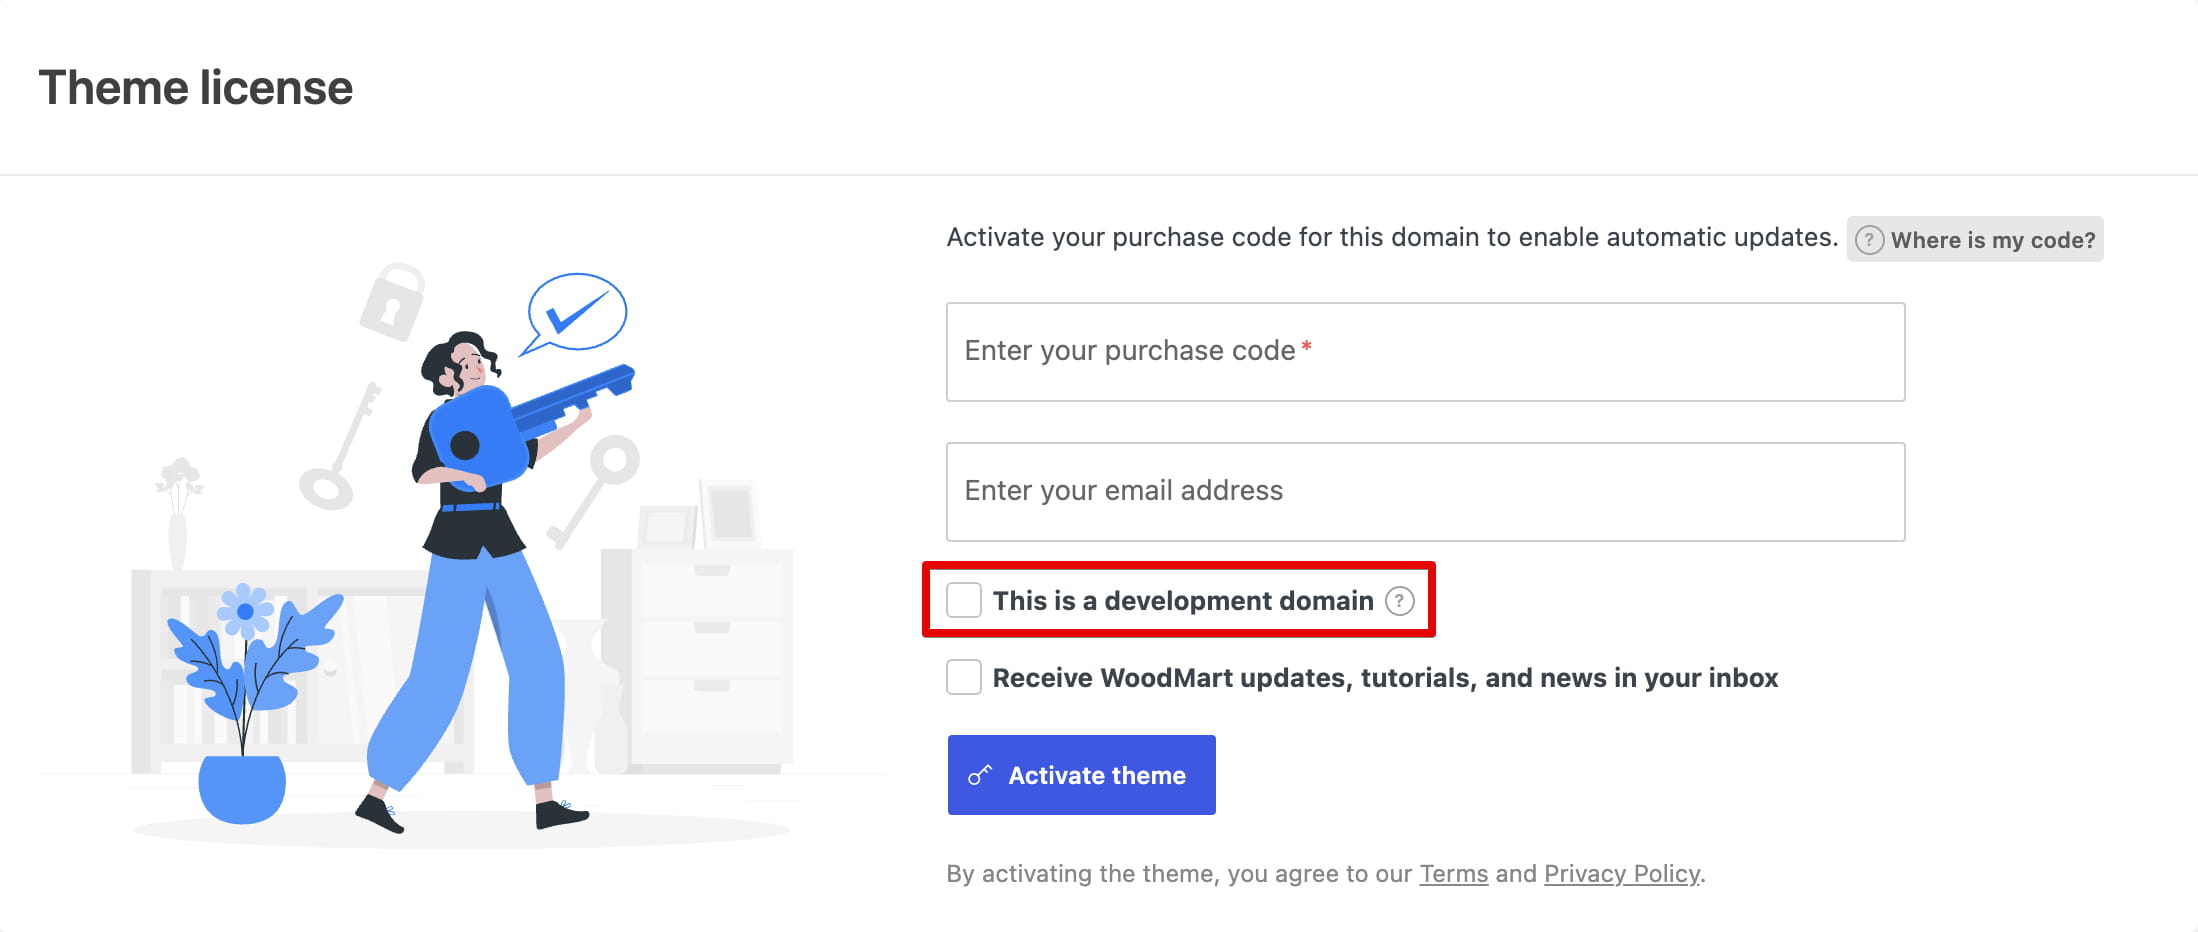
- Select This is a development domain when activating the license on a staging or development website.
- Leave This is a development domain unselected when activating the license on your live website.
Find your purchase code
- Log in to your Envato Market account.
- Open the menu under your username and select Downloads.
- Find WoodMart and click Download.
- Select License certificate & purchase code in PDF or text format.
- Open the downloaded file and copy the purchase code.


Step 2. Child theme
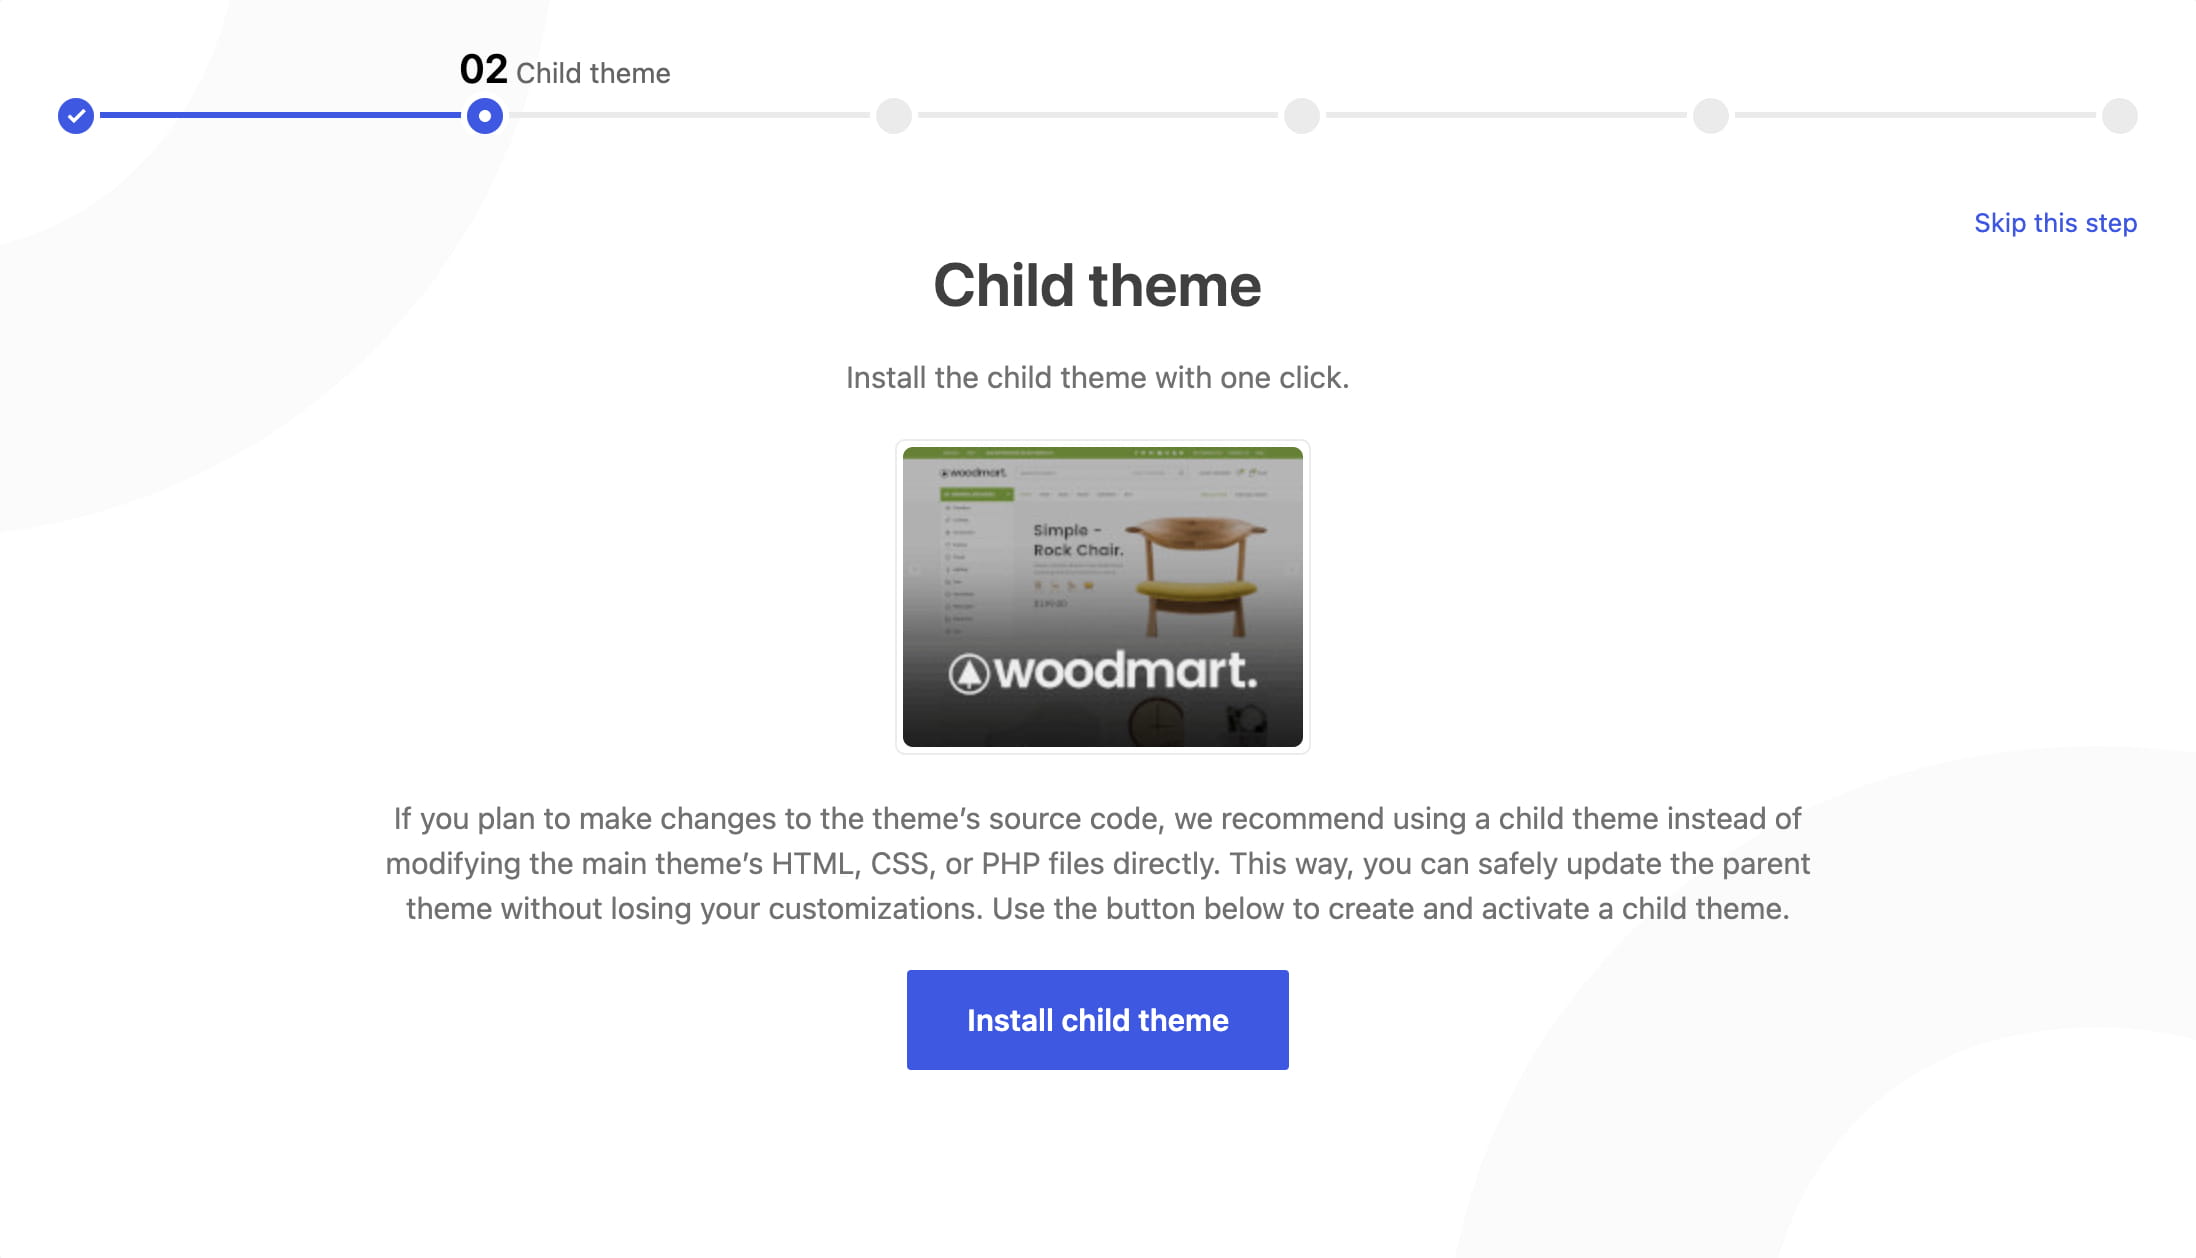
Click Install child theme to create and activate a WoodMart child theme. Use it for code customizations that should remain in place when the parent theme is updated. For more information, see the child theme setup guide.
Step 3. Page builder
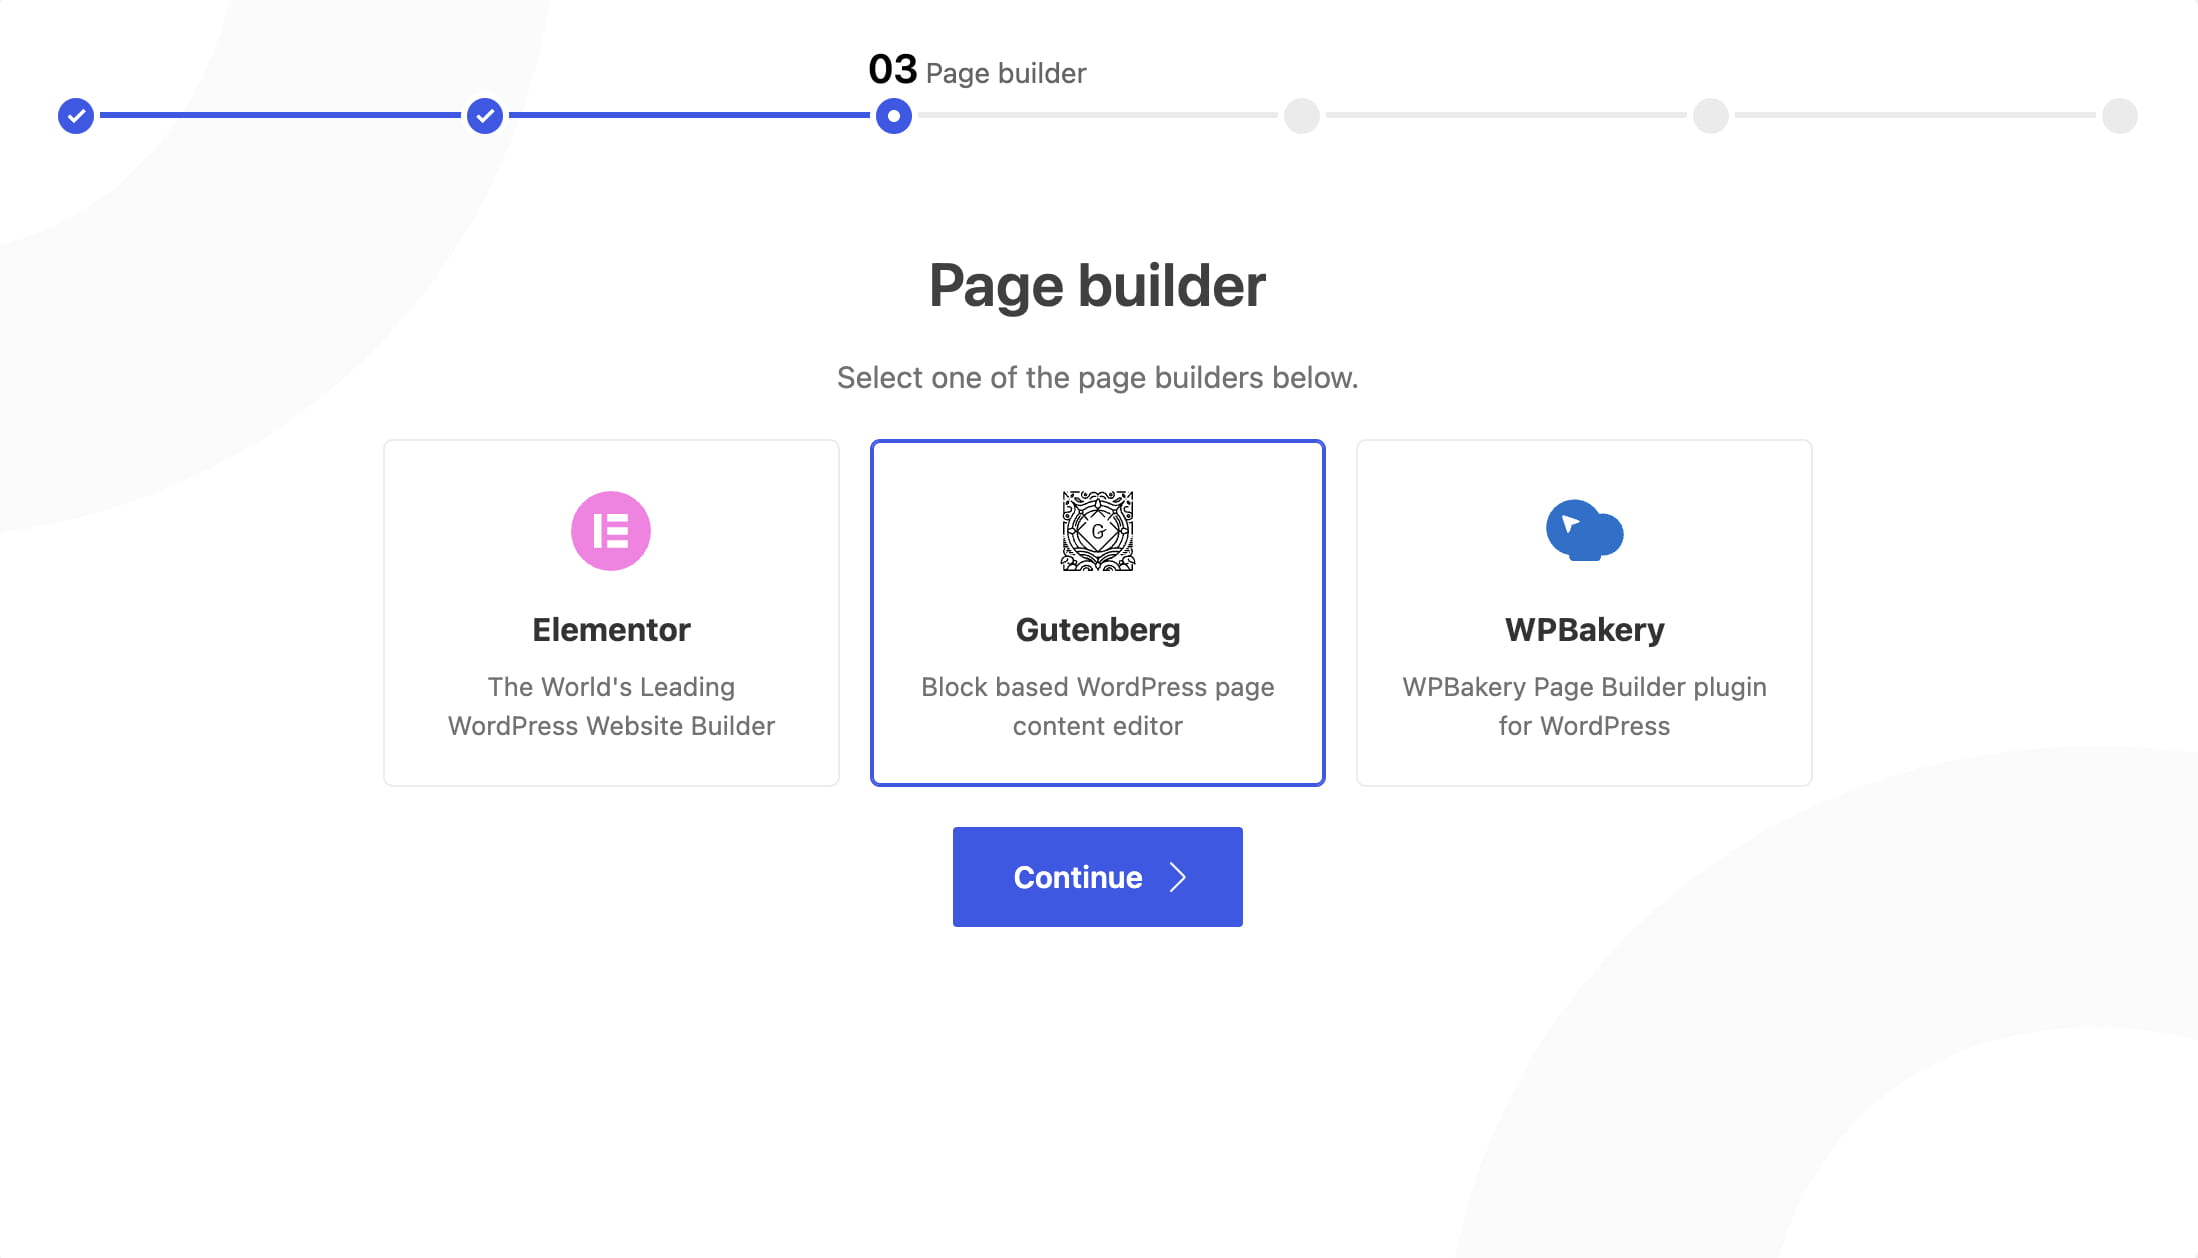
Select the page builder you want to use:
- Elementor: a visual drag-and-drop page builder.
- Gutenberg: the block editor included with WordPress.
- WPBakery: a page builder with frontend and backend editing modes.
After selecting a builder, click Continue.
Step 4. Plugin activation
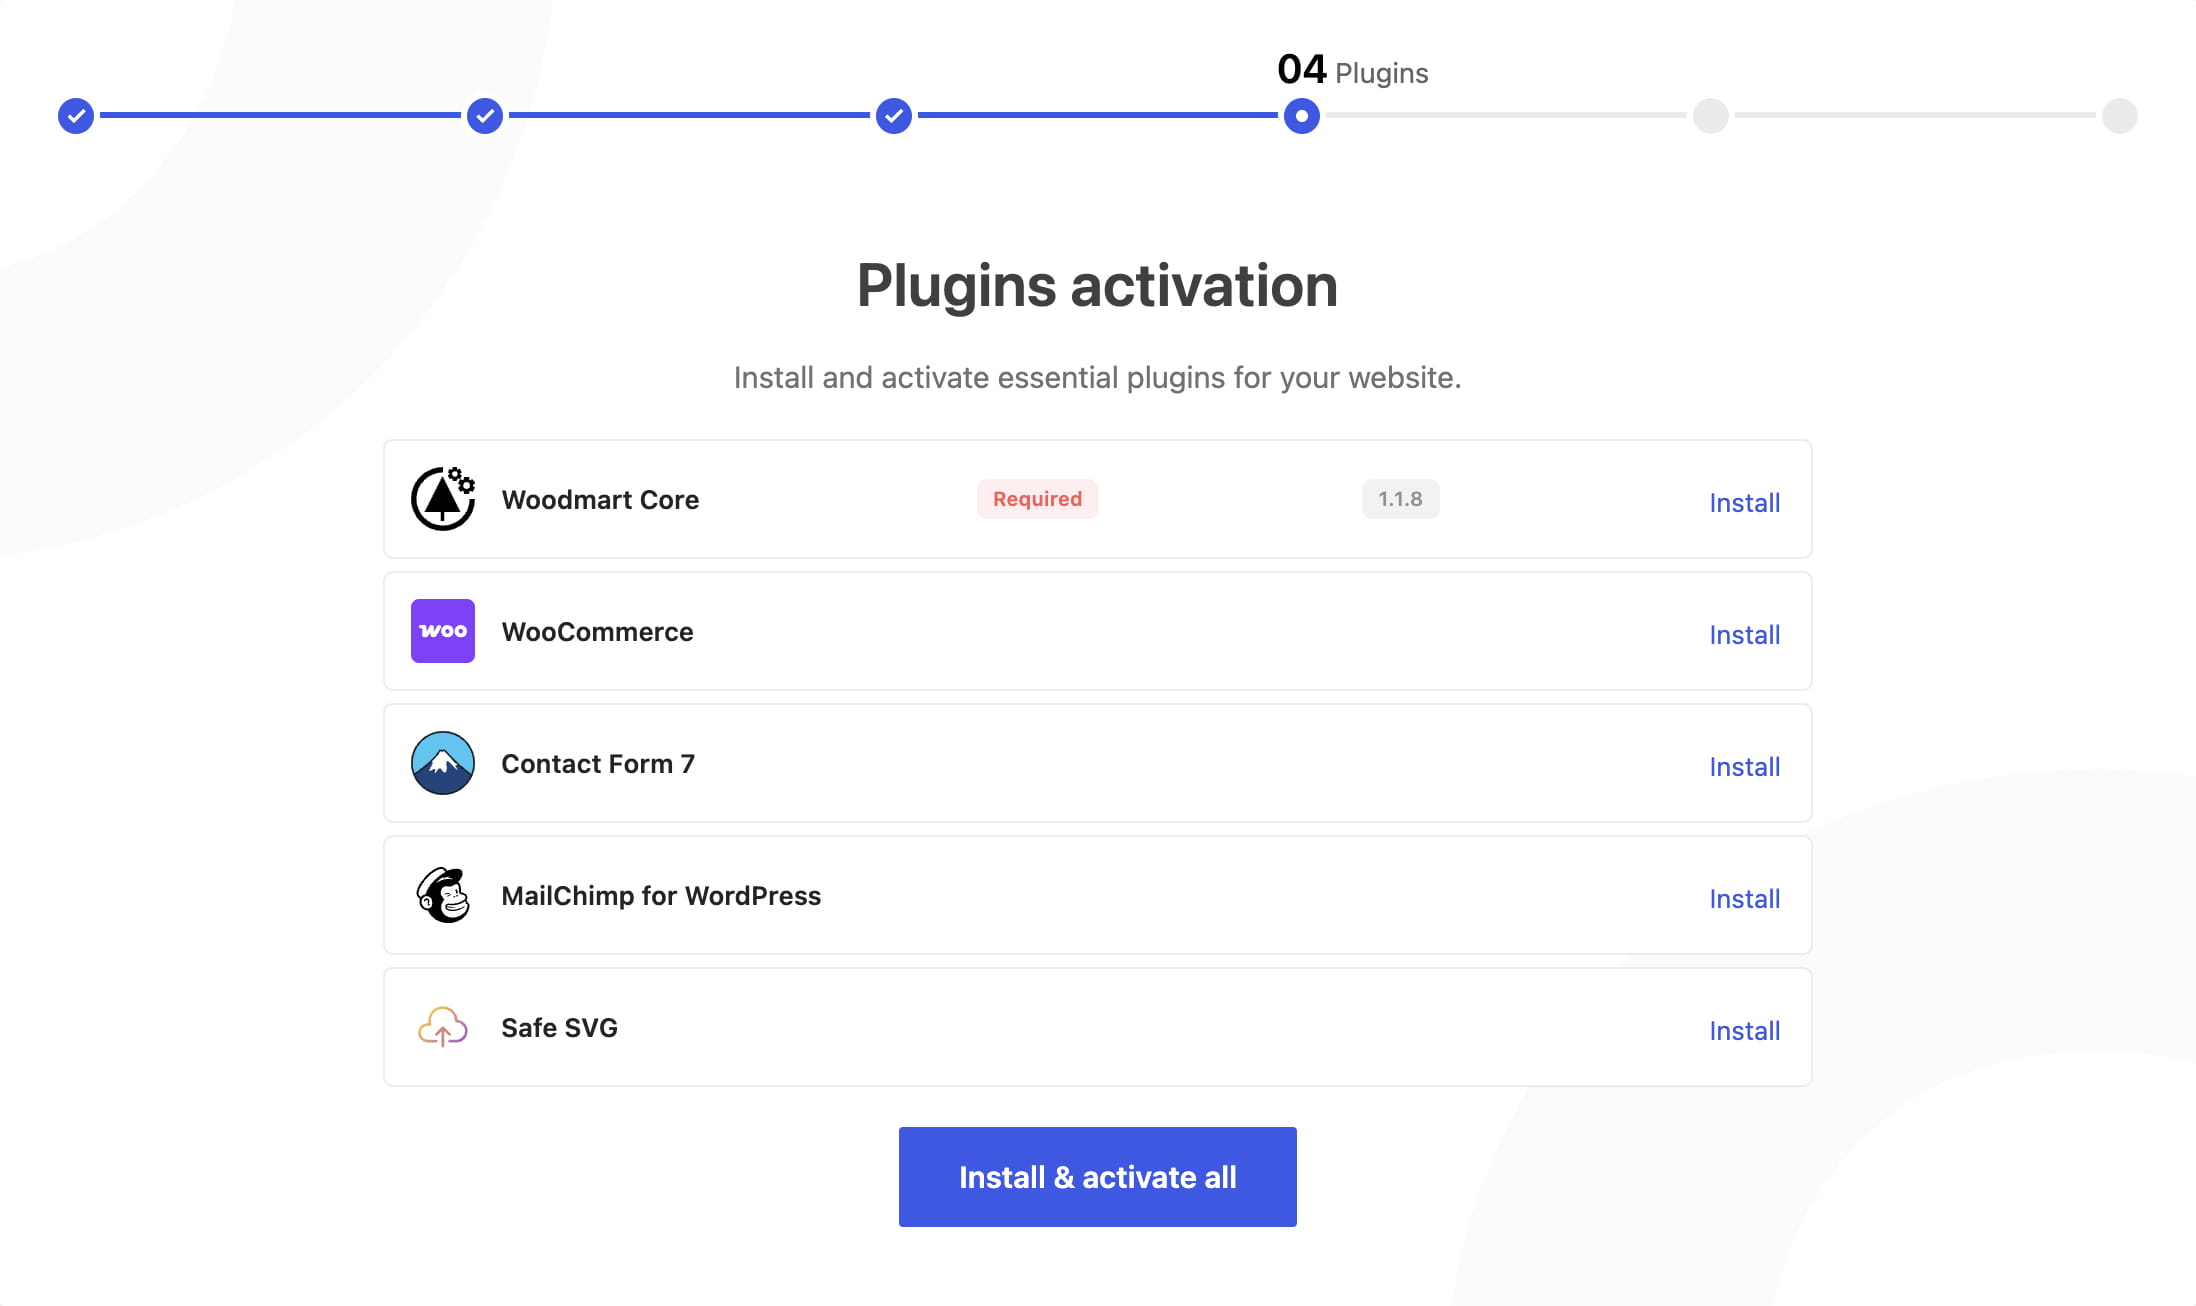
Install the plugins required for your selected configuration and any optional plugins whose features you plan to use.
Required plugins
- WoodMart Core: provides the theme’s main functionality.
- Elementor or WPBakery: required when you selected that builder in Step 3. Gutenberg is included with WordPress and does not require a separate plugin.
Optional plugins
- WooCommerce: install it when building an online store.
- Contact Form 7: install it when you need contact forms.
- MailChimp for WordPress: install it when connecting the website to Mailchimp.
- Safe SVG: install it when you need to upload SVG files securely.
Installing only the plugins you need keeps the website easier to maintain.
Step 5. Prebuilt websites
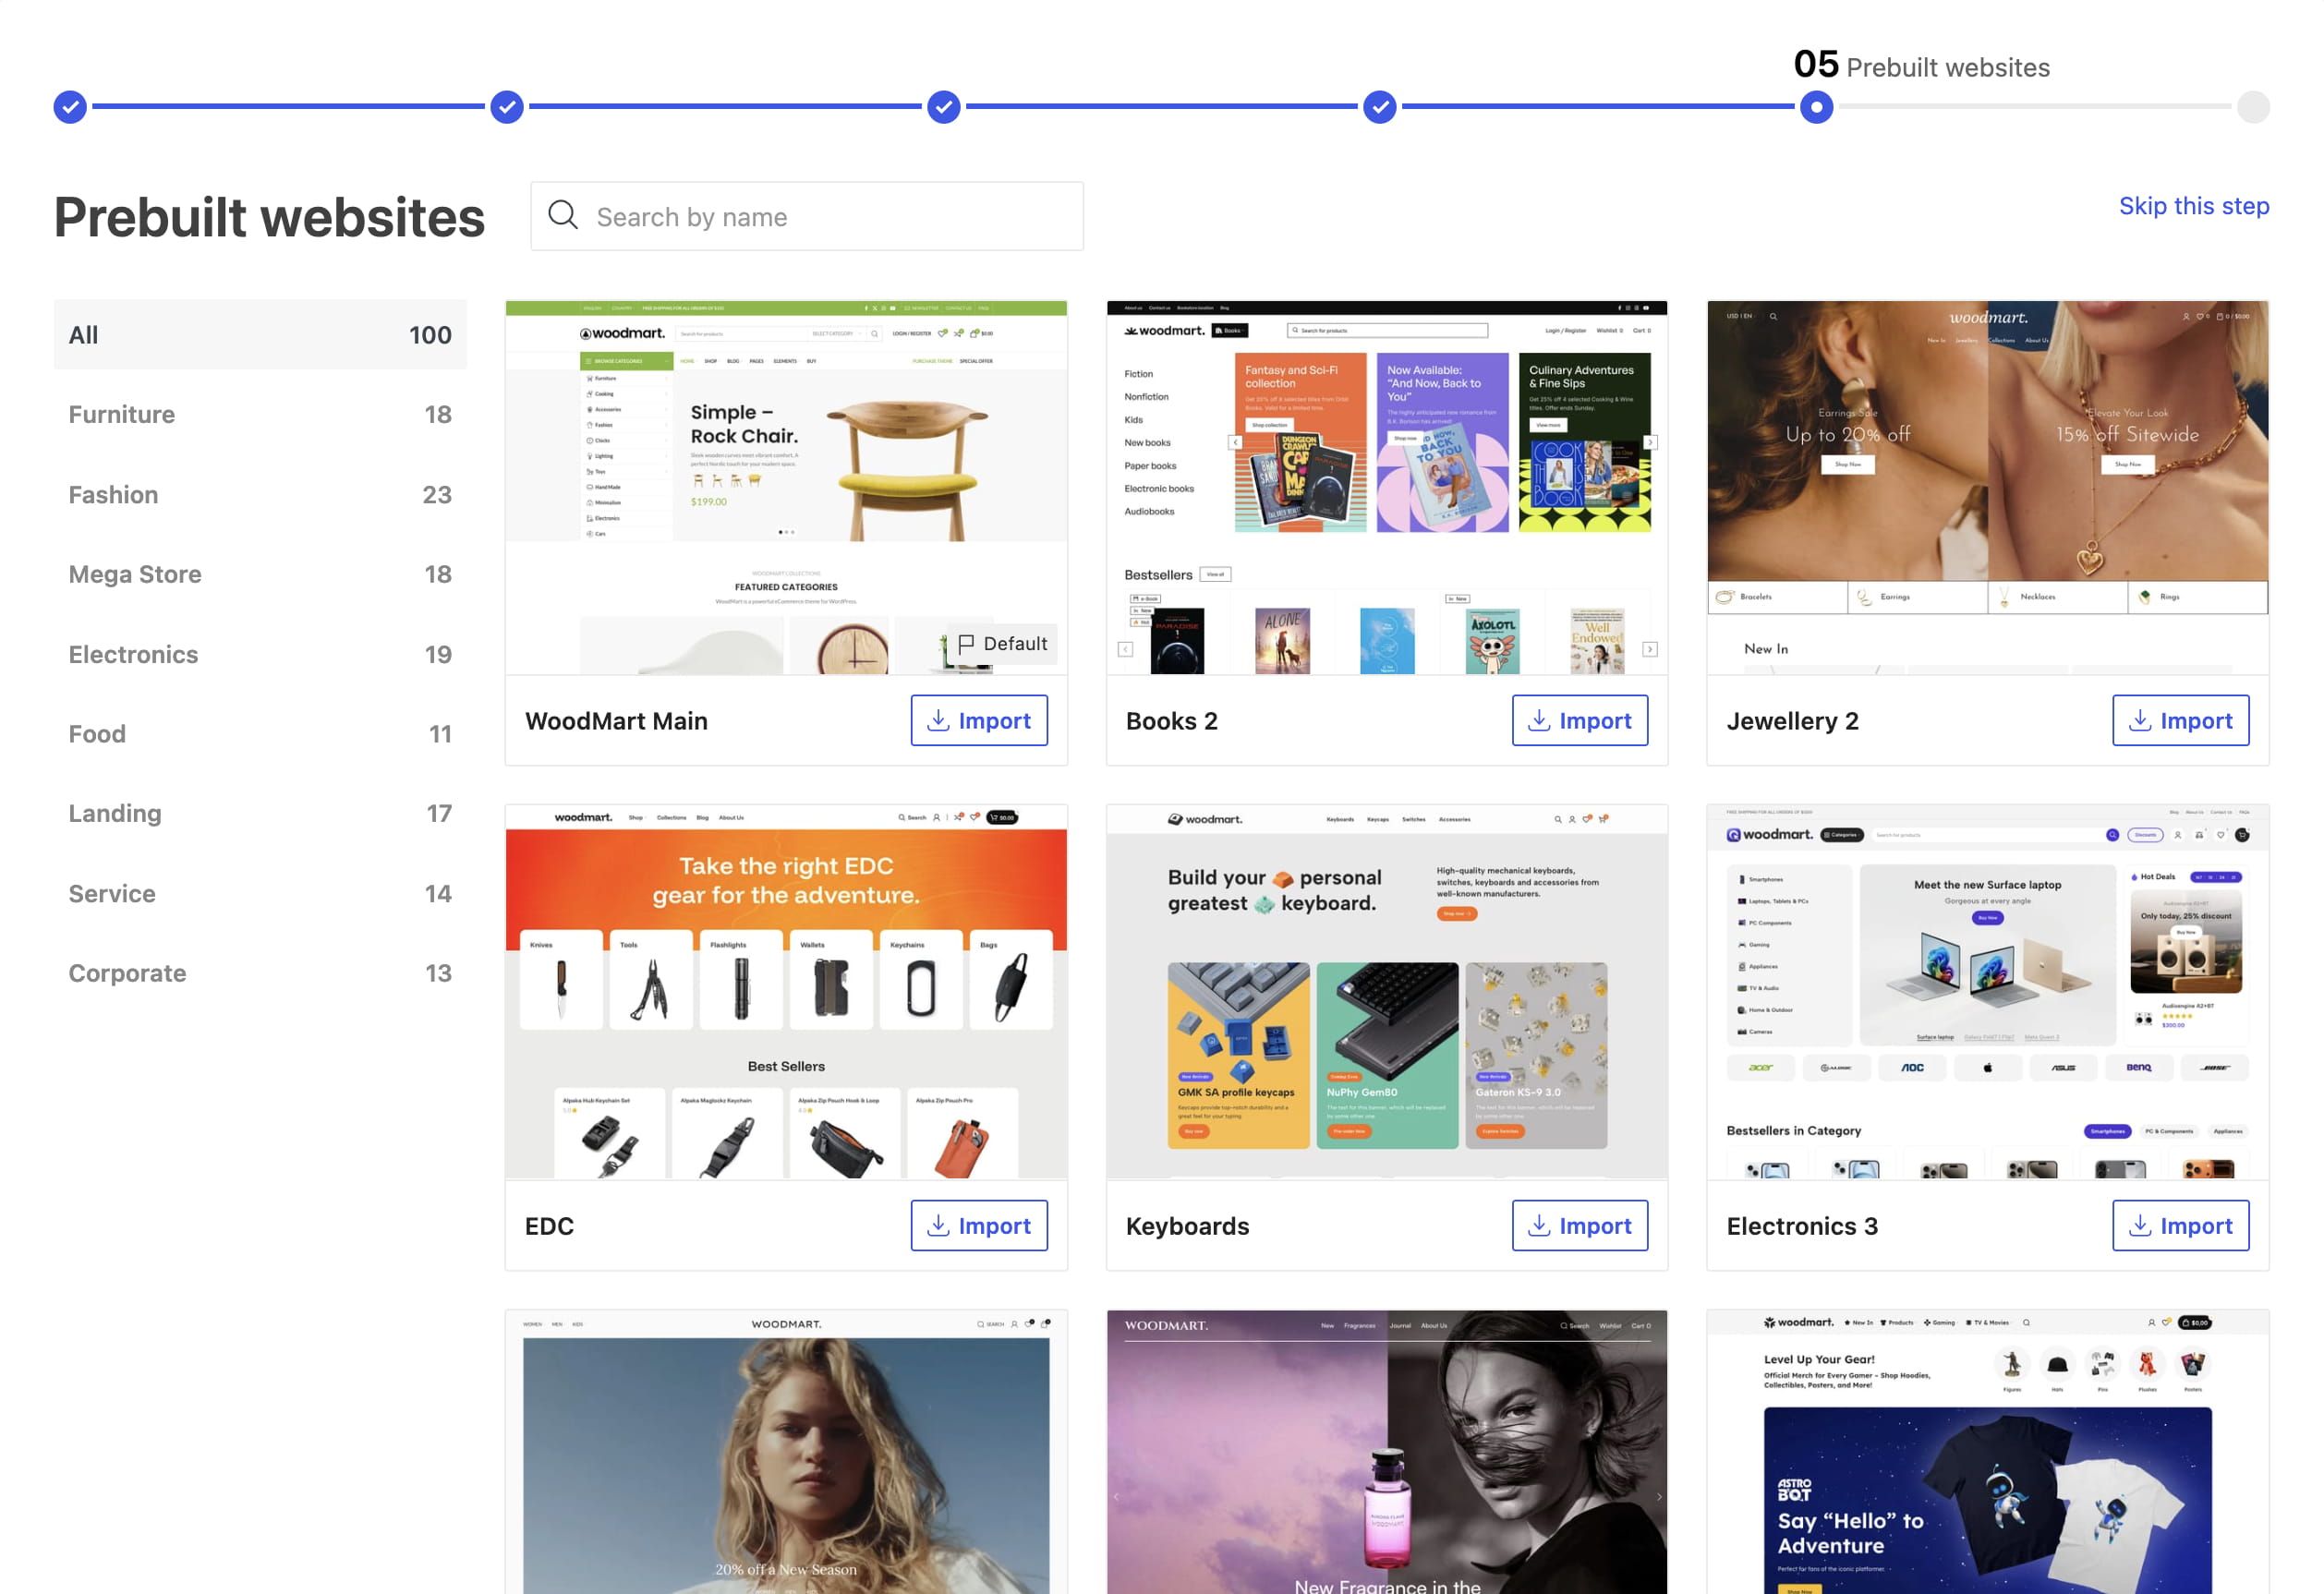
Select a prebuilt website and click Import, or skip this step and build your website from scratch. A prebuilt website includes pages, sample products, images, menus, and theme settings for a particular design.
Step 6. Finish the setup

When the setup is complete, click Start customizing to begin editing your website or Close and view website to preview it.
Troubleshooting common issues
Use the following checks if the installation or setup process does not complete as expected.
This error means that woodmart.zip exceeds the upload limit configured on your server. Ask your hosting provider to apply at least the following values:
upload_max_filesize = 64M
post_max_size = 64M
max_execution_time = 180
See the system requirements and recommended PHP limits for the complete configuration. If the limit cannot be increased, upload WoodMart through a hosting file manager or SFTP.
If the purchase code is rejected, check the following:
- Copy the complete purchase code without additional spaces.
- Make sure that the code belongs to WoodMart and not another Envato item.
- Download a new license certificate from the Envato Market Downloads page and verify the code.
- Install and activate the plugins required by the selected prebuilt website.
- Navigate to WoodMart -> Status and check the PHP memory and execution limits.
- Try the import on a fresh WordPress installation or restore a backup before retrying it on an existing website.
- If the issue continues, contact WoodMart support.
Installation video tutorial
Watch the video tutorial to see how to install WoodMart and import a prebuilt website.
Don’t miss WoodMart updates
Receive feature updates, tutorials, and WoodMart news via email.
 Last updated: September 22, 2026