Product labels
Our theme has various types of labels that can be assigned to your products. It includes New, Hot, Sale, and custom labels. You can find all basic options for product labels in Theme Settings -> Shop -> Product labels. You can turn them on and off and also change their style from there.
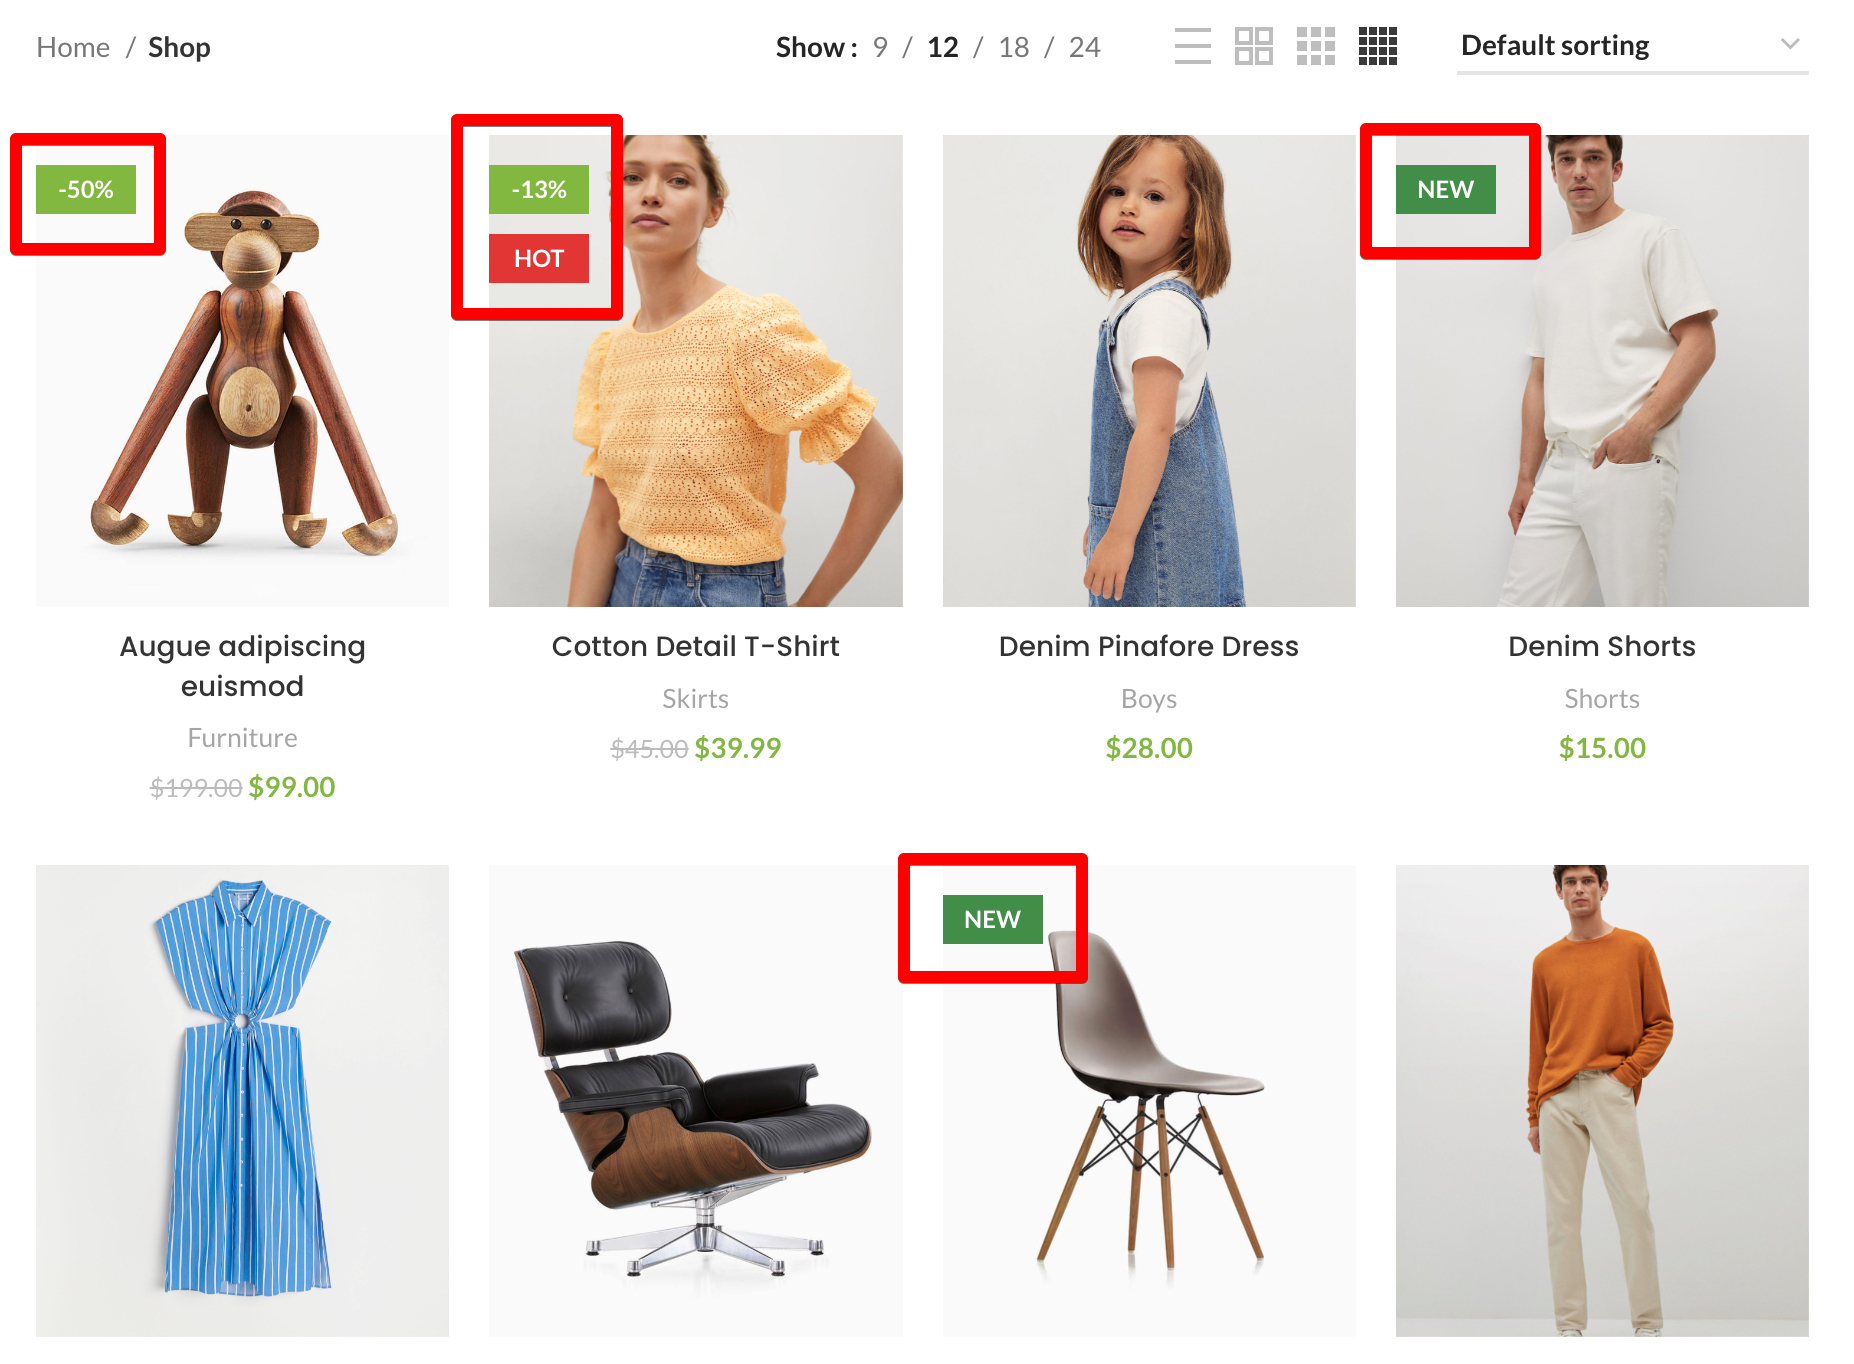
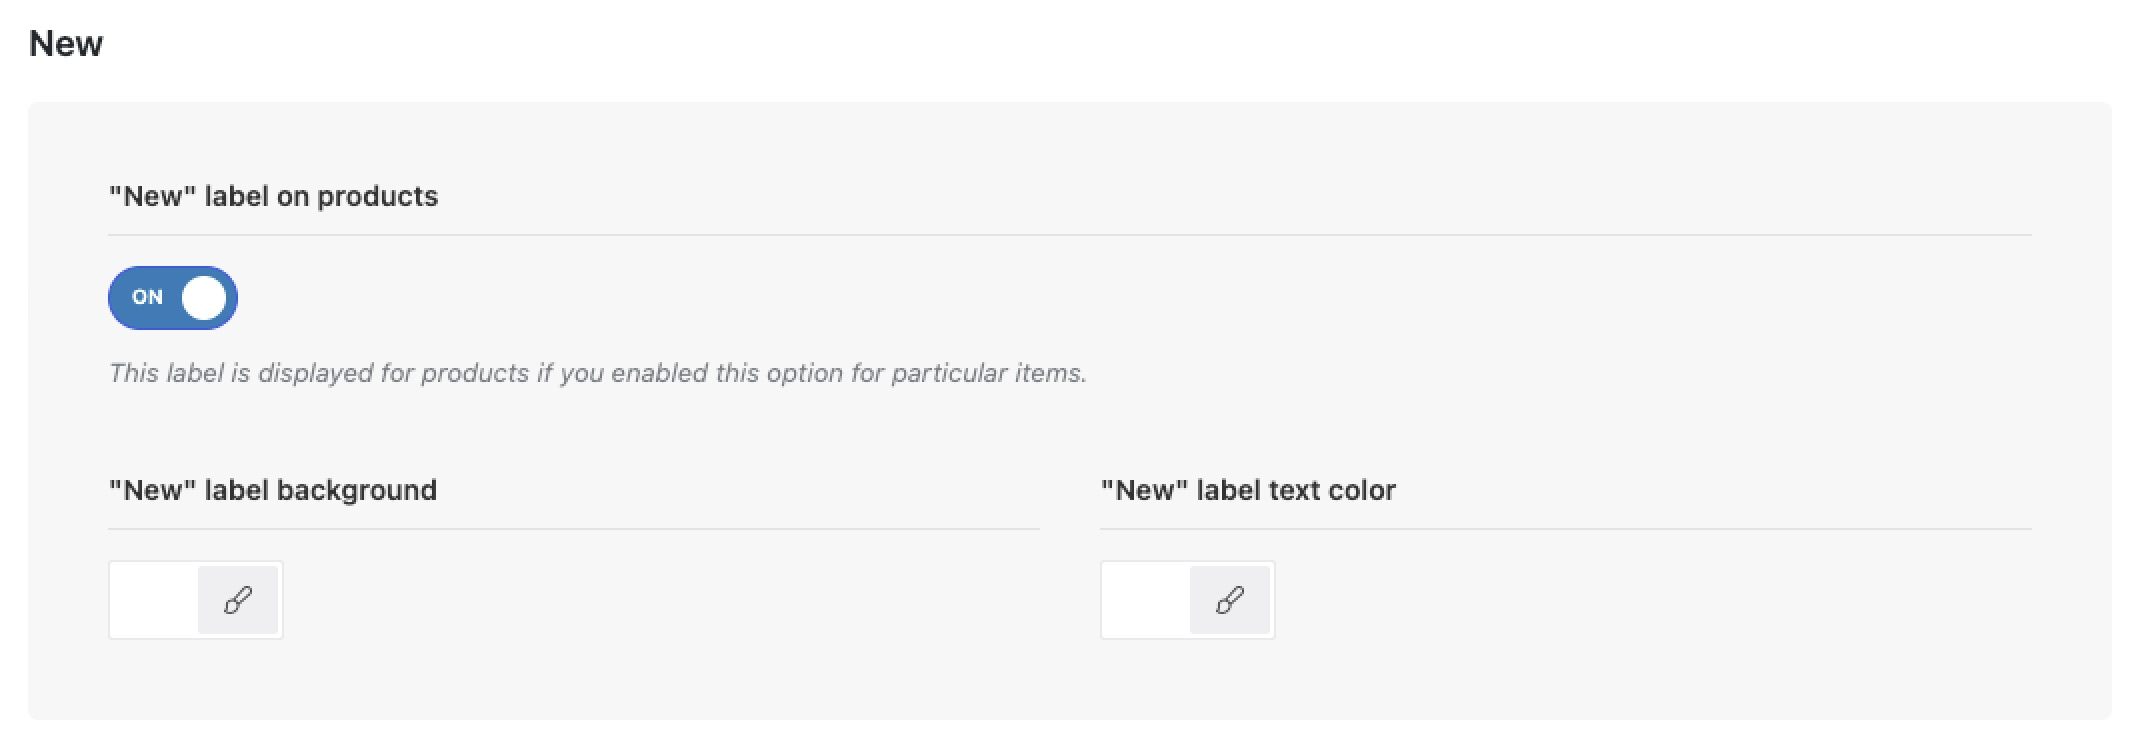
New label
The New label can be added to your products in three different ways:
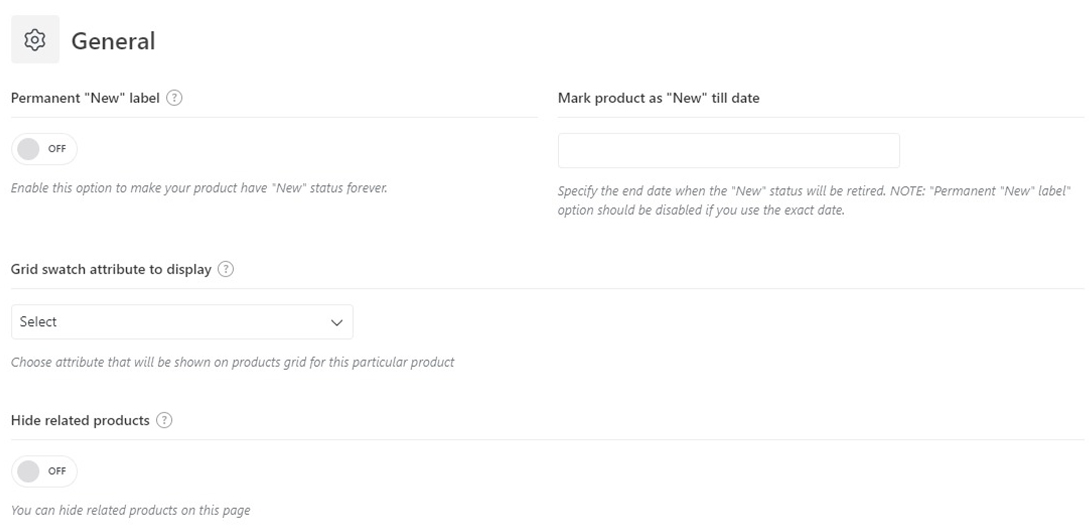
- Permanently for specific products. Enable this option while editing the product in Dashboard -> Products -> Edit product.
- Specific period for particular products. Also, find this option while editing the product. There you can specify the exact date when this label will be removed from that product.
- Automatically for all products added to your store. You can configure a number of days to keep the label on newly added products via Dashboard -> Theme Settings -> Shop -> New status.
Hot (featured) label
The Hot label is shown on all products that are marked as “Featured” in WooCommerce. You can mark your products as “Featured” in two ways:
- Go to Dashboard -> Products and click on the “Star” icon for particular products.
- Edit the product via Dashboard -> Products -> Edit product. Find “Catalog visibility” options in the right top corner, click on the “Edit” button and check the “This is a featured product” option. Then save the product.


Sale label
The Sale label is displayed on products that have a sale price set. You can also display the sale value in percentage instead of simple text (Ex.: -70%). This option can be turned on in Theme Settings -> Shop -> Product labels -> Shop sale label in percentage.
You can set your product sale price in Dashboard -> Products -> Edit product -> General -> Sale price. You can also schedule the sale price period from there and that will affect the label display as well.

Custom labels
WoodMart theme allows creating custom labels and assigning them to products in the store. In general, custom labels are simple product attributes as well as size, color, or any other. They are created in Dashboard -> Products -> Attributes -> Label (title of an attribute) -> Configure terms.

You can create one or more items, assign them to the product and enable “Show attribute label on products” in the settings of the attribute (in our case it is Label).

If there is no image uploaded to the attribute item, the text will appear on the product grid and on the main product image.

Labels with an image would have been presented as the image.

So in order to assign your custom label to the product, navigate to the settings of the product and define this attribute like all others via product data settings.

Then, as mentioned above, make sure that you have enabled the “Show attribute label on products” in the settings of the attribute. As a result, the custom label will be shown on the product grid.

 Last updated: June 2, 2026