
HTML blocks
HTML blocks are reusable content sections that you can build once and display in multiple locations across your website. They can contain text, images, products, forms, menus, or any other content supported by Gutenberg, Elementor, or WPBakery.
When you edit a published HTML block, every location that displays that block is updated automatically. This makes HTML blocks suitable for shared content such as footers, mega menus, promotional banners, product information, and sidebar sections.
Create an HTML block
- Navigate to Dashboard → HTML Blocks → Add Block.
- Enter a descriptive title and build the content with Gutenberg, Elementor, or WPBakery.
- Optionally assign an HTML Block Category to organize reusable content in the dashboard.
- Publish the block.
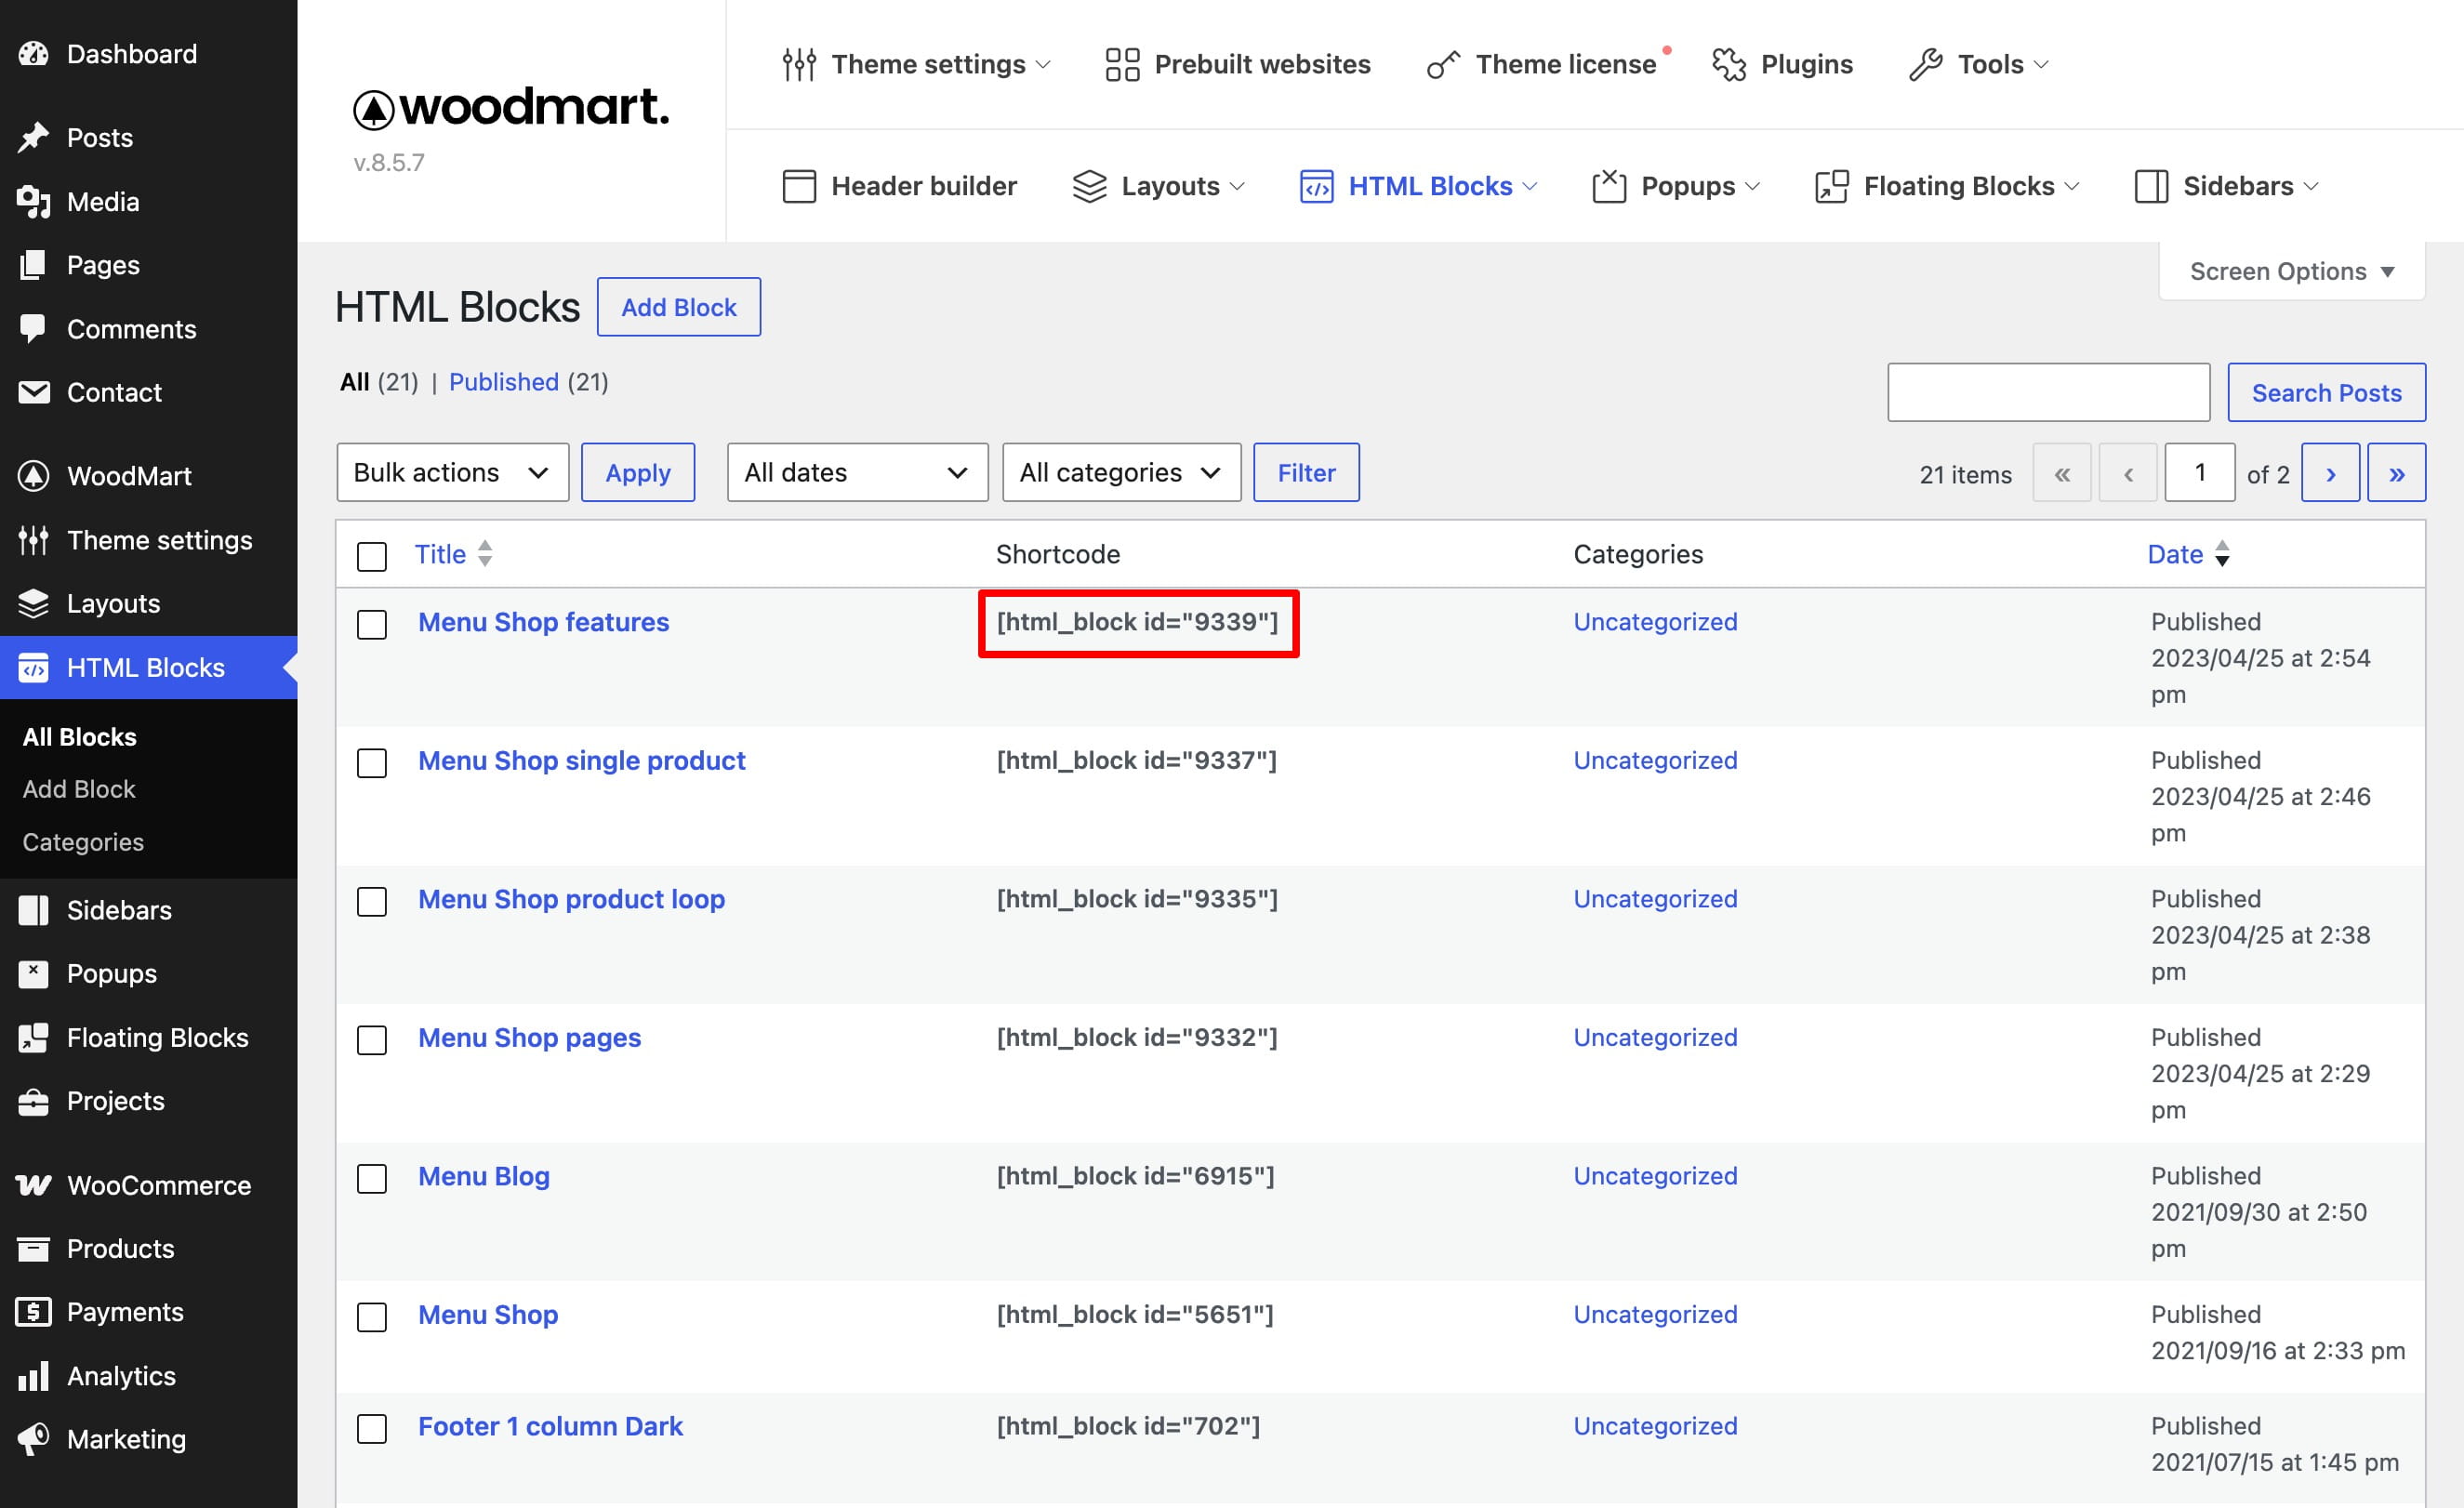
The Shortcode column displays a reusable shortcode in the following format: [html_block id="123"]. Replace 123 with the ID shown for your block.
Insert an HTML block
Use an HTML Block selector
Many WoodMart controls provide a dedicated content type selector. Choose HTML Block, then select the published block from the search field. This is the preferred method whenever an HTML Block selector is available.
Insert the shortcode in page content
- Gutenberg — add a Shortcode block and insert the shortcode from the HTML Blocks list.
- Elementor — add the Shortcode widget and insert the HTML block shortcode.
- WPBakery — add the WoodMart HTML Block element and select the required block.
Use fields that accept shortcodes
Some text fields do not have a dedicated HTML Block selector but process shortcodes. In these fields, insert the HTML block shortcode directly. Examples include Text next to copyrights, Empty cart text, and the message field of the age verification popup.
Header and navigation
Header Builder
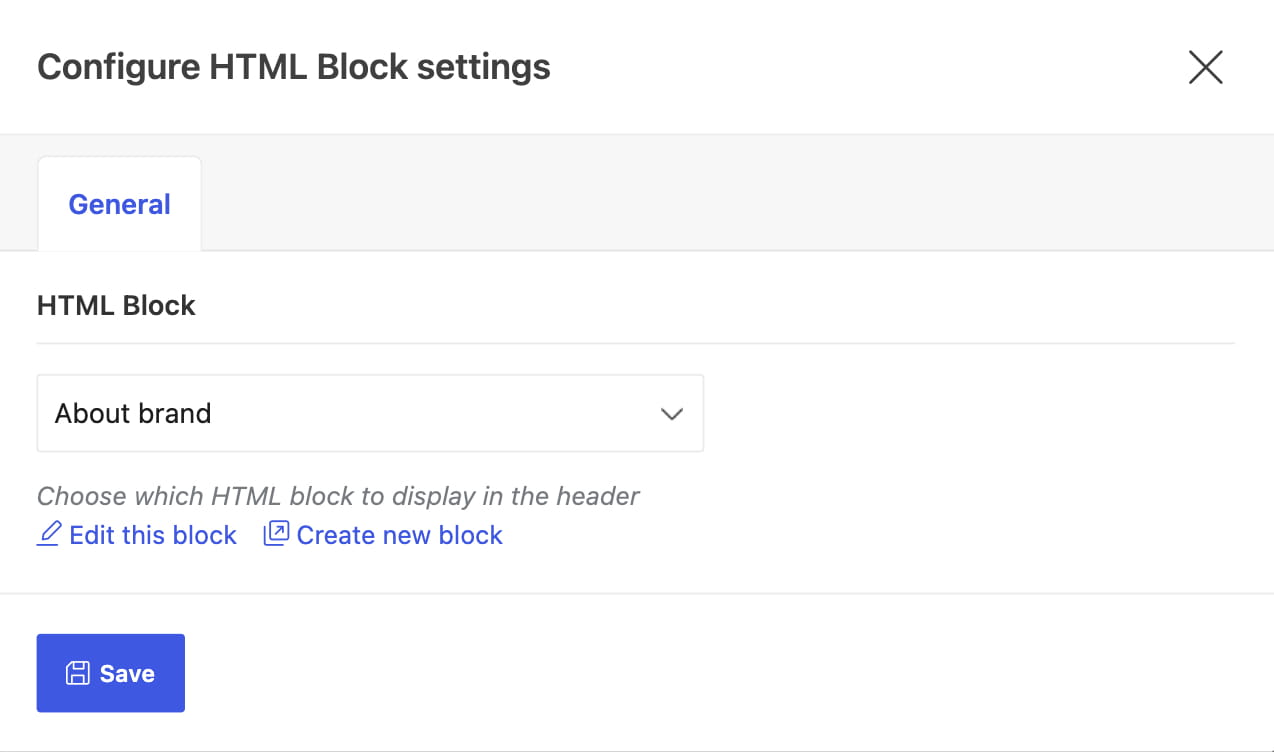
Add the HTML Block element to a Header Builder row or column, then select the required block. The element can display content created with any supported page builder and is useful when the standard header elements do not provide the required structure.
Mega menu
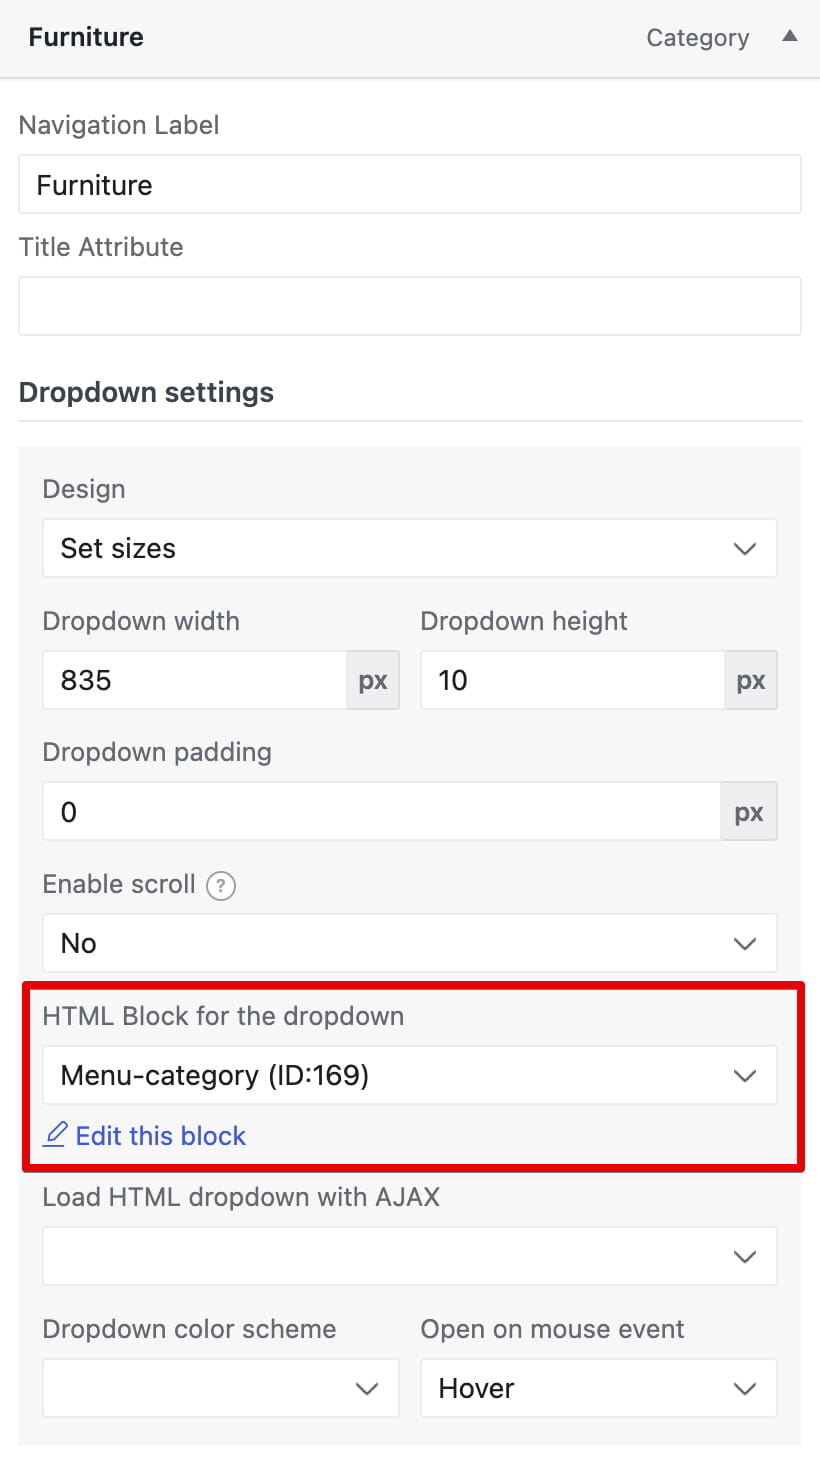
An HTML block can provide the complete content of a mega menu. Assign it in the settings of the required WordPress menu item. See Create mega menu for the complete procedure for Gutenberg, Elementor, and WPBakery.
Footer areas
The recommended footer method is to select HTML Block under Dashboard → Theme Settings → Footer and assign one reusable block containing the complete footer structure. See Set up the footer for detailed instructions.
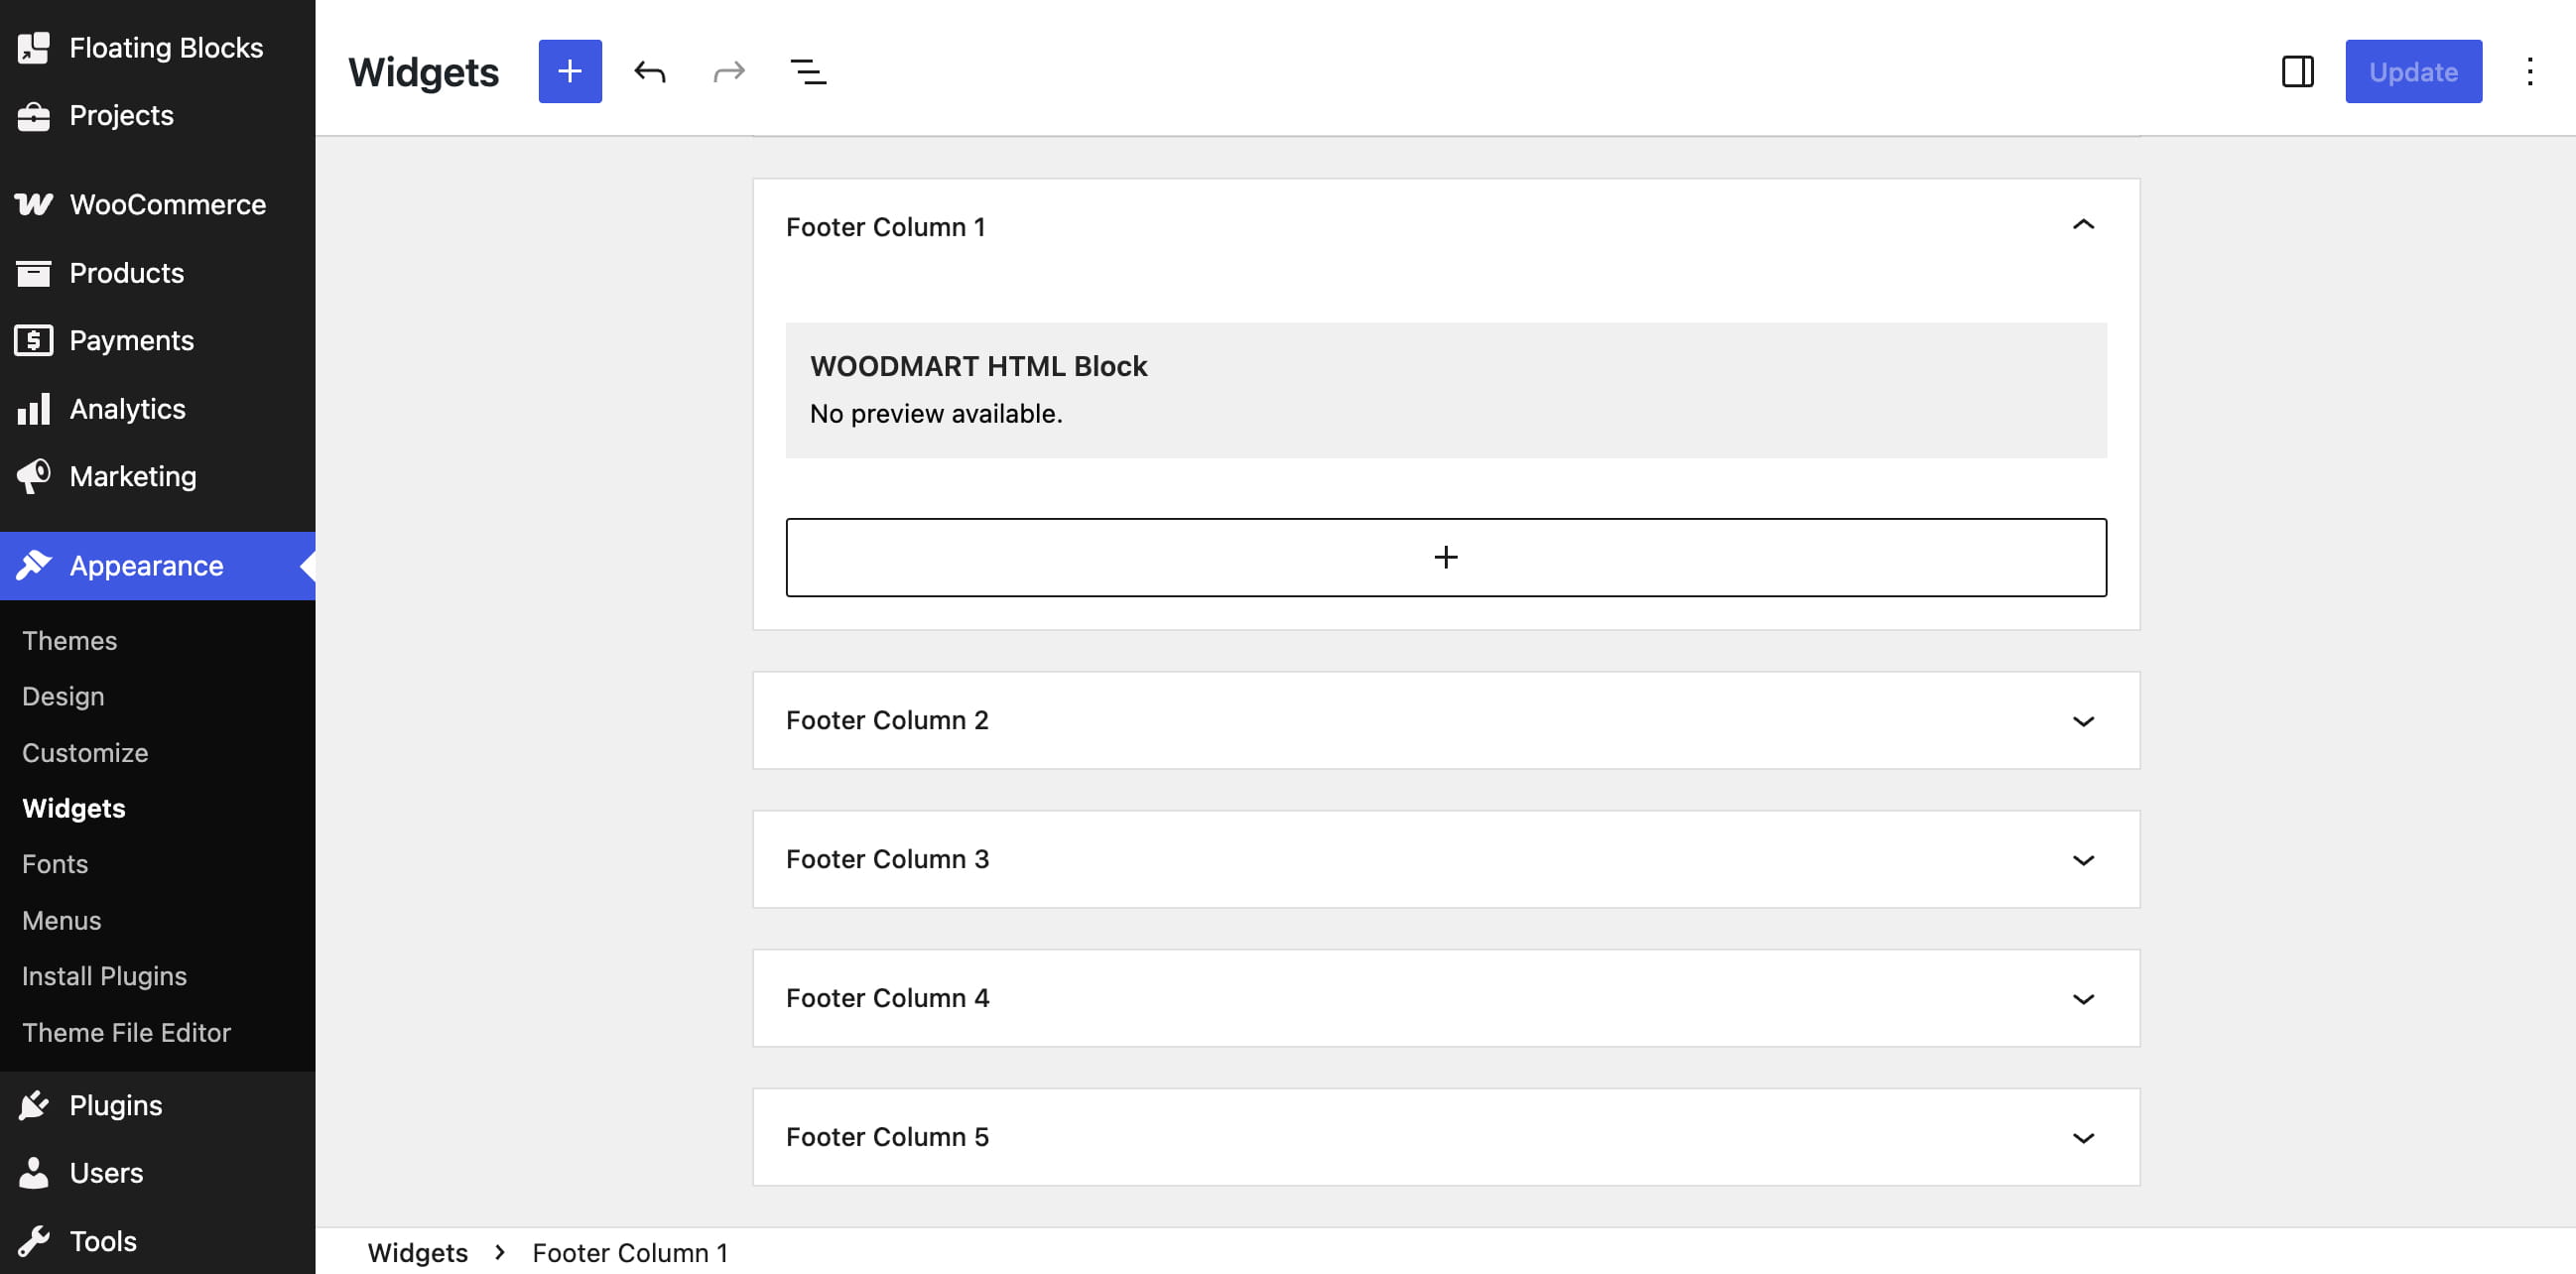
If the footer uses WordPress widgets, add the WOODMART HTML Block widget to a footer column or another sidebar and select the required block.
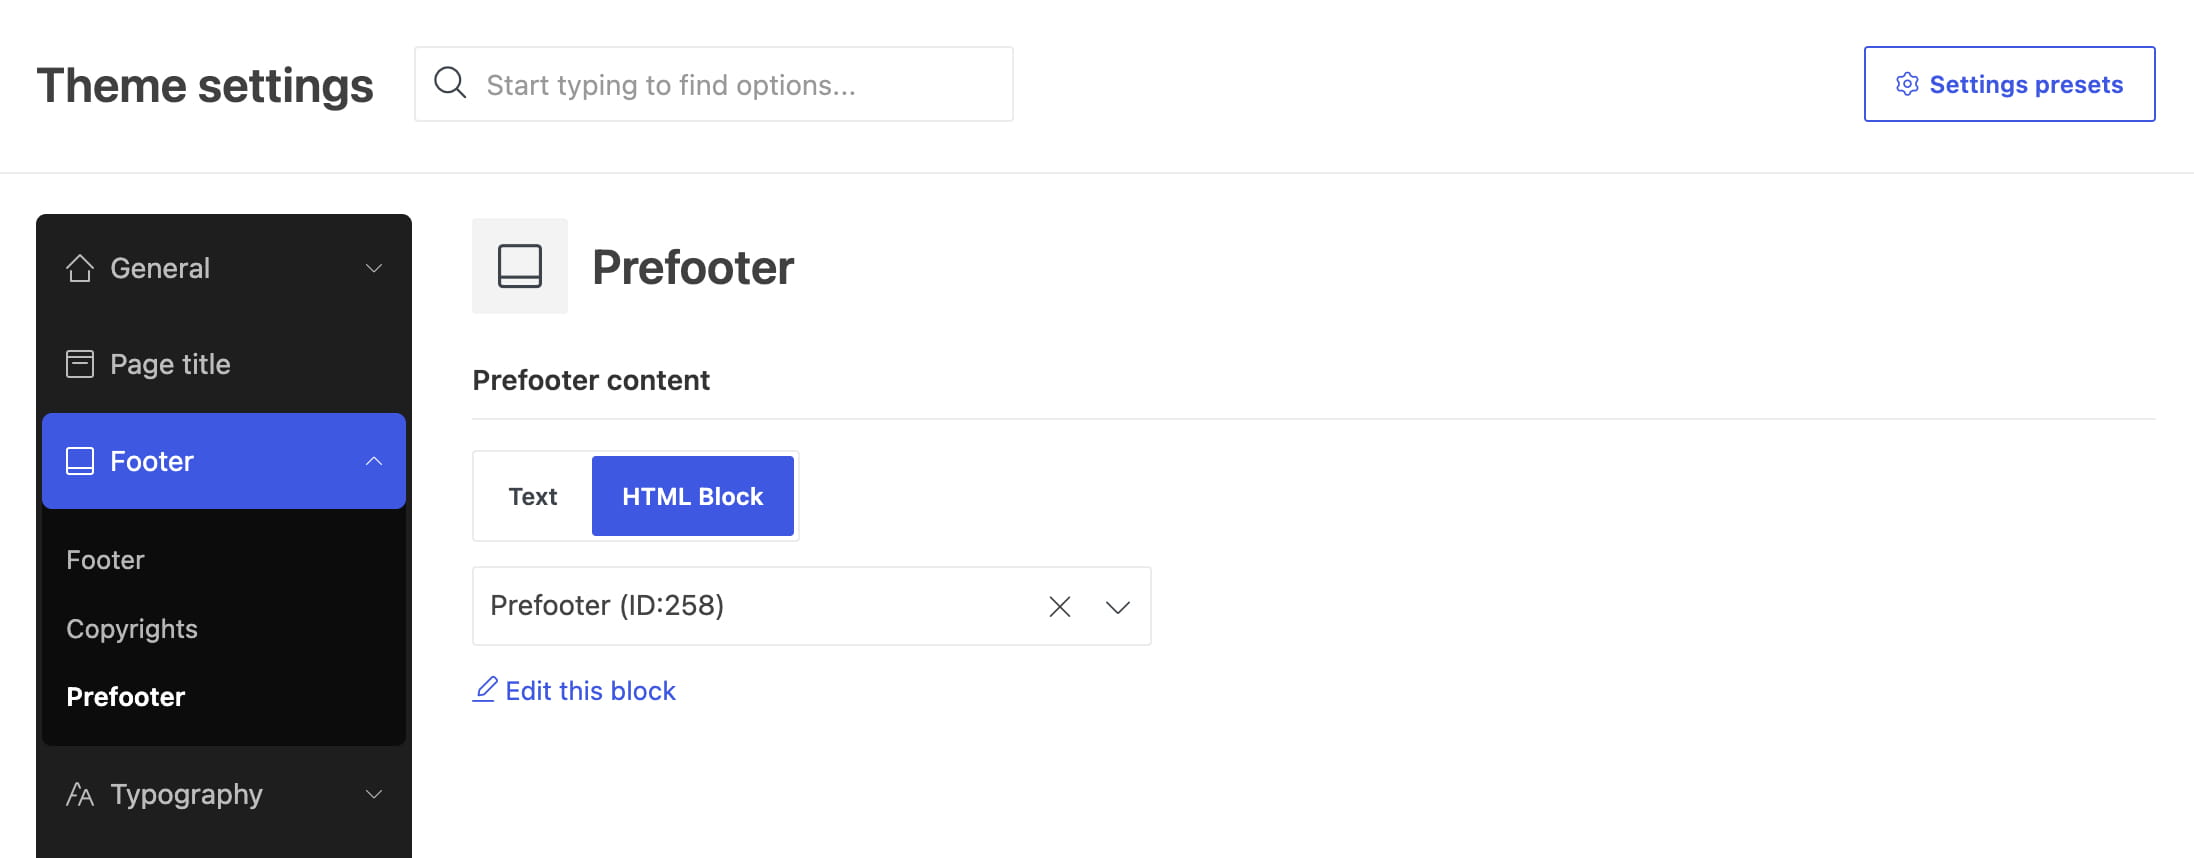
For content above the footer, navigate to Dashboard → Theme Settings → Footer → Prefooter, set Prefooter content to HTML Block, and select the block.
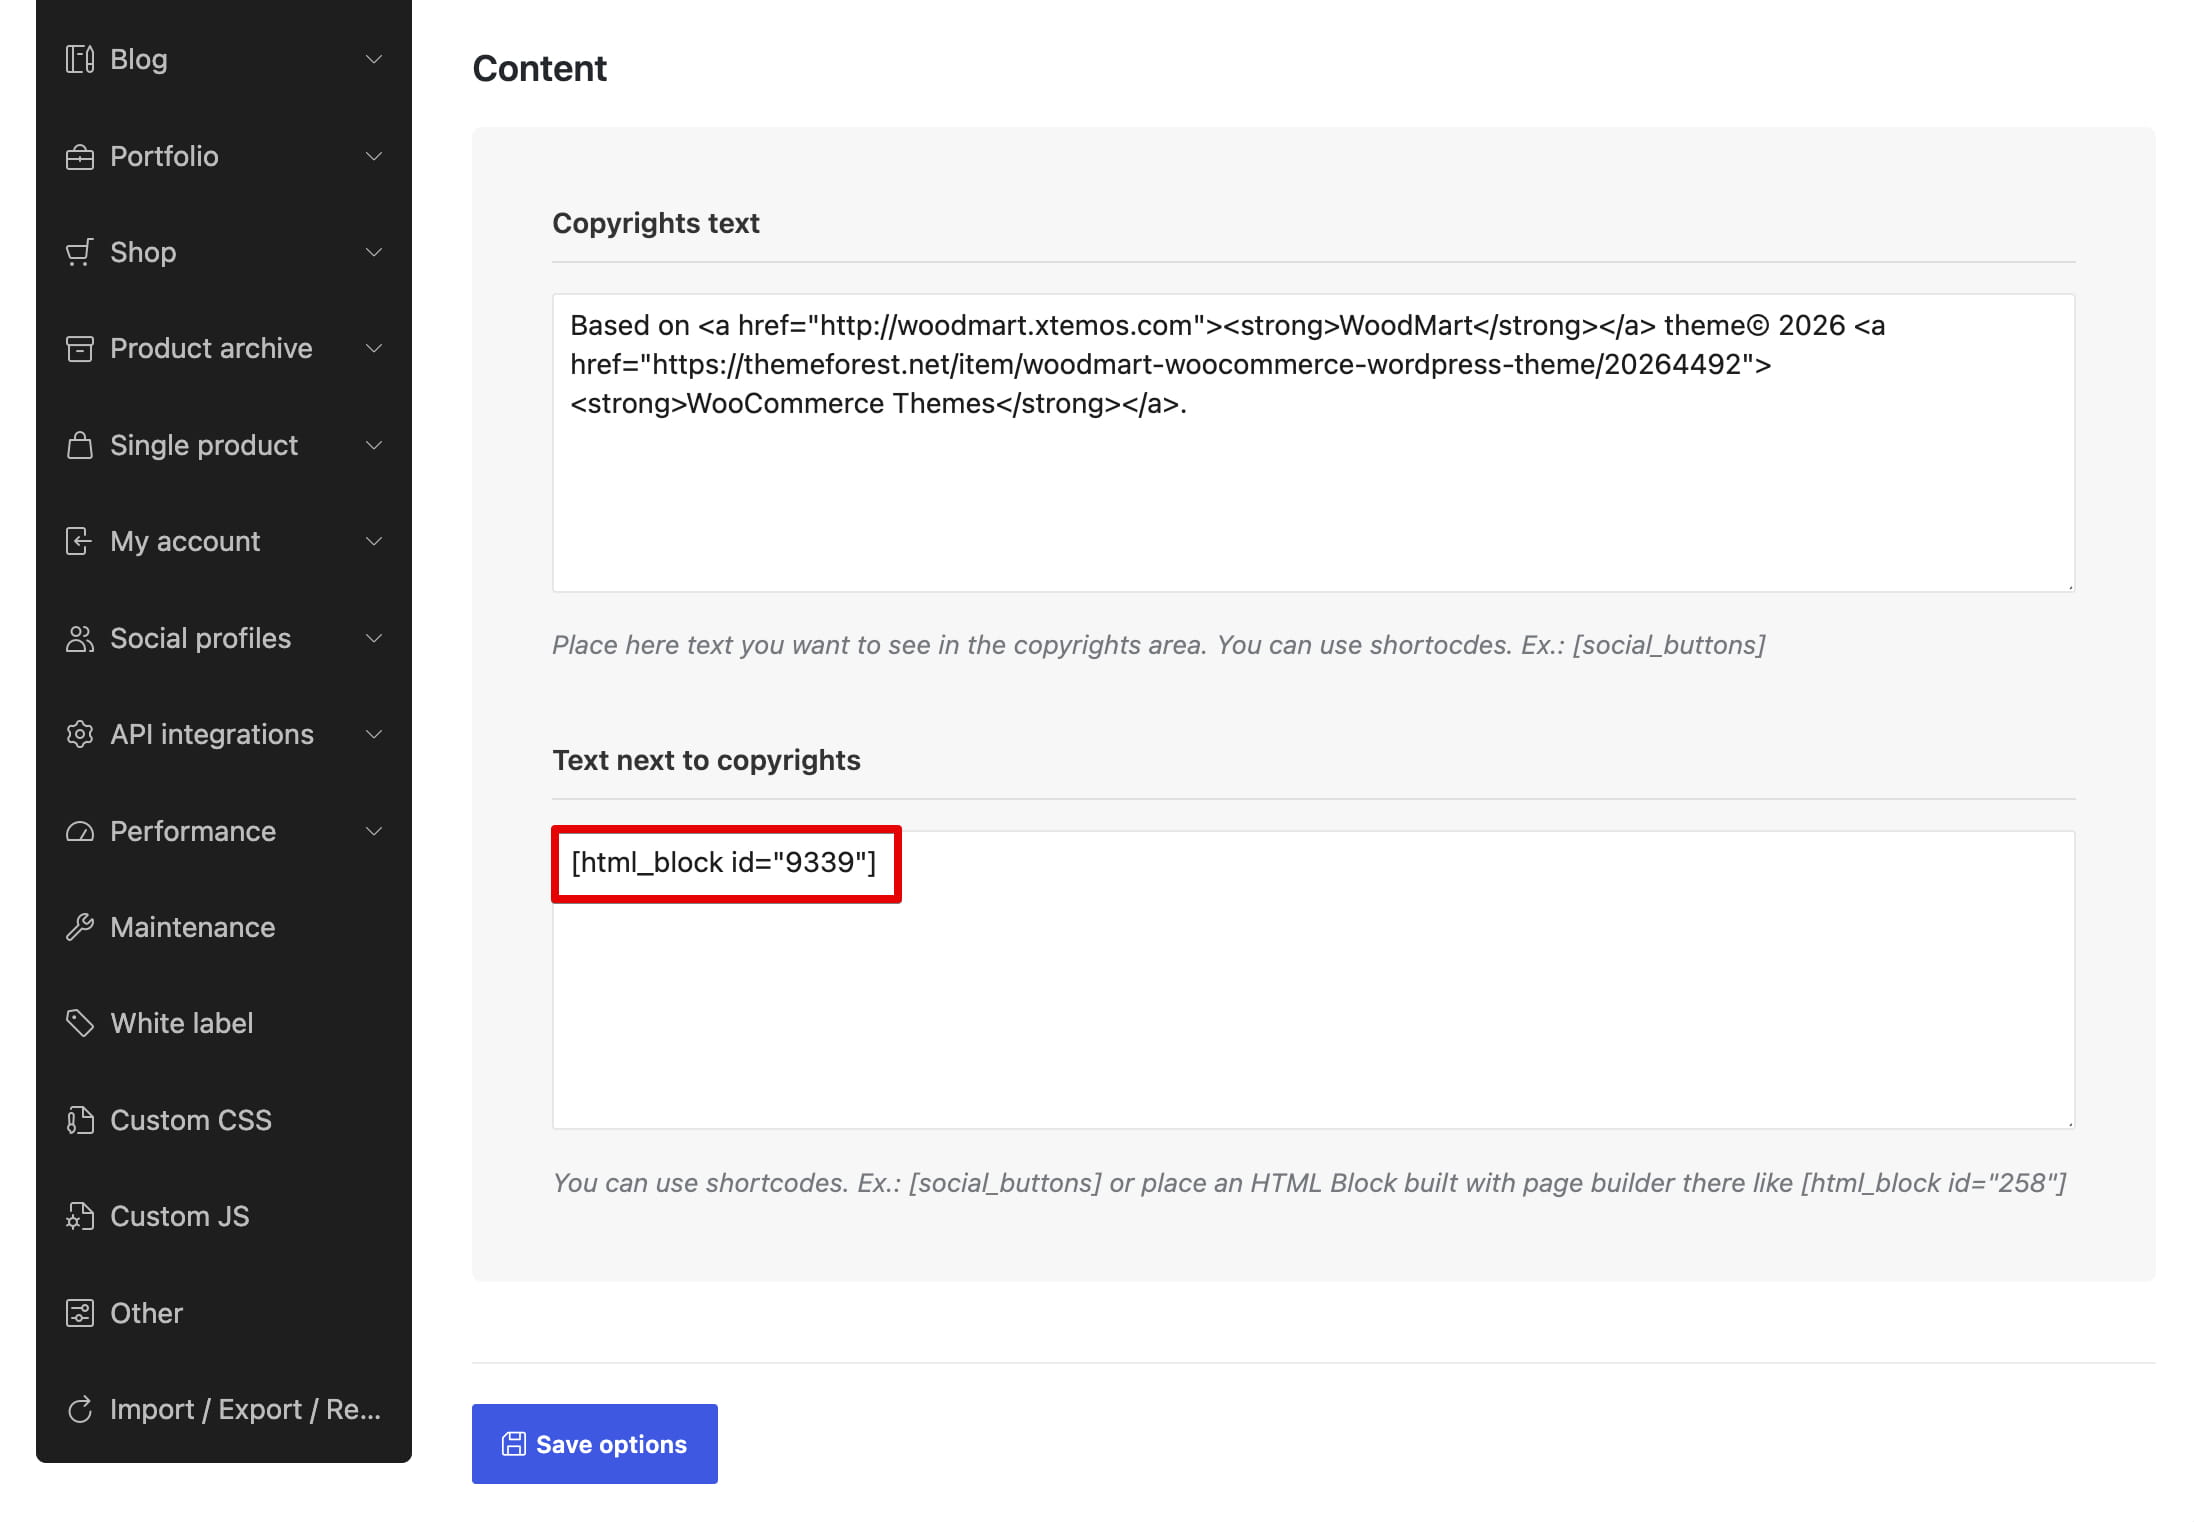
The Text next to copyrights field under Dashboard → Theme Settings → Footer → Copyrights accepts shortcodes and can display an HTML block beside the copyright text.
Banners and popup content
Header banner
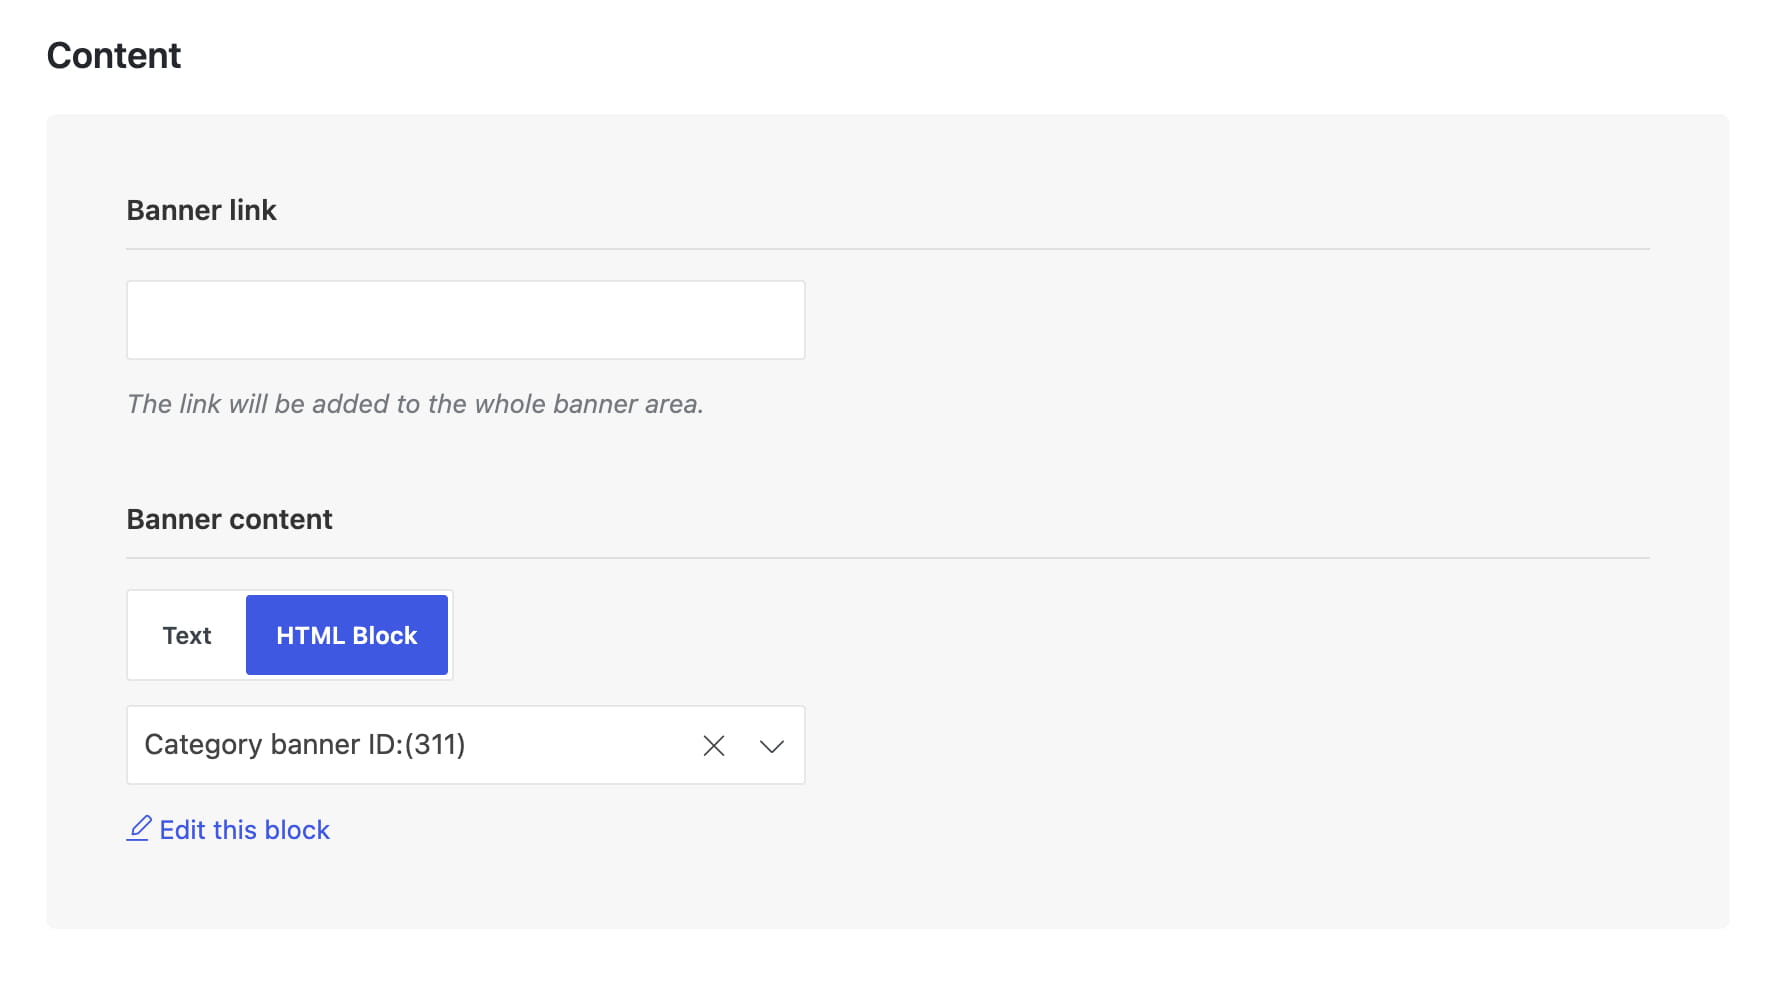
Navigate to Dashboard → Theme Settings → General → Header banner, enable Header banner, set Banner content to HTML Block, and select the required block.
Popups
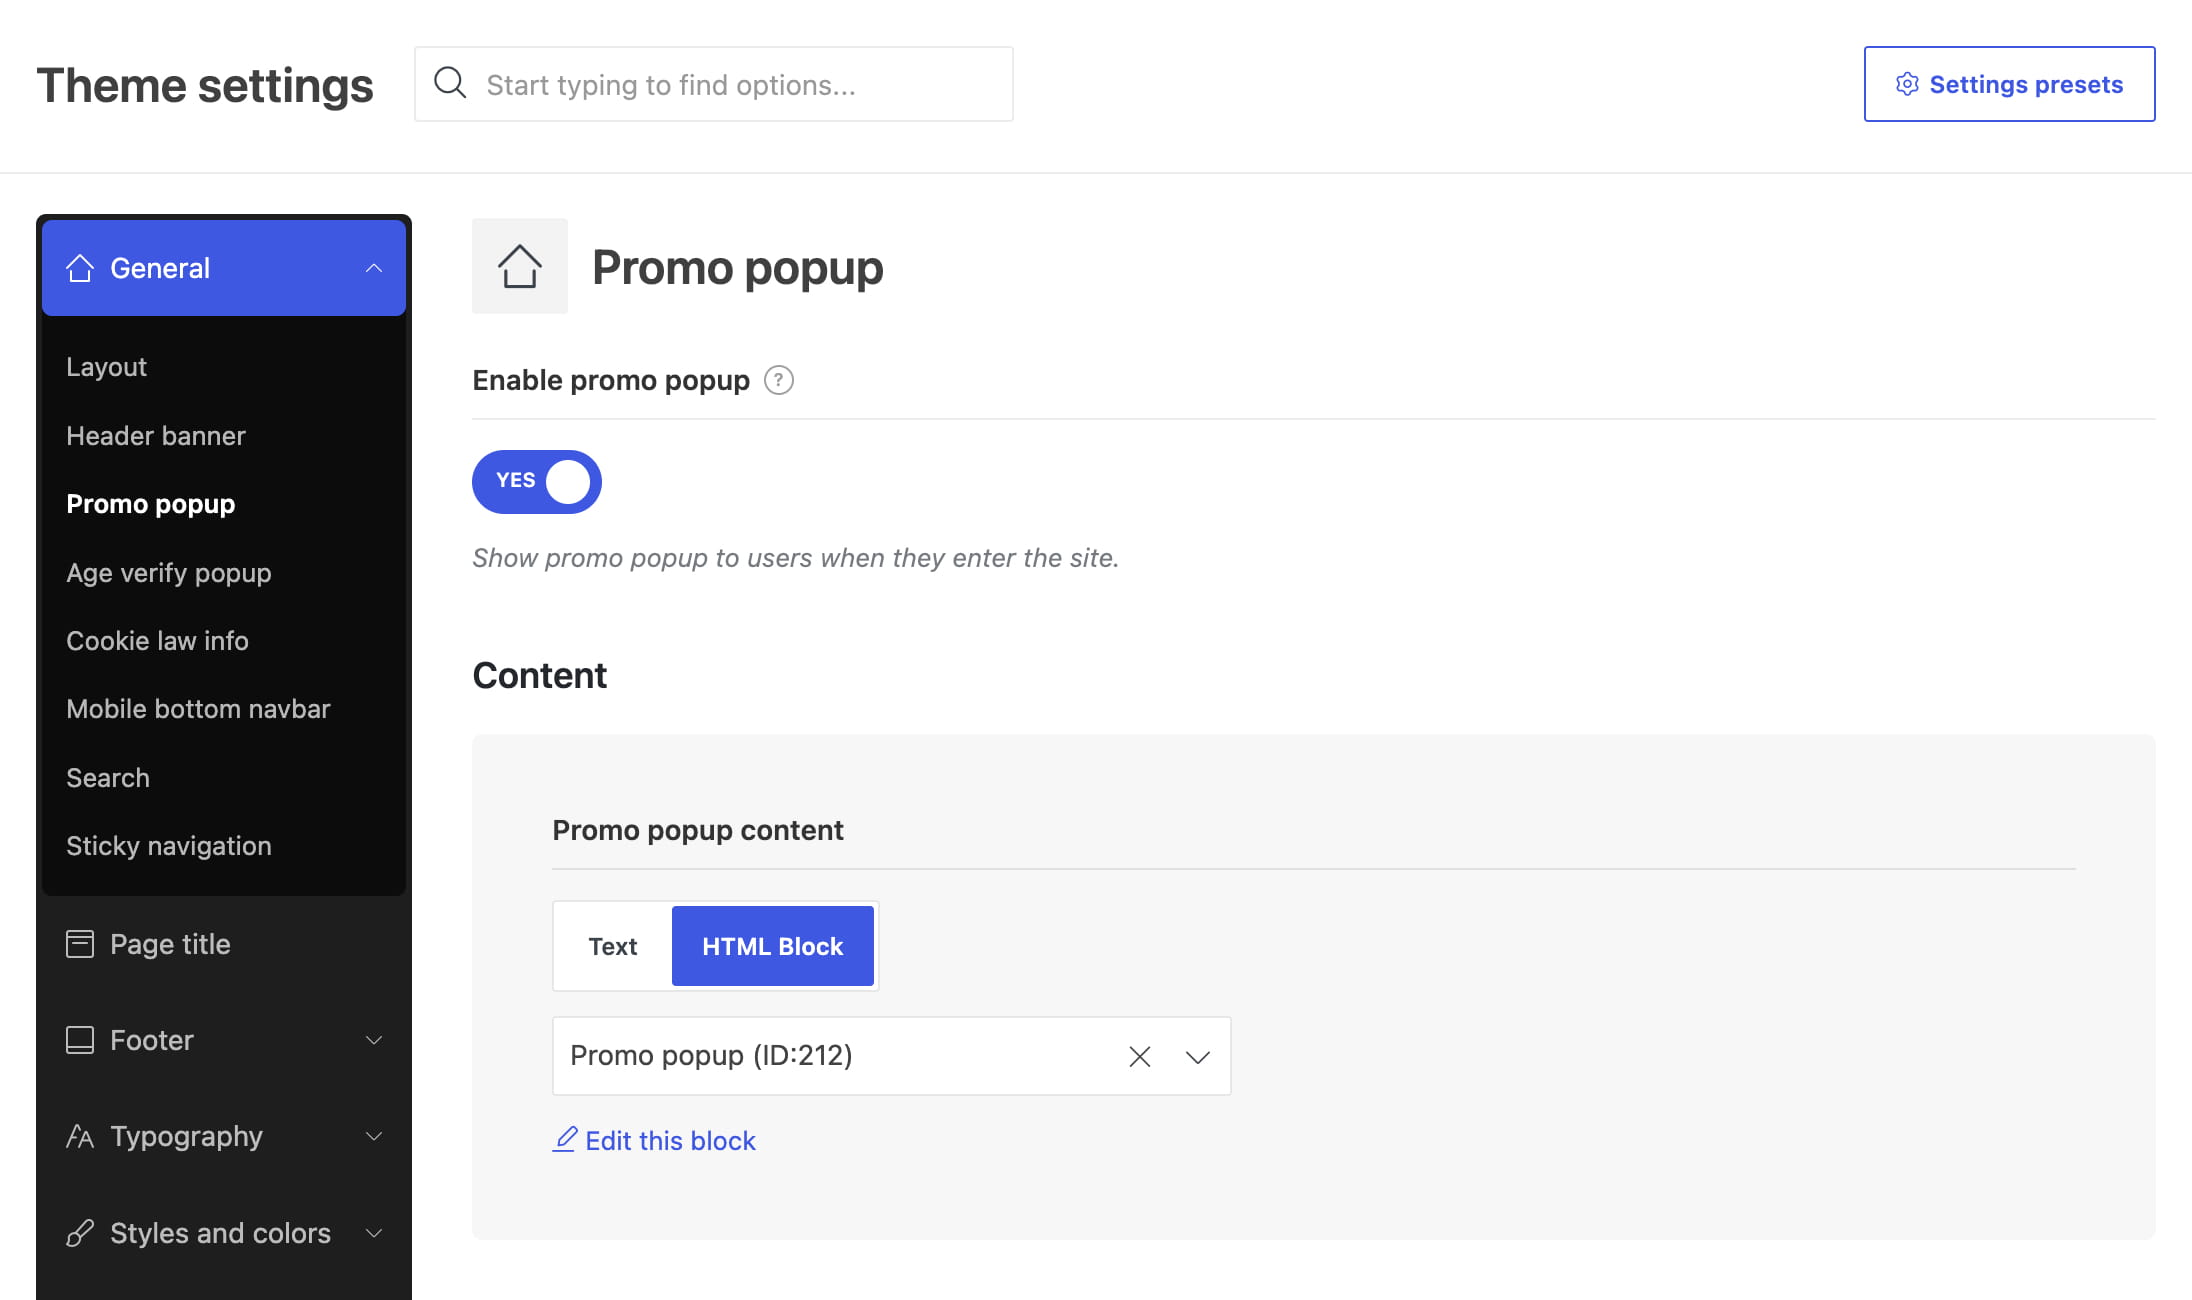
For new custom popups, use the Popup builder. The legacy promo popup remains available under Dashboard → Theme Settings → General → Promo popup and supports an HTML Block content type.
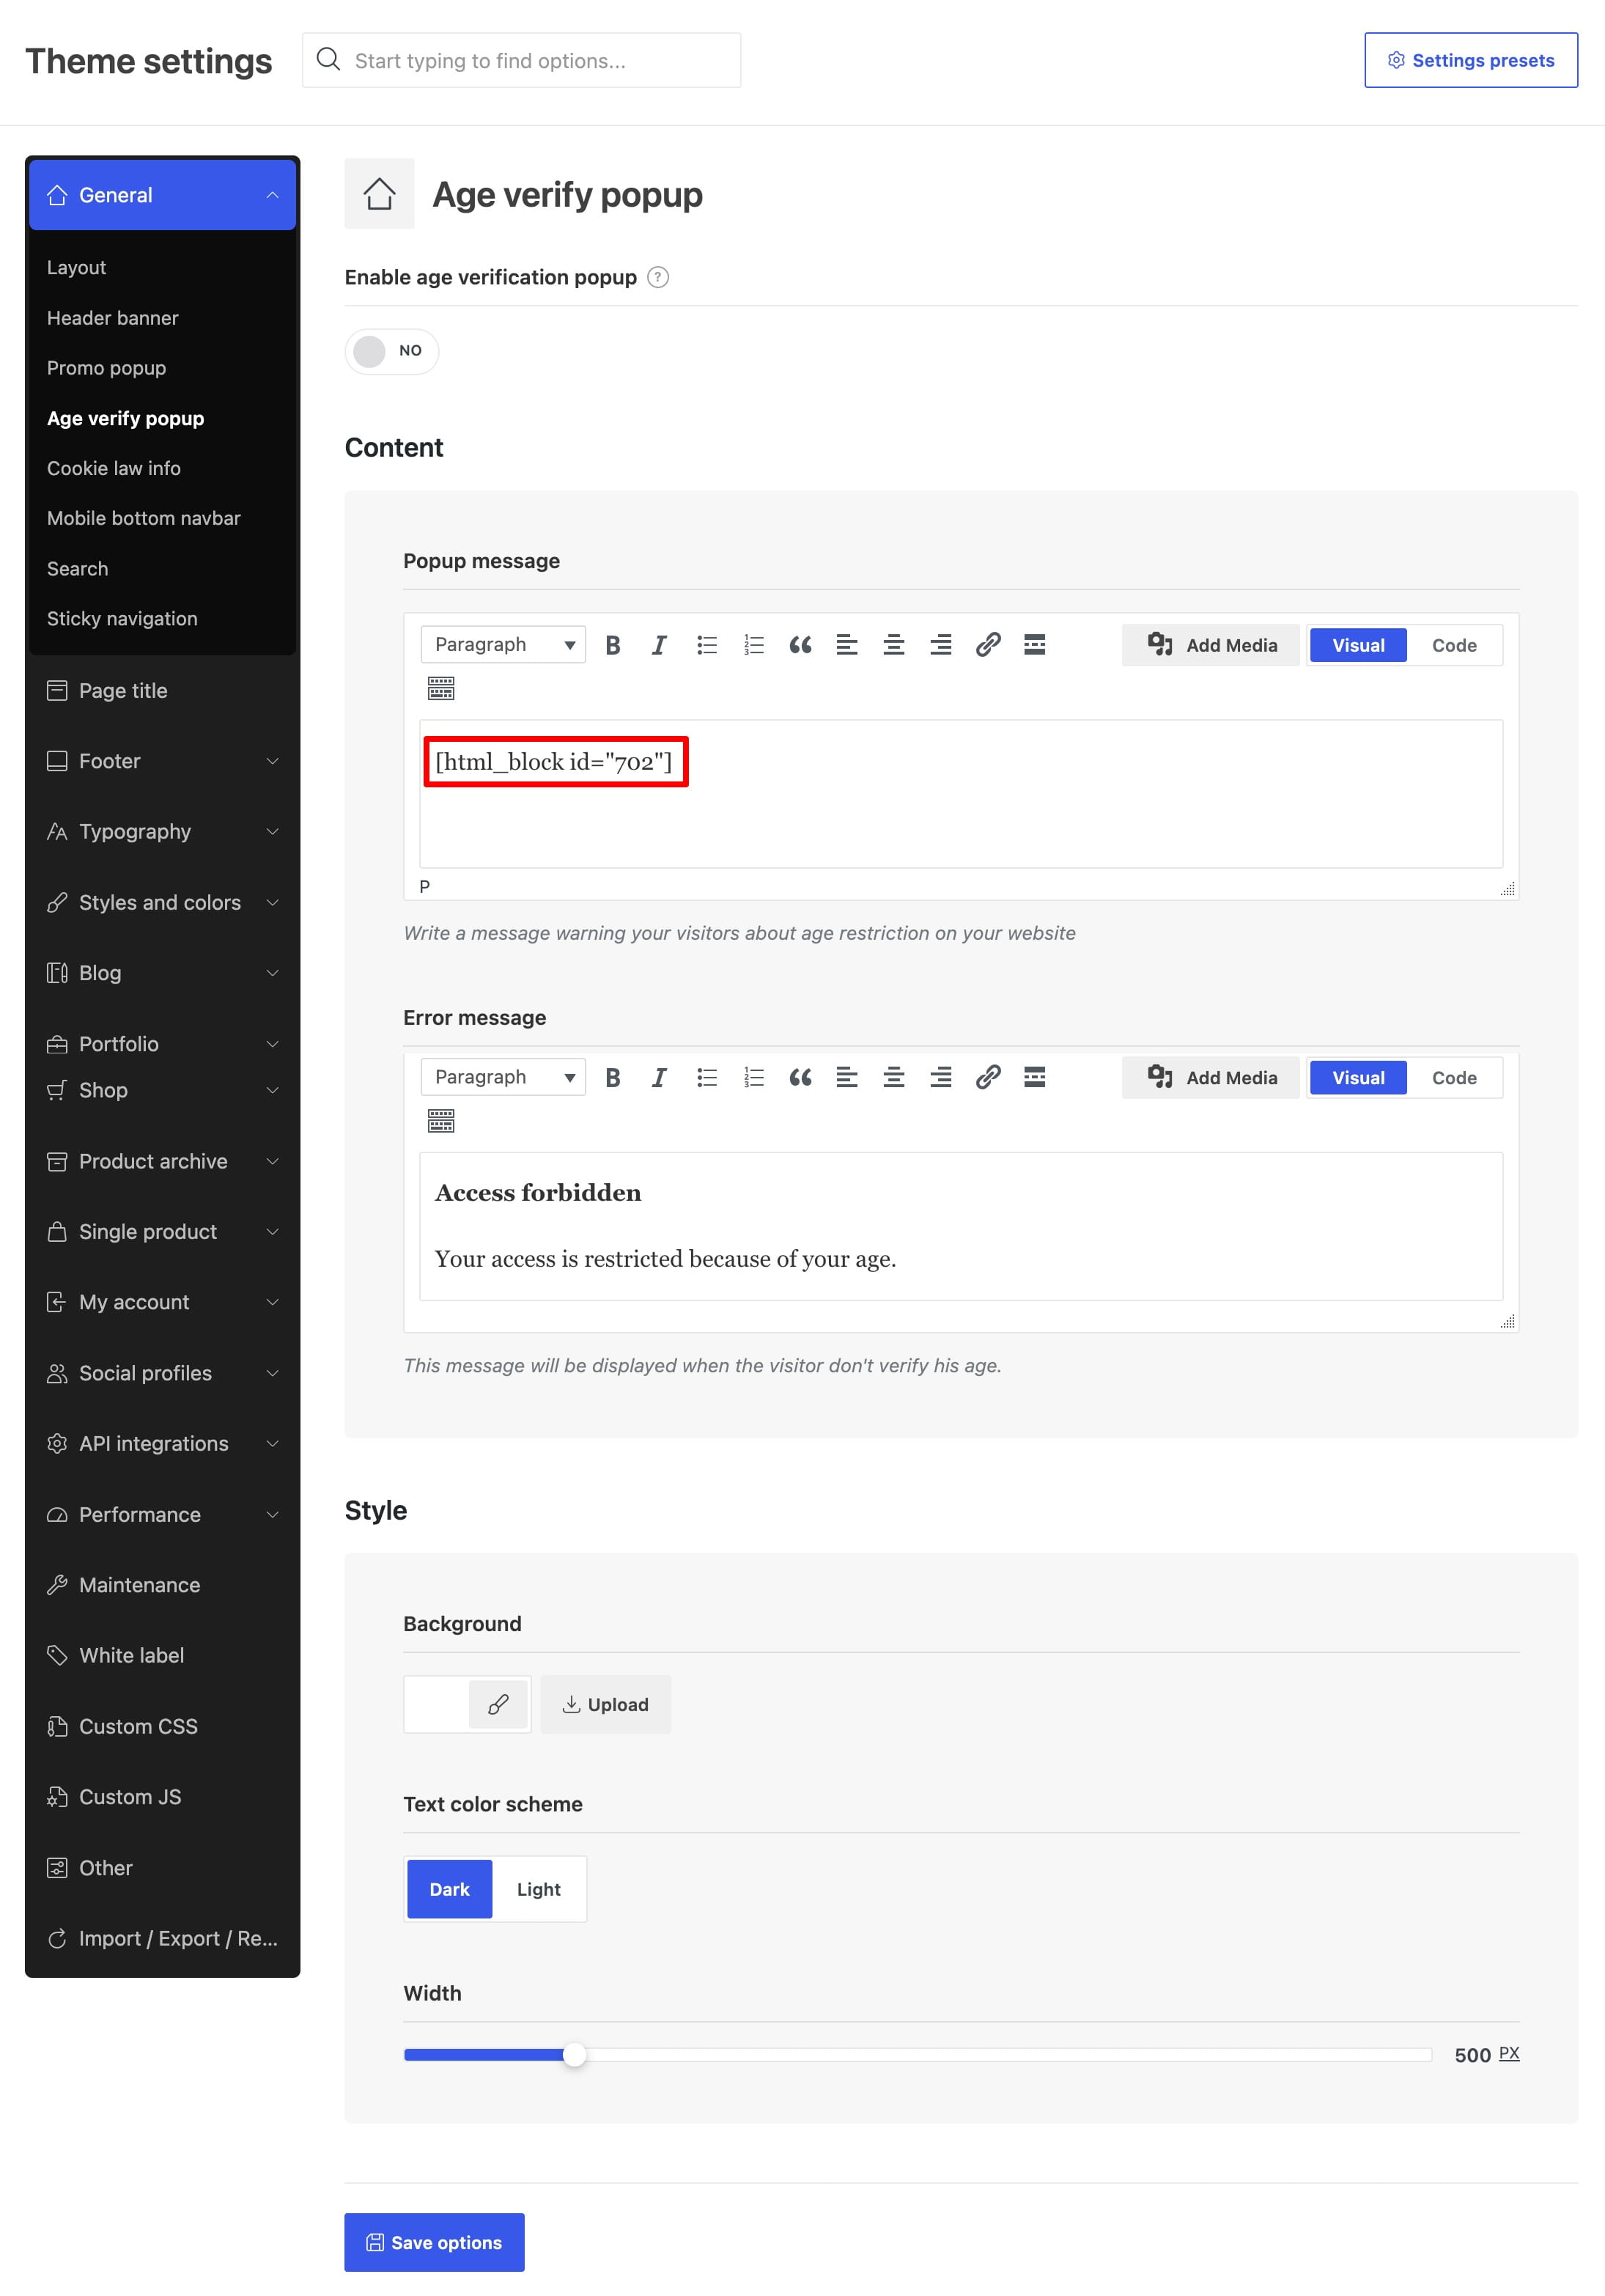
The age verification popup does not have a separate HTML Block selector. Insert the HTML block shortcode into Popup message under Dashboard → Theme Settings → General → Age verify popup. Match the popup Text color scheme to the colors used in the block.
WooCommerce locations
Cart and thank you page
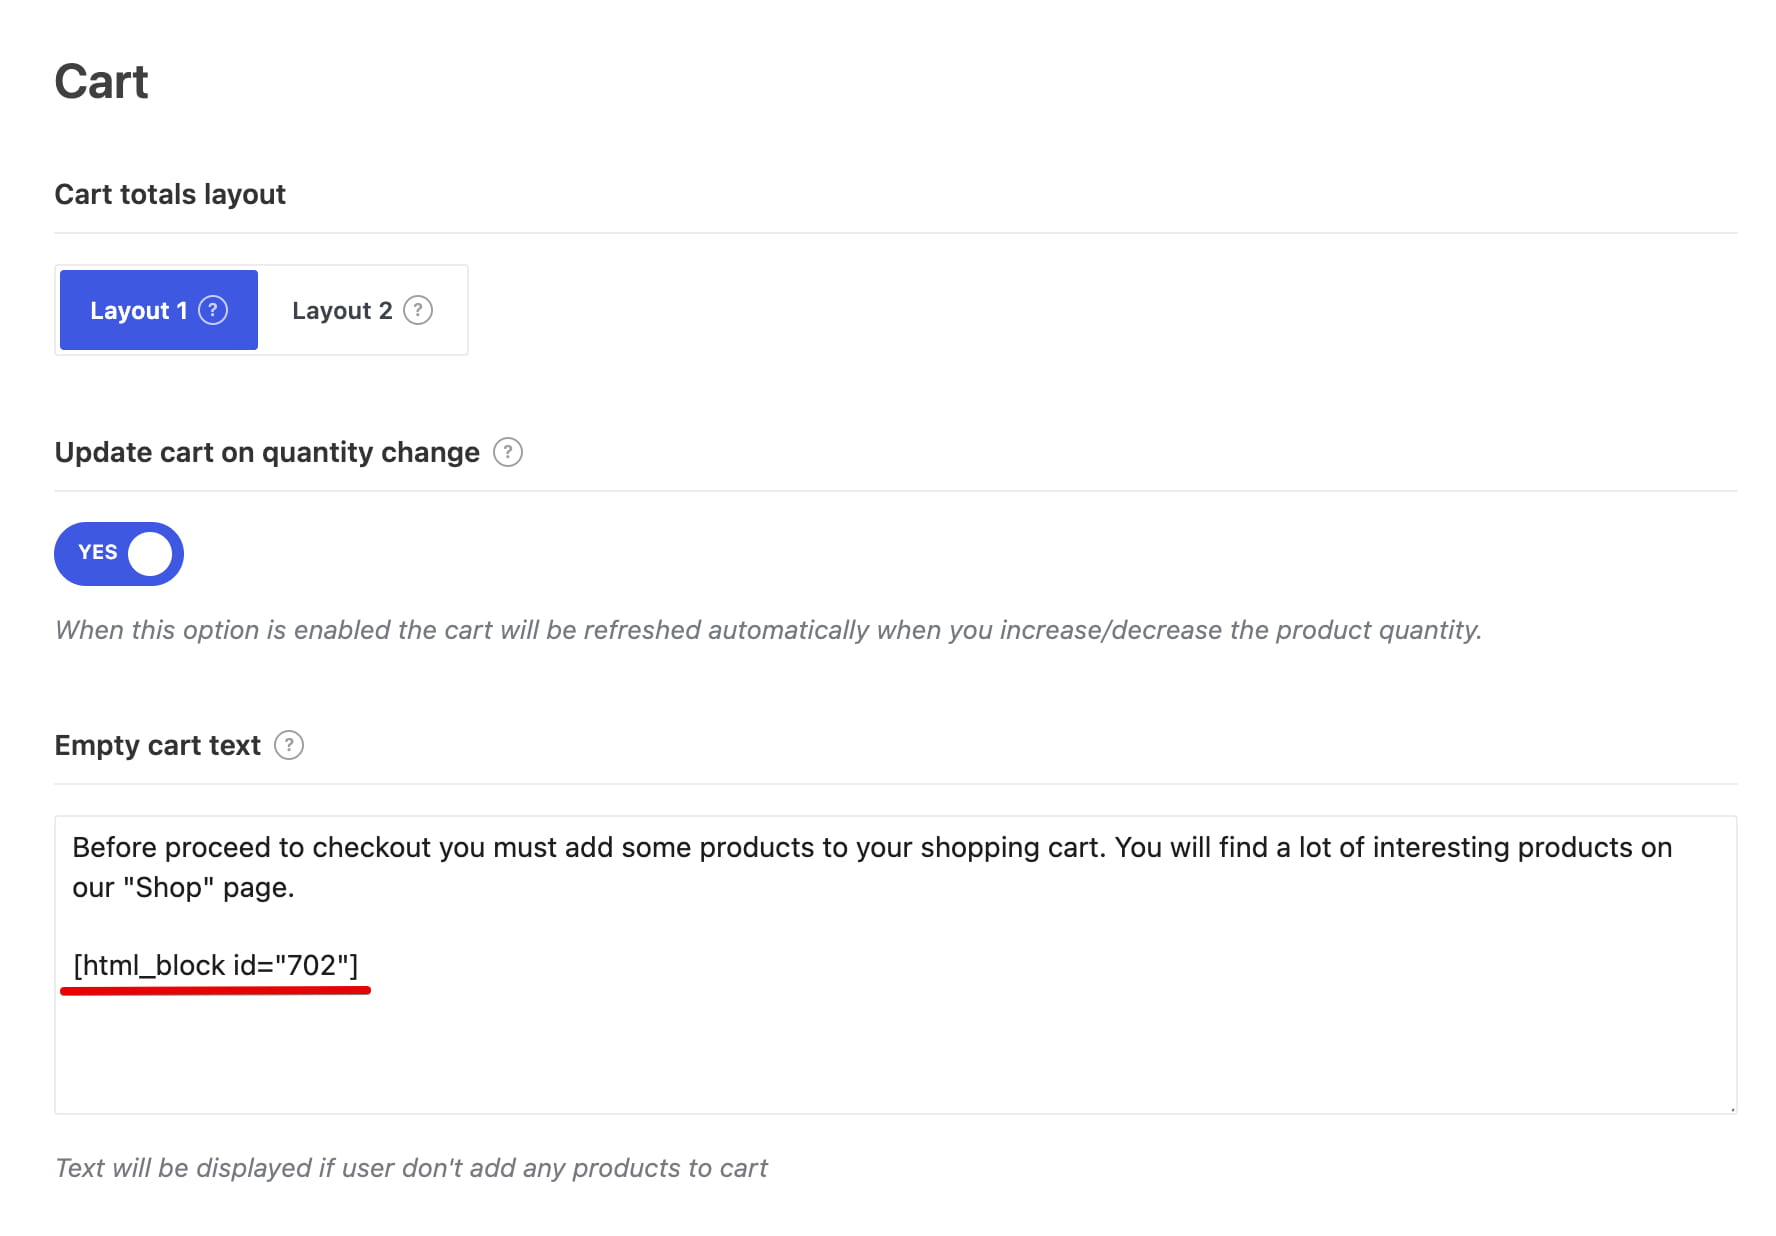
The Empty cart text field under Dashboard → Theme Settings → Shop → Cart accepts the HTML block shortcode. Use it to add reusable buttons, links, banners, or other content to the empty cart page.
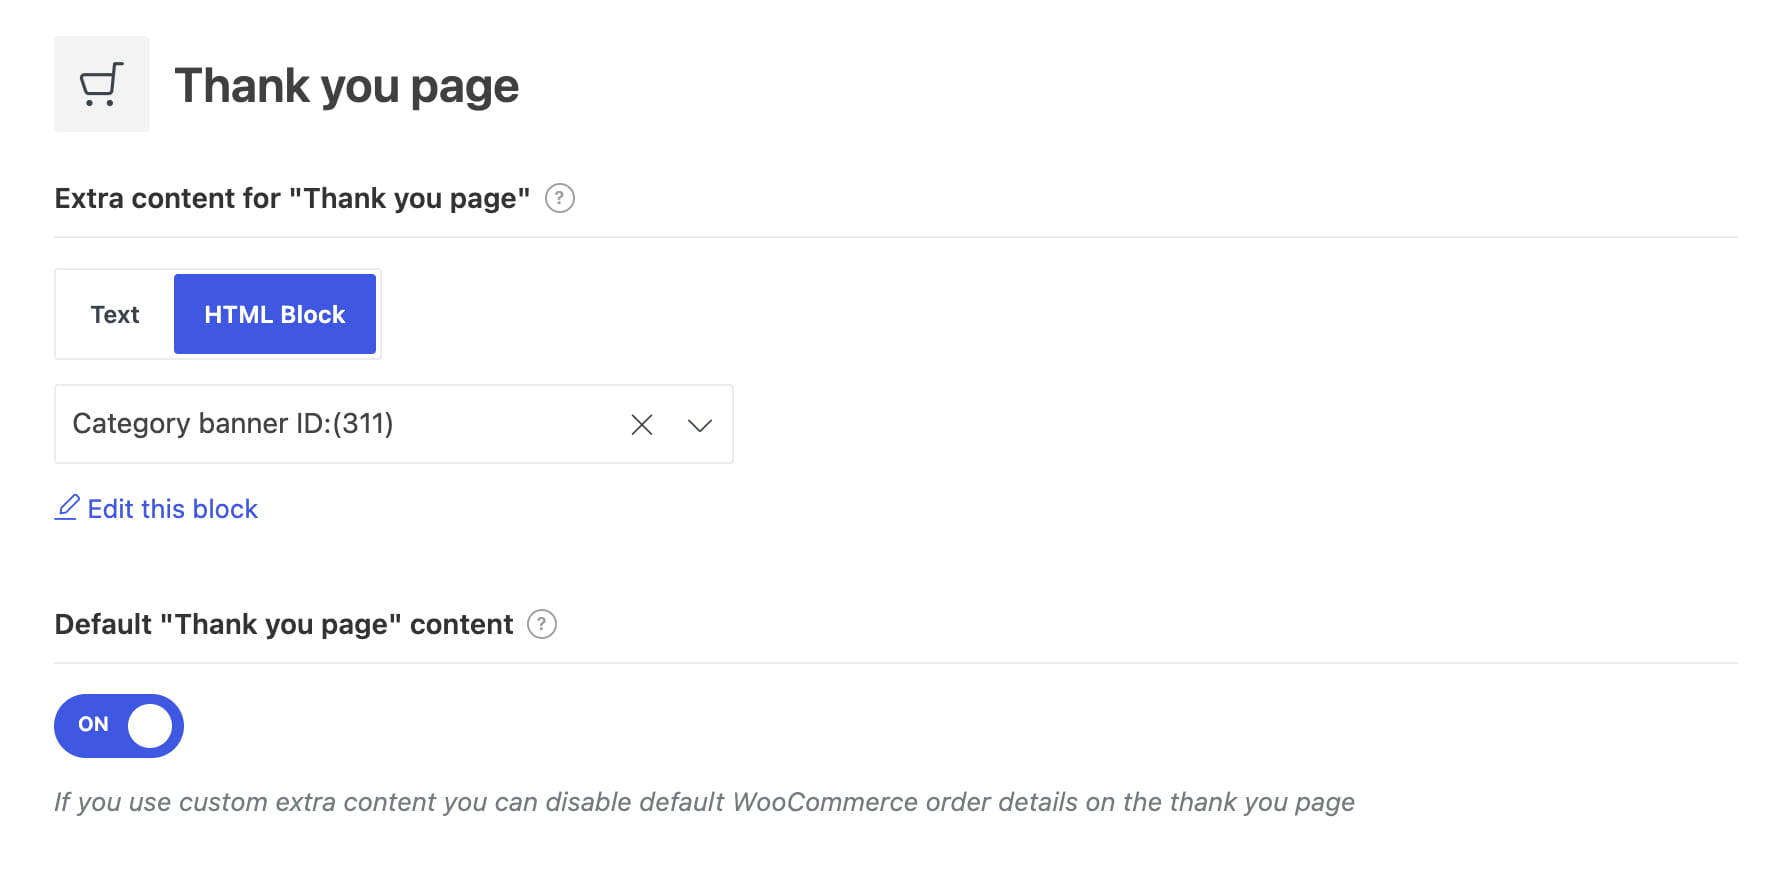
Under Dashboard → Theme Settings → Shop → Thank you page, set Extra content for “Thank you page” to HTML Block and select the block. The separate Default “Thank you page” content option controls whether the standard WooCommerce order details remain visible.
Content around the Add to cart button
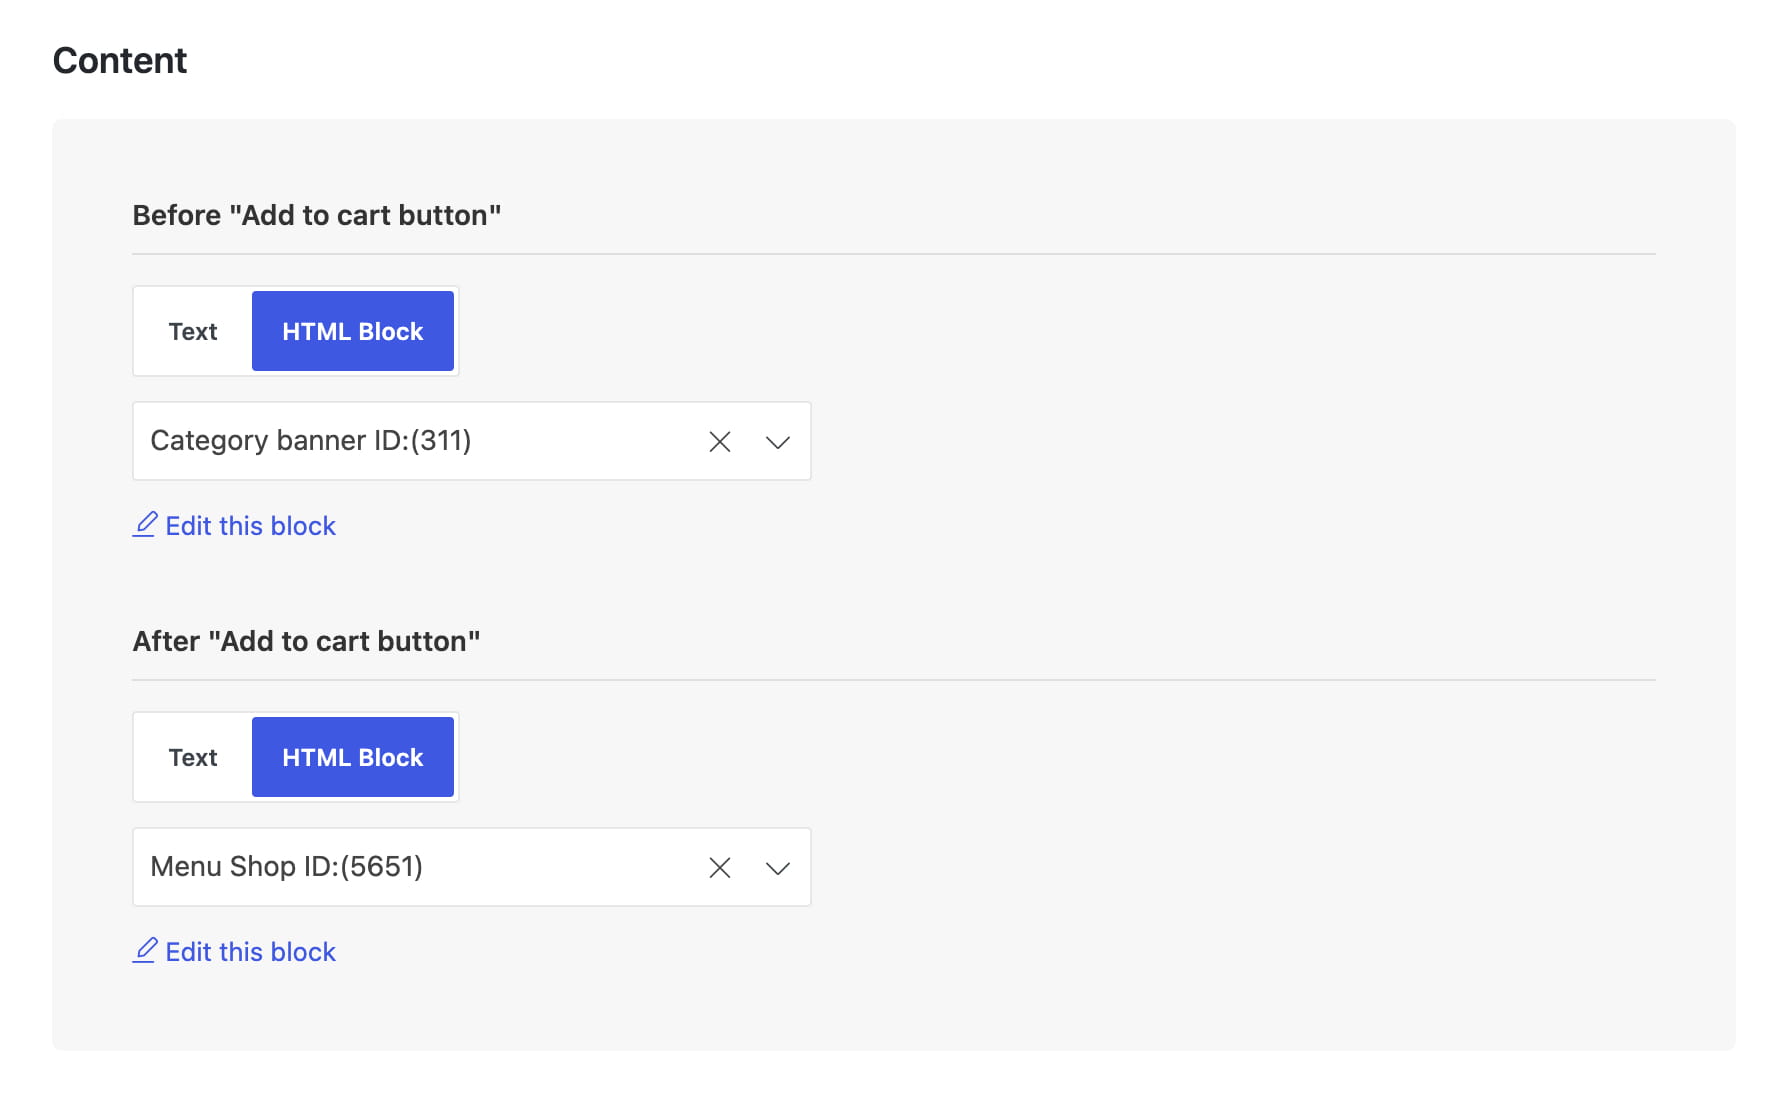
Navigate to Dashboard → Theme Settings → Single product → Add to cart. Both Before “Add to cart button” and After “Add to cart button” support the HTML Block content type.
Product tabs
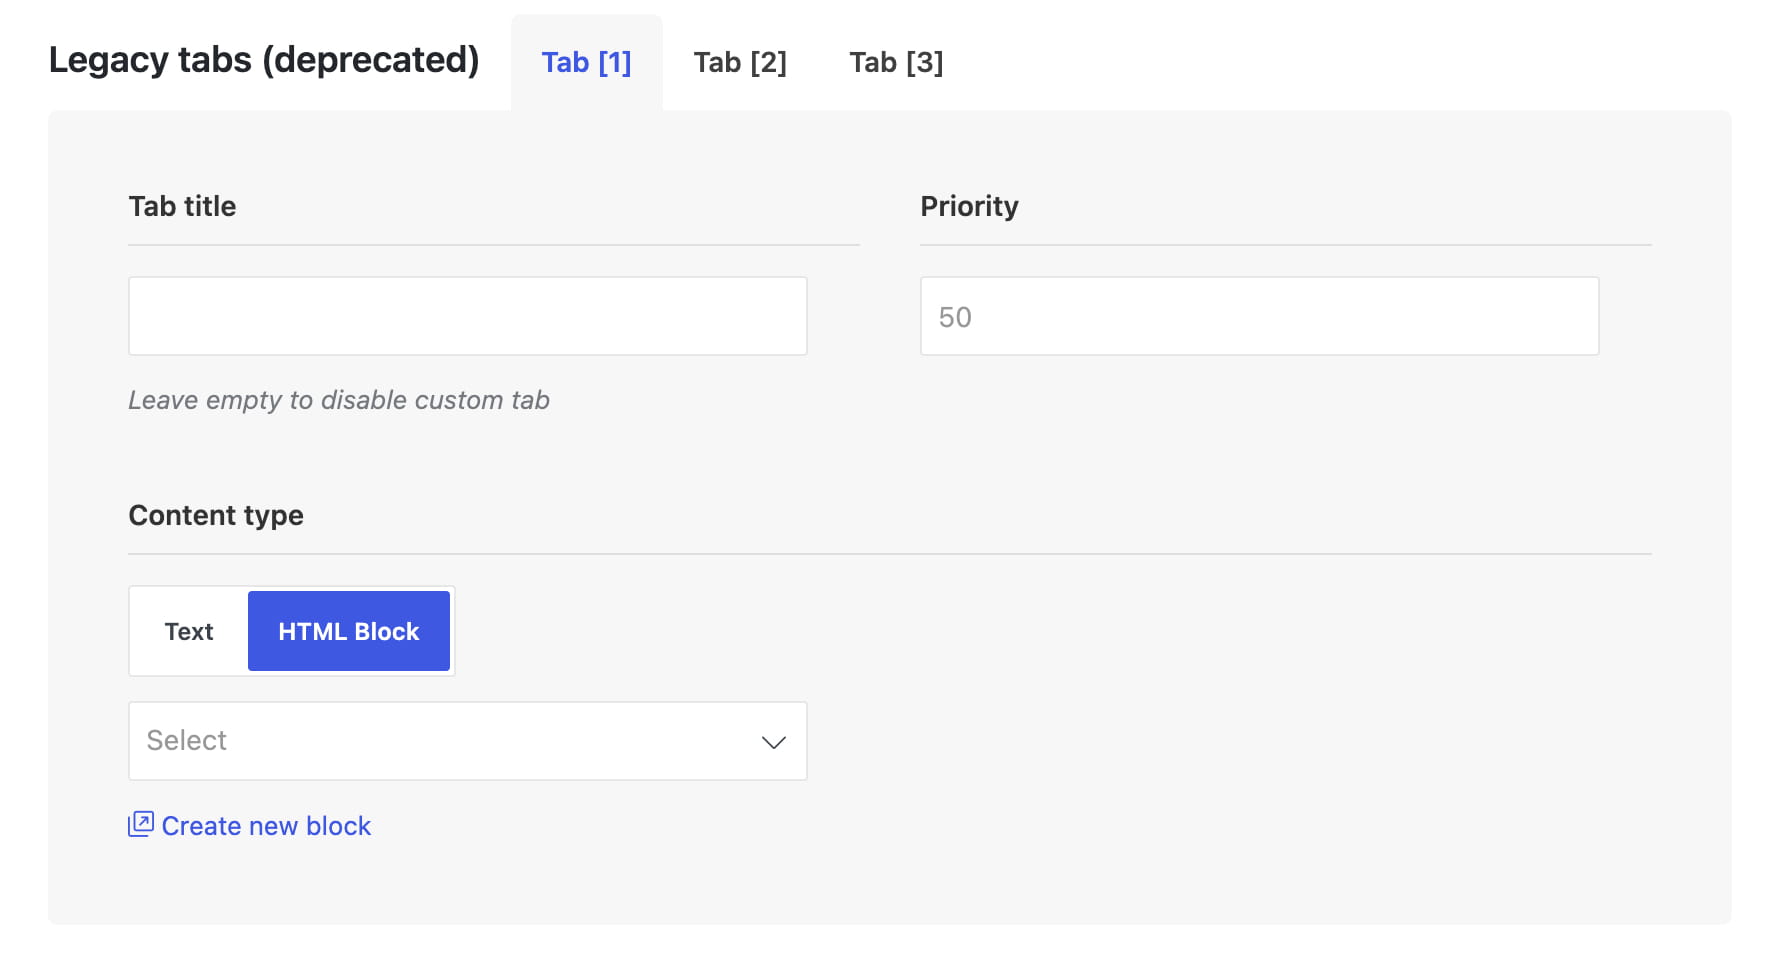
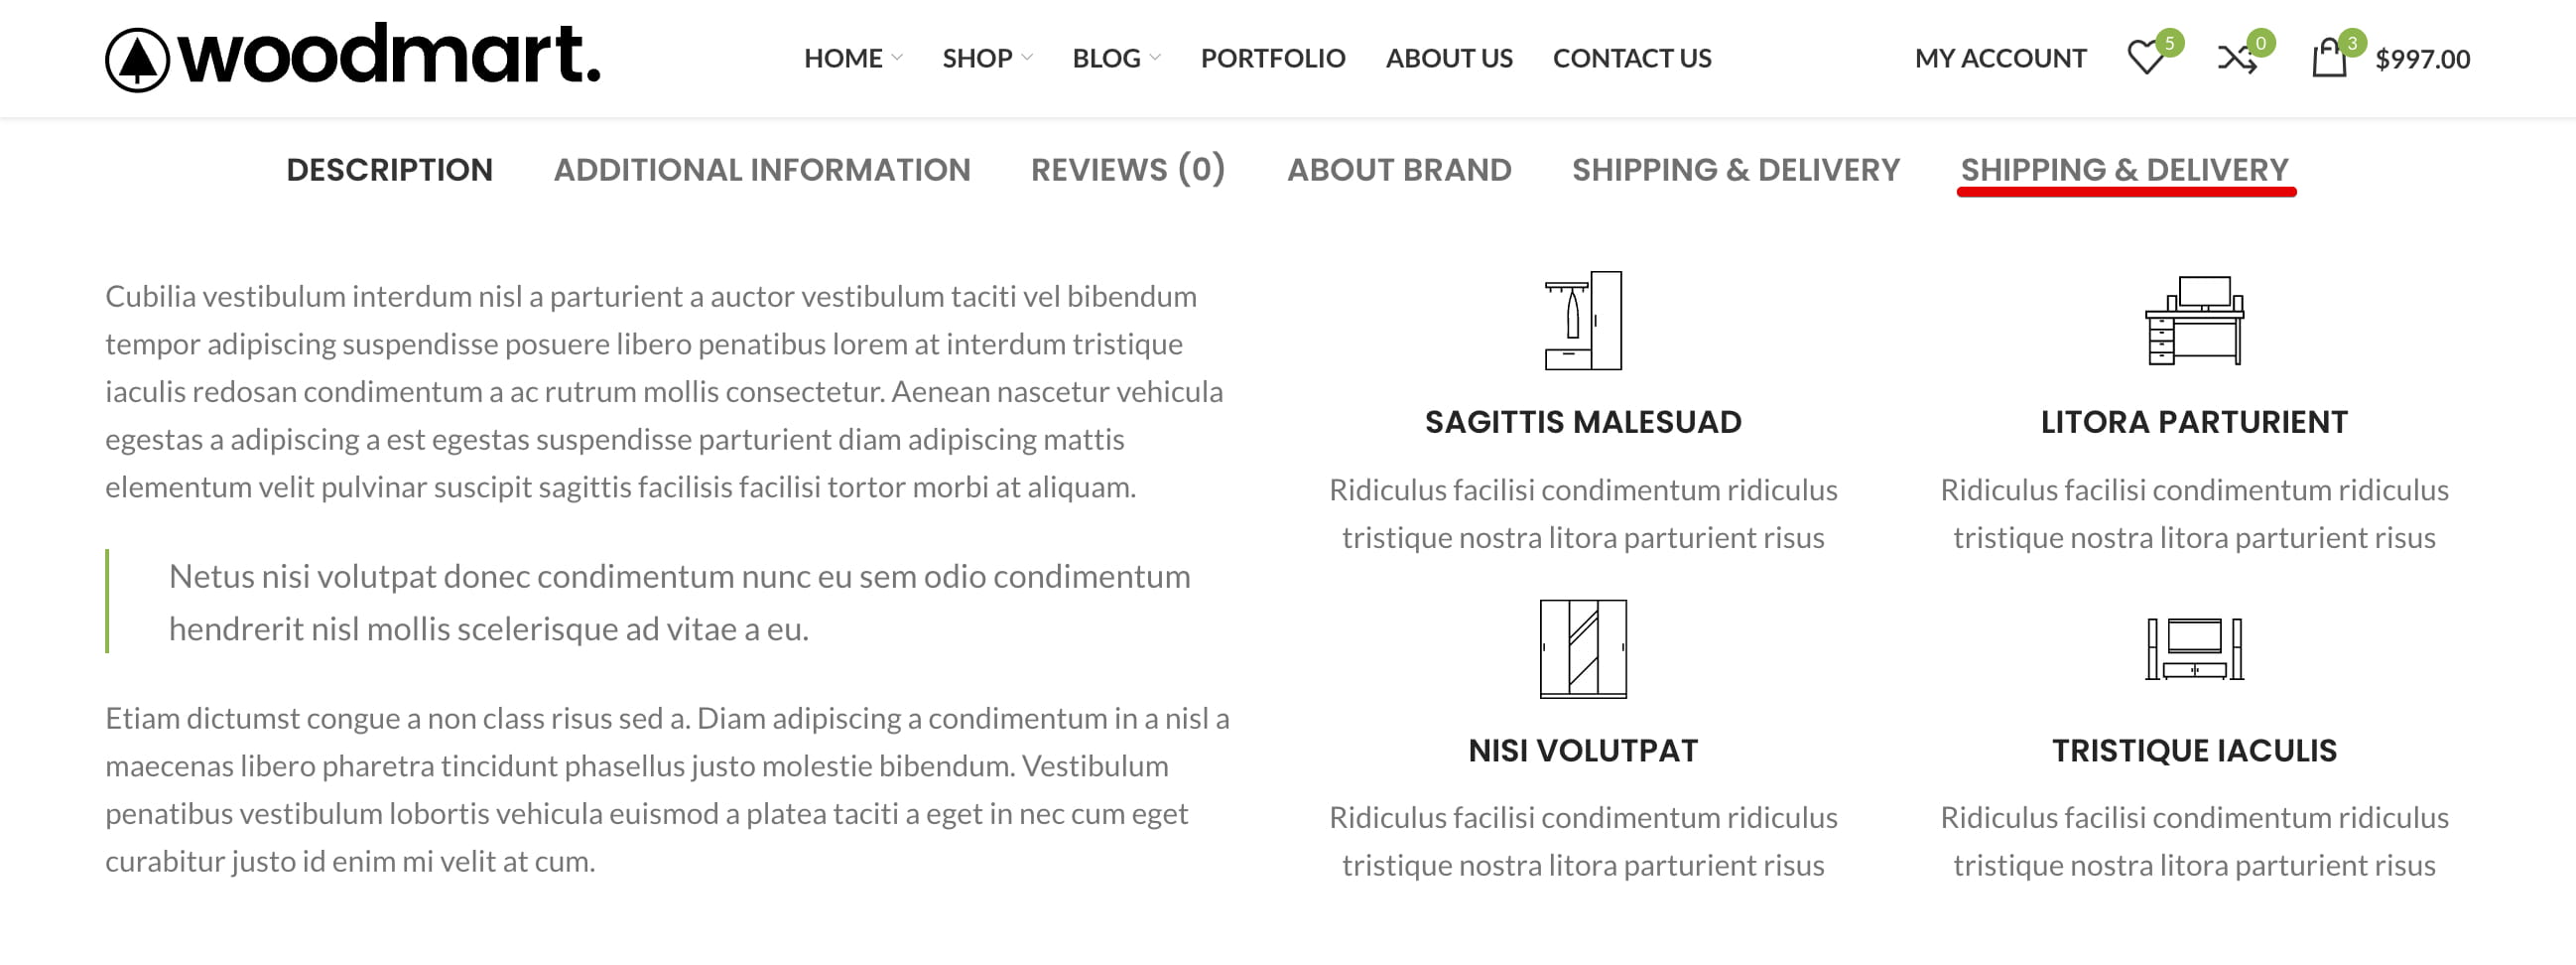
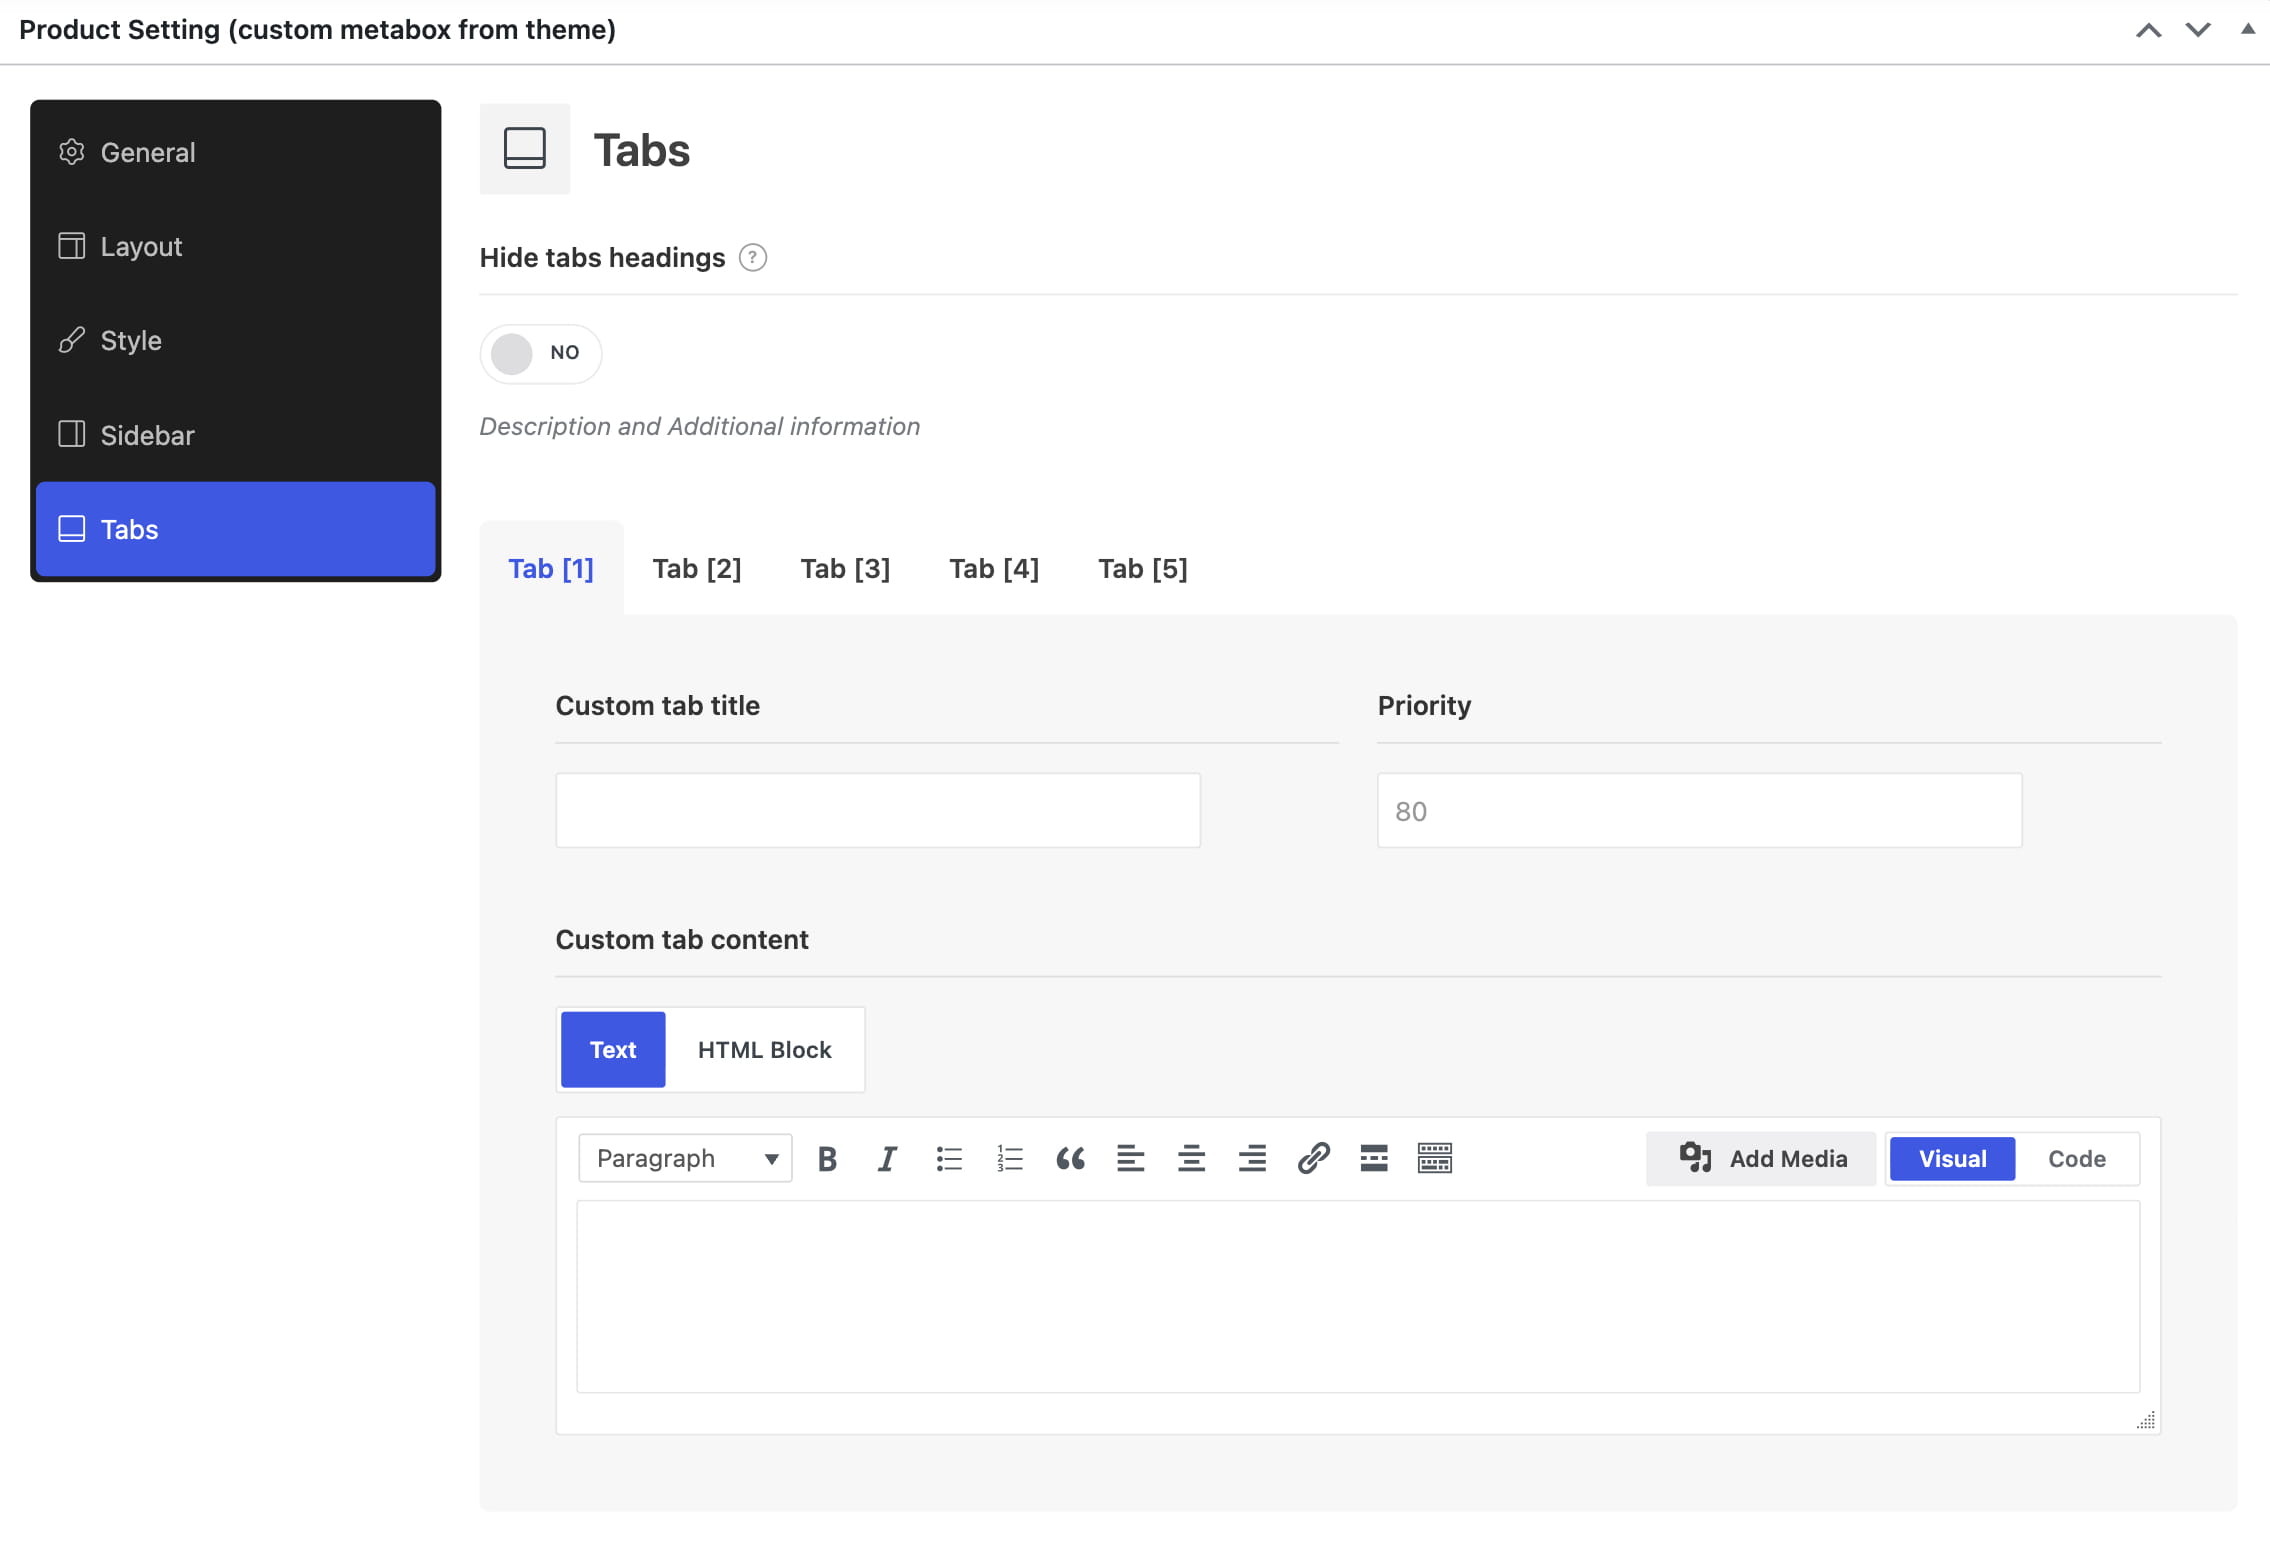
Global legacy tabs and product-specific custom tabs can use HTML Blocks. See Custom tabs for current configuration methods and the difference between global and individual tabs.
Product and taxonomy extra content
An individual product can display a selected Extra content block before its content, after its content, or in the prefooter position. See Product page configuration for the current product editing workflow.
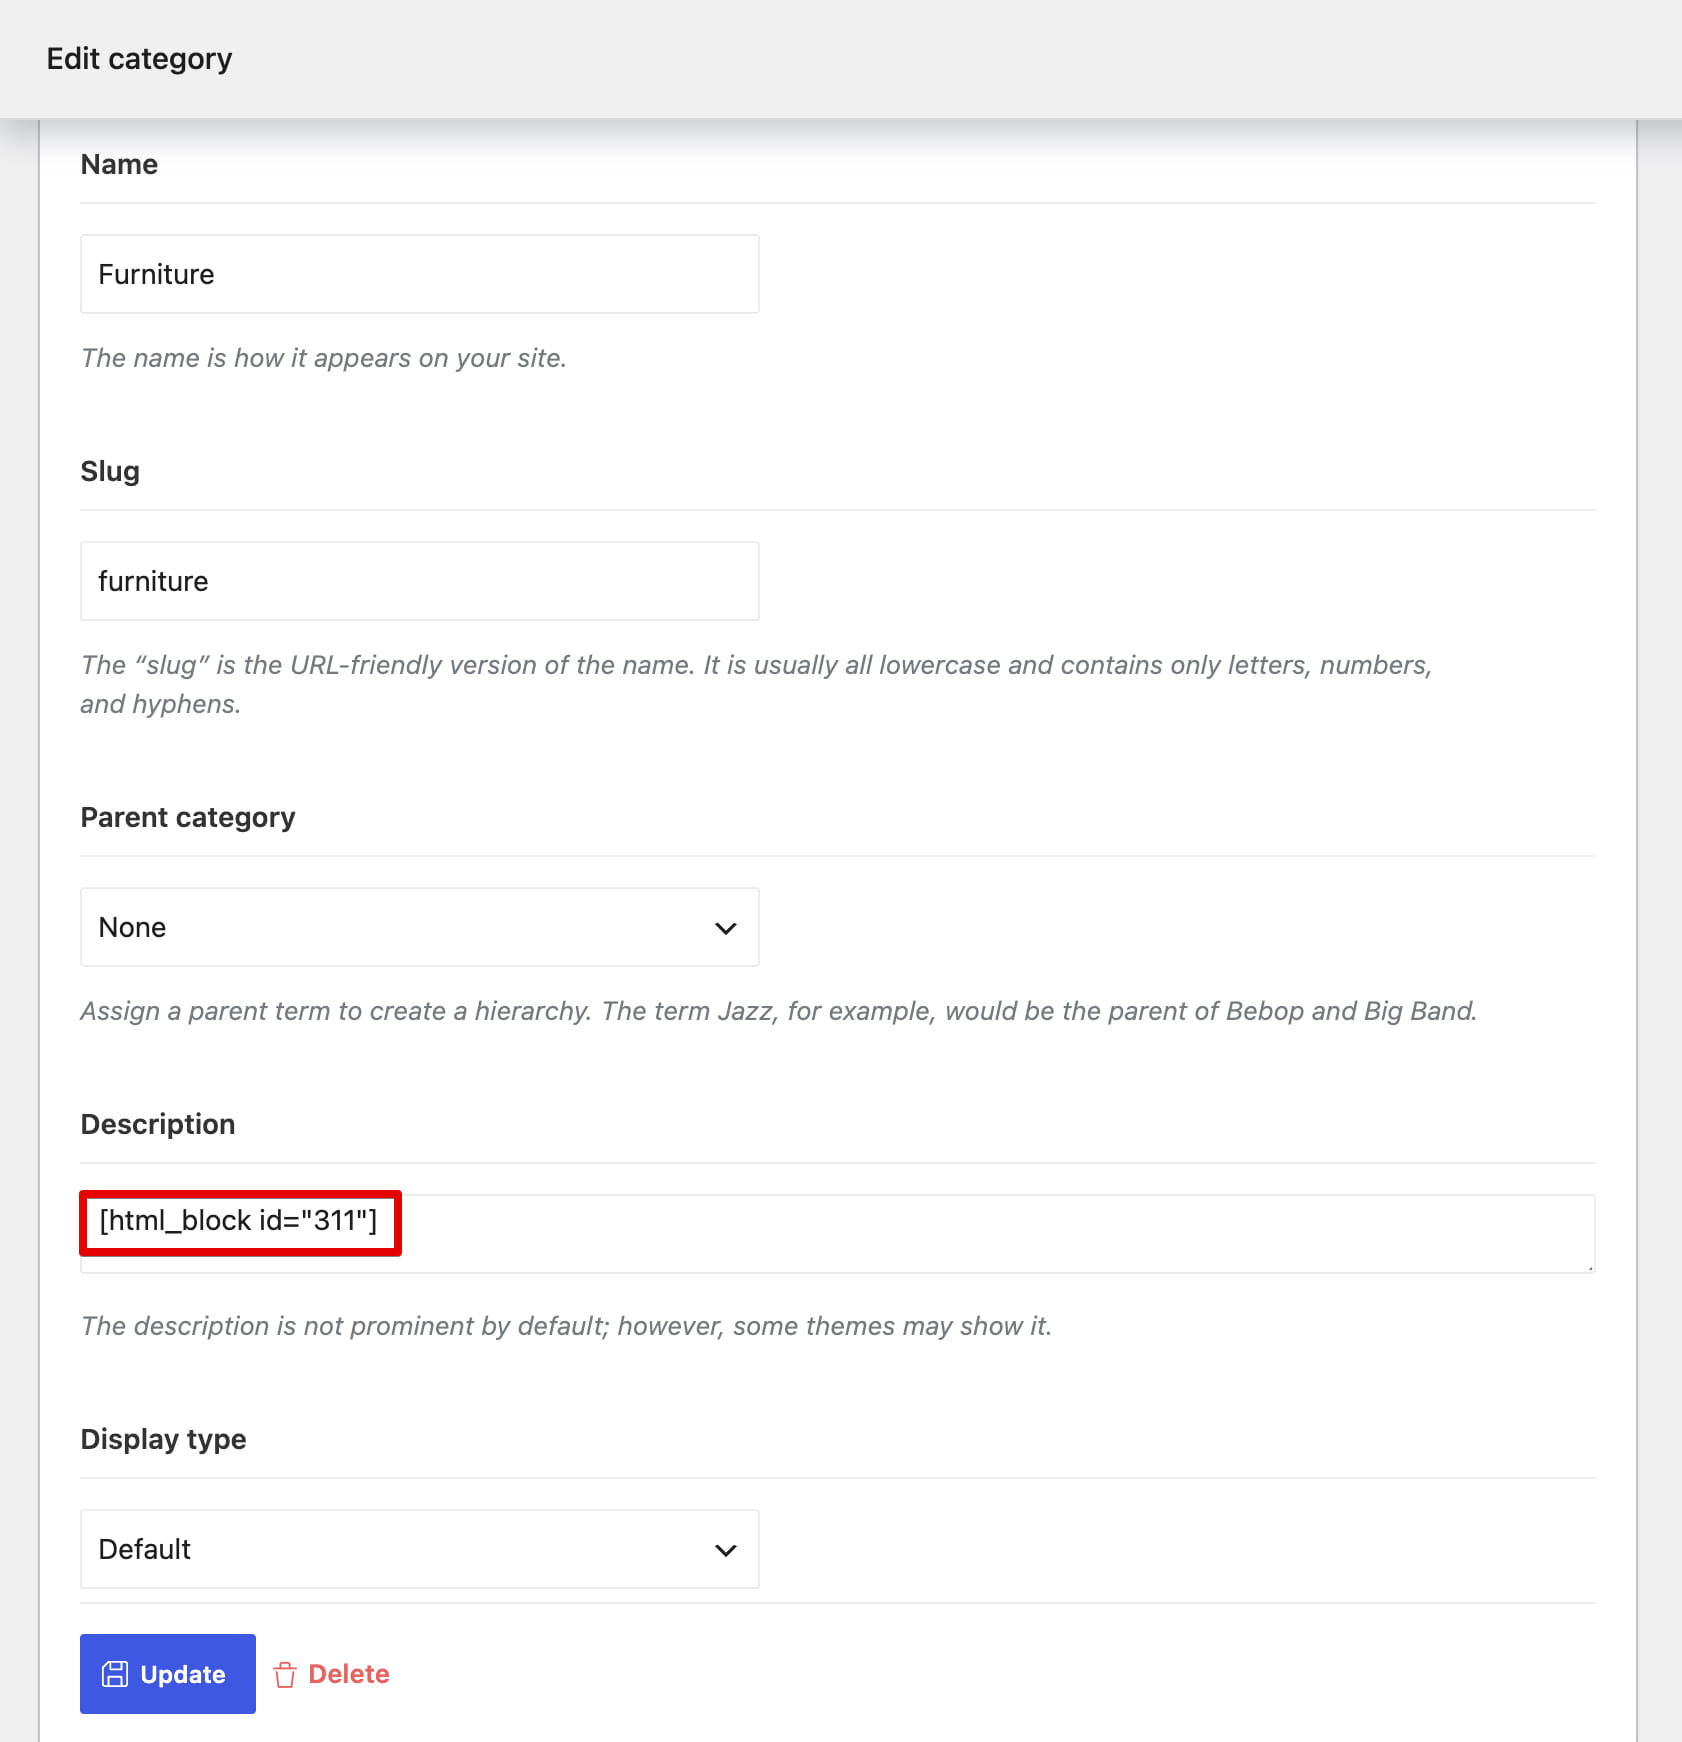
Product categories and attributes provide an Extra description content type. Choose HTML Block and select a block to display it after the product loop. For other taxonomy description fields that process shortcodes, insert the HTML block shortcode directly.
Widgets and sidebars
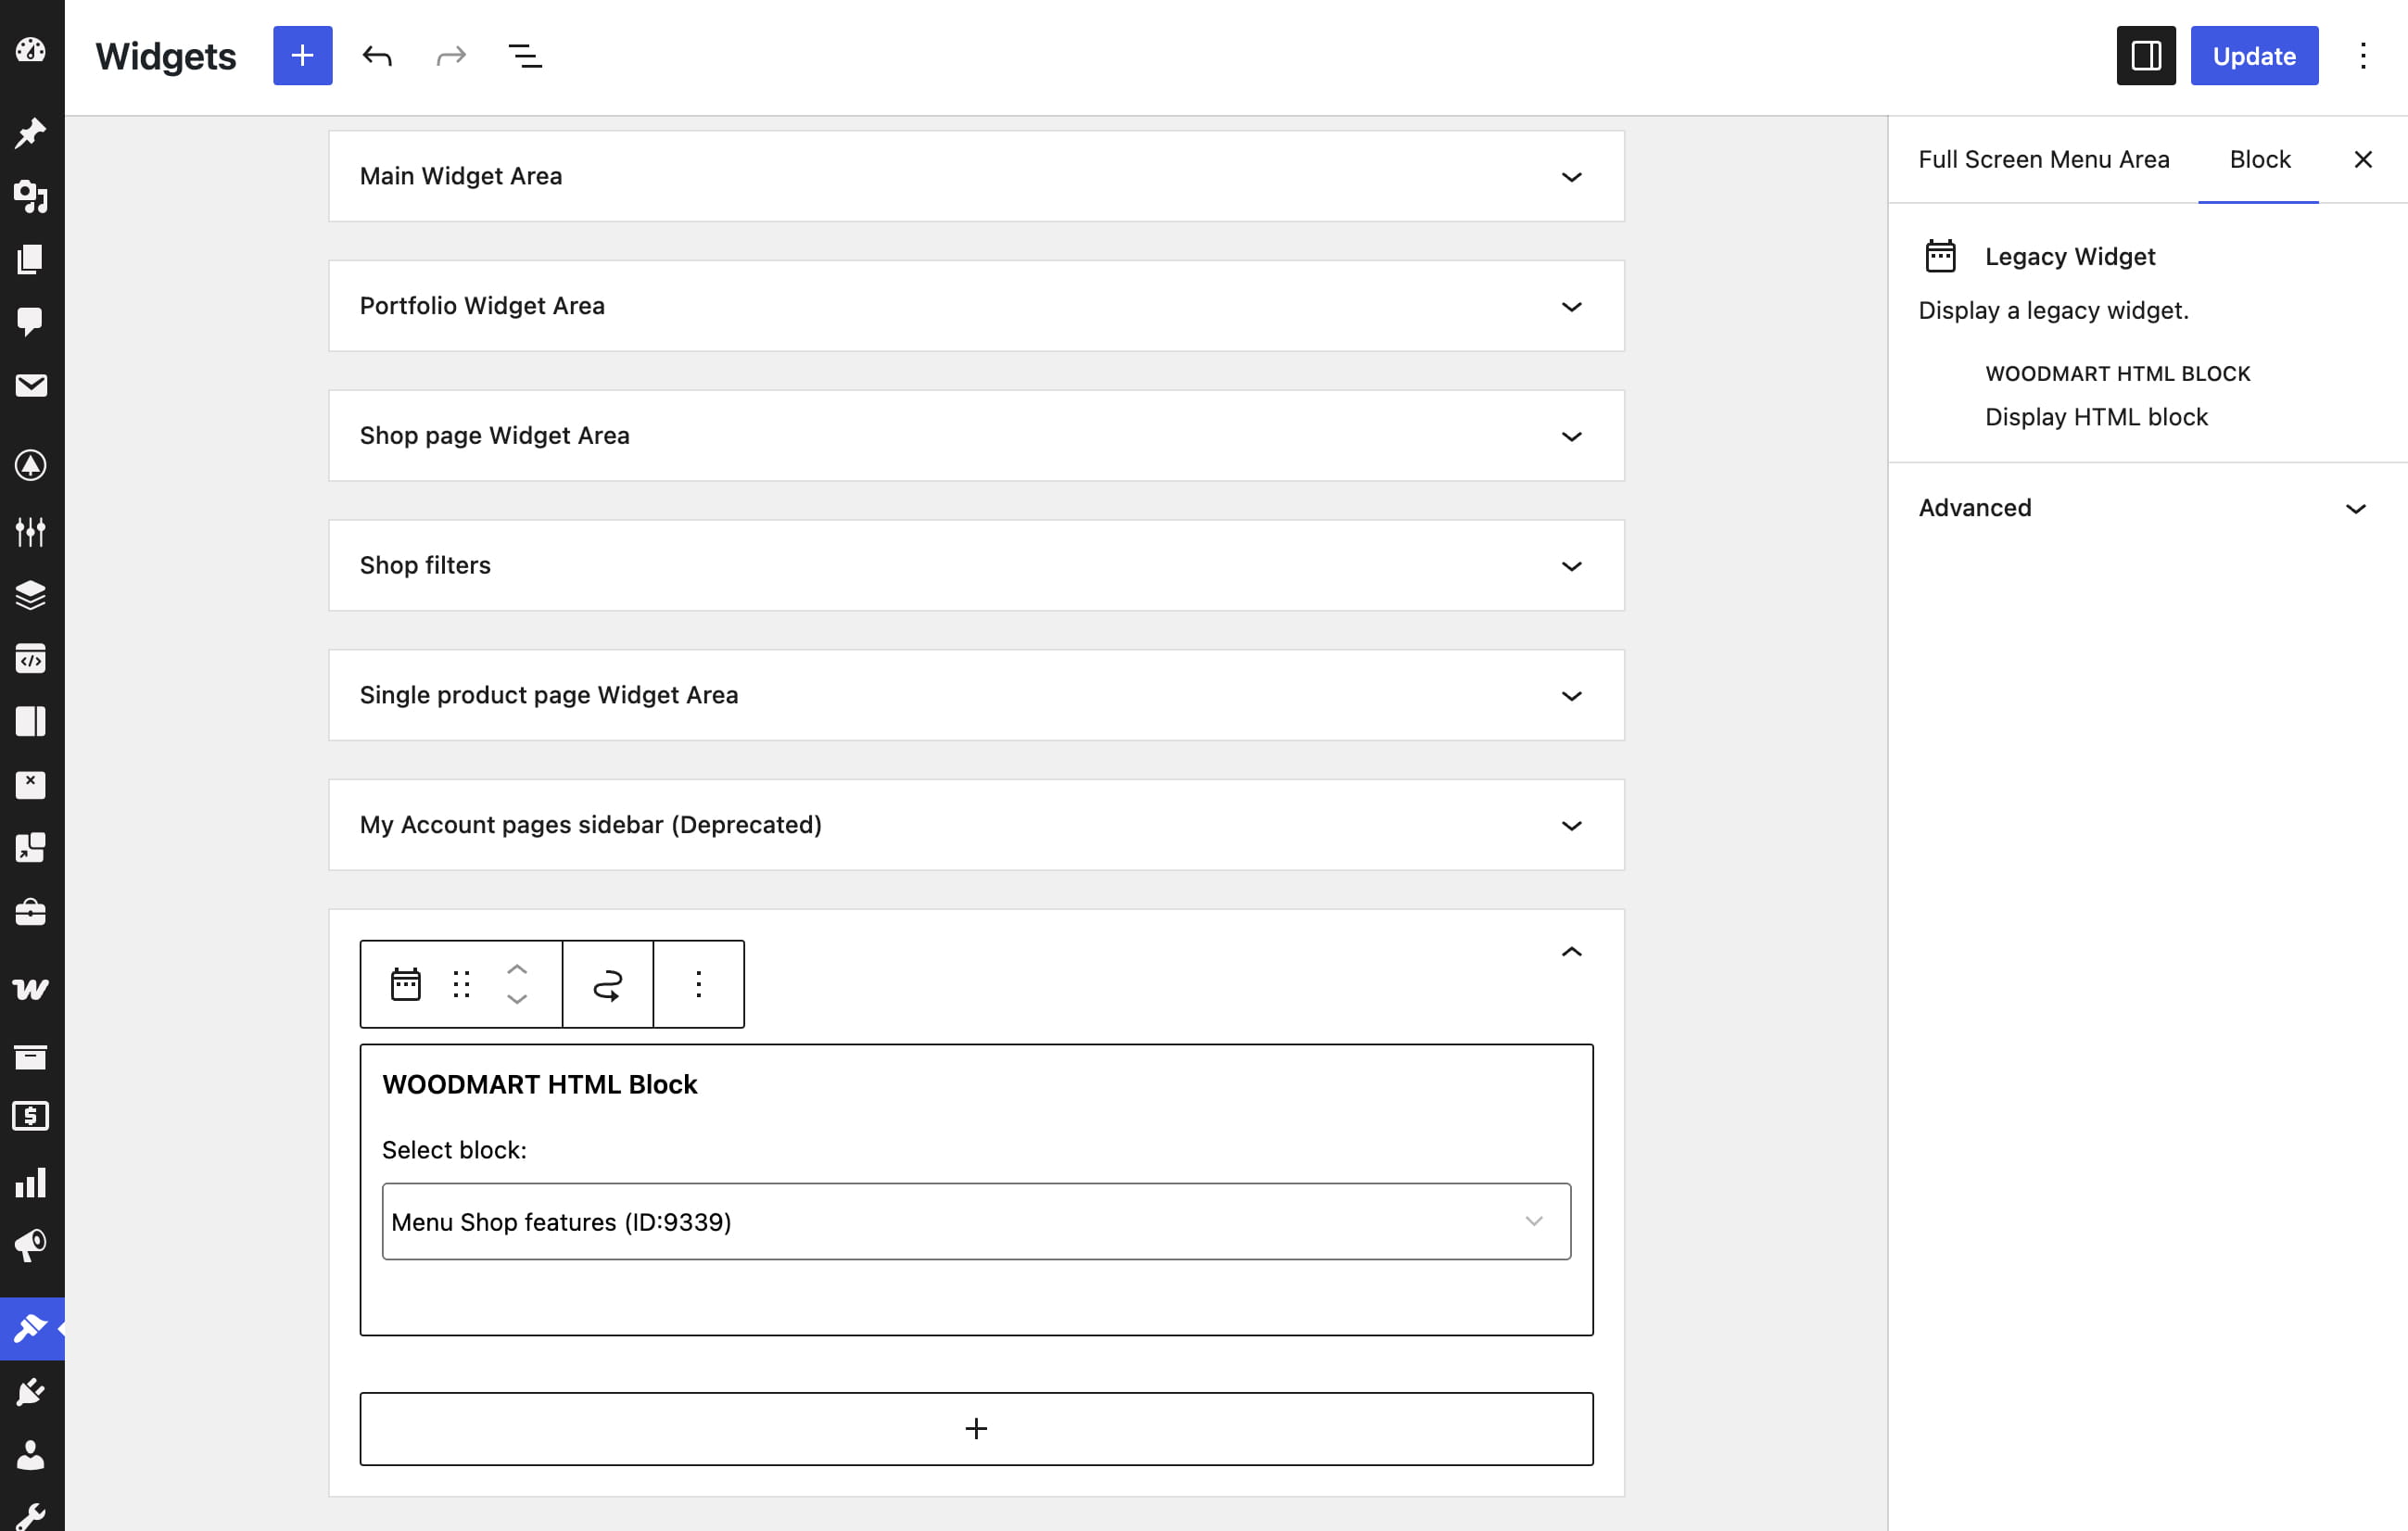
Add the WOODMART HTML Block widget to any registered widget area under Dashboard → Appearance → Widgets. Select the reusable block in the widget settings. For example, an HTML block containing a Product filters element can be displayed in a shop sidebar. See Create a product filters form for filter configuration.
Mobile page content
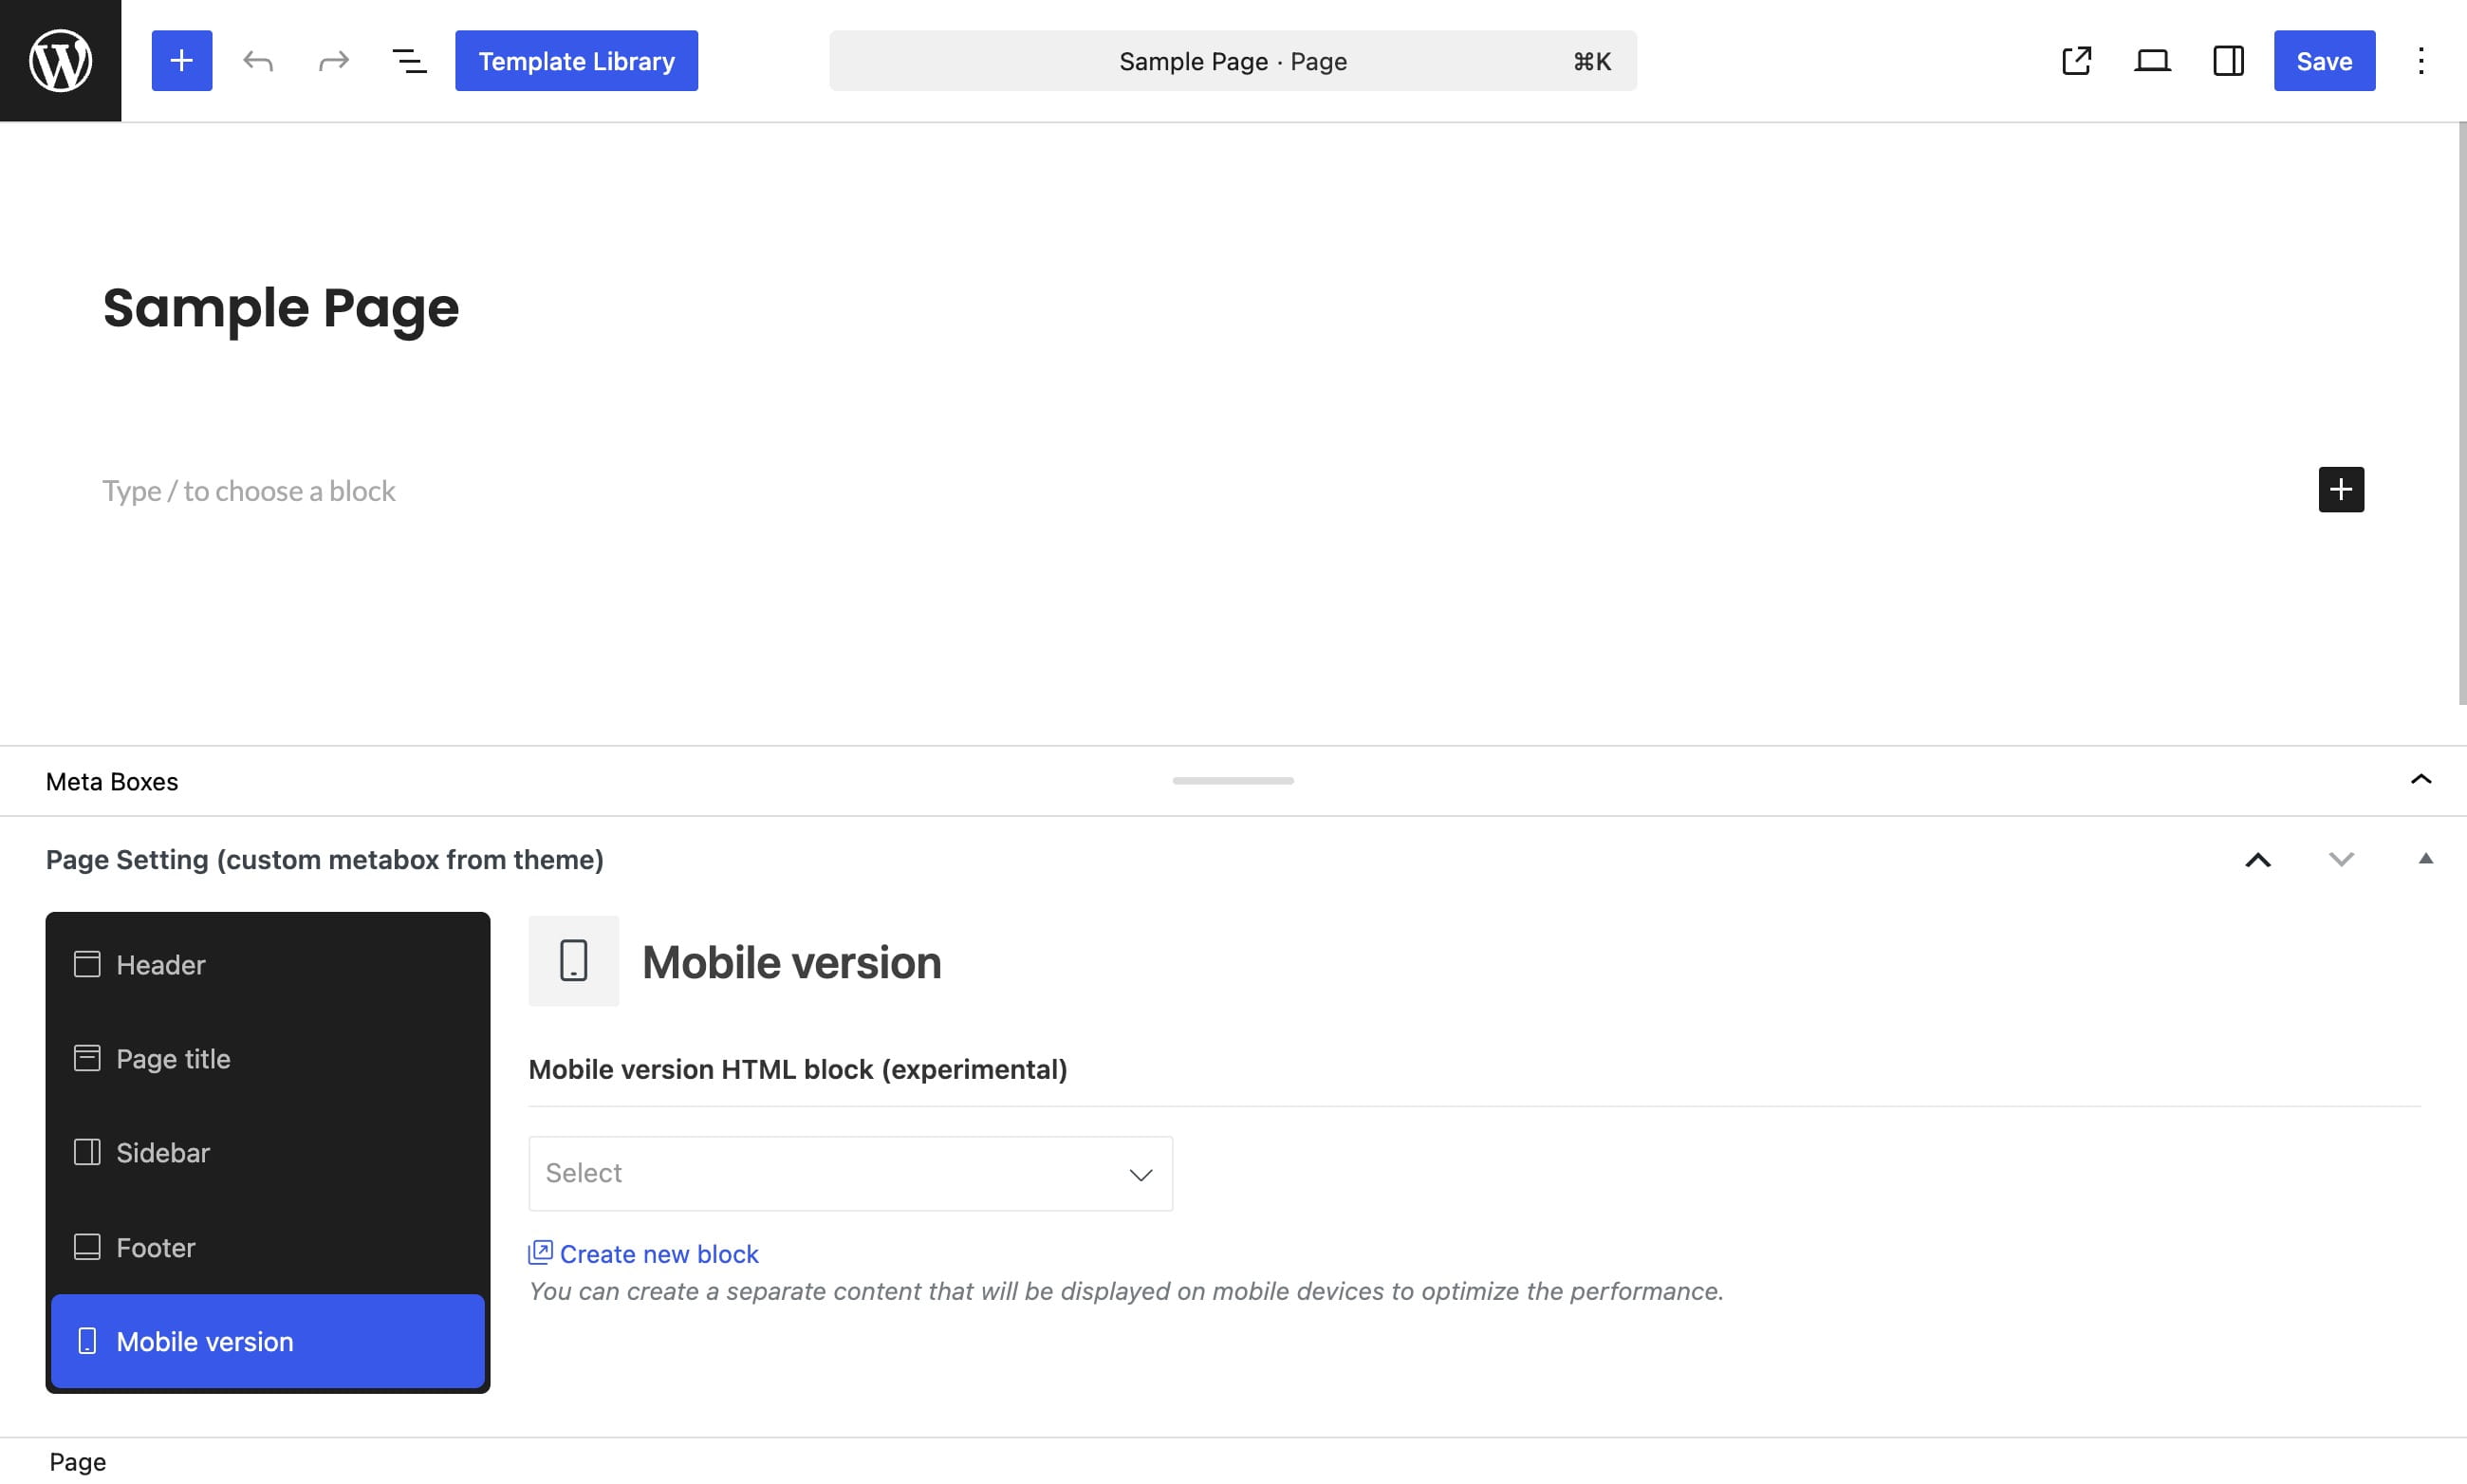
To replace a page’s regular content on mobile devices, create the mobile content as an HTML block and select it under the page’s Mobile version settings. See Page settings for the standard editor and Elementor workflows.
Related documentation
Don’t miss WoodMart updates
Receive feature updates, tutorials, and WoodMart news via email.
 Last updated: August 18, 2026